GNU/Linux Bodhi Installing cURL Guide
How to Install cURL in Bodhi GNU/Linux desktop – Step by step Tutorial.
And cURL for Bodhi Linux is a Computer Software Project providing a Library libcurl and Command-Line Tool curl for Transferring Data using various Network Protocols.
And the amazing Curl CLI Tool Supports all these URLs:
- DICT
- FILE
- FTP
- FTPS
- Gopher
- HTTP
- HTTPS
- IMAP
- IMAPS
- LDAP
- LDAPS
- MQTT
- POP3
- POP3S
- RTMP
- RTMPS
- RTSP
- SCP
- SFTP
- SMB
- SMBS
- SMTP
- SMTPS
- Telnet
- TFTP
Moreover, curl supports SSL certificates, HTTP POST, HTTP PUT, FTP uploading, HTTP form based upload, Proxies, HTTP/2, HTTP/3, Cookies, User+Password Authentication (Basic, Plain, Digest, CRAM-MD5, NTLM, Negotiate and Kerberos), File Transfer Resume, Proxy Tunneling and more.

1. Launching Terminal
Open a Terminal Shell Emulator
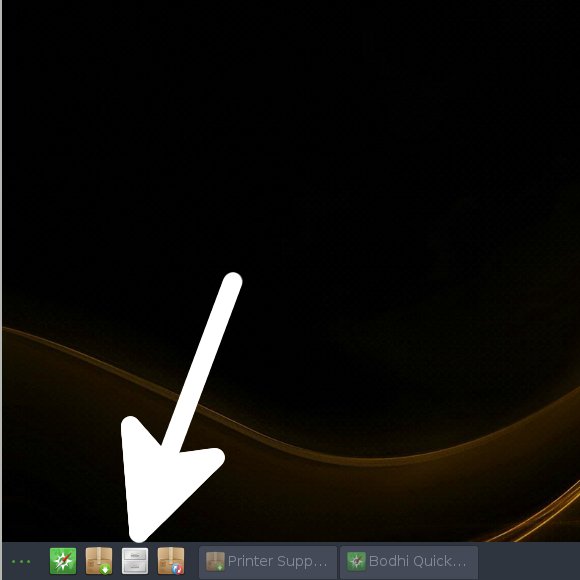
First, Open a File Manager Window:
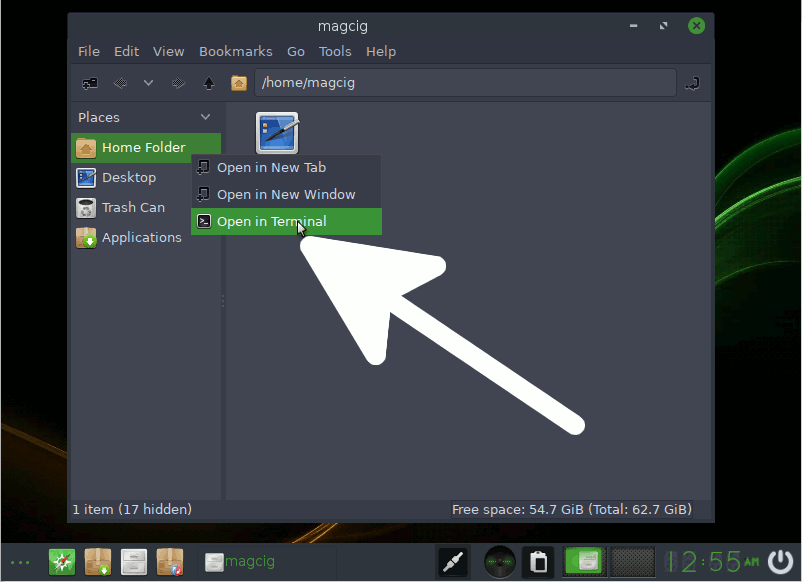
(Press “Enter” to Execute Commands).Then Right Click on a Location > Open in Terminal: And Update Bodhi Apt Repository:
sudo apt update
Authenticate with the User Admin Pass.
If Got “User is Not in Sudoers file” then see: How to Enable sudo.
Contents