Setting Up Printer
-
3. Adding Epson Printer ET-14000 Printer
Now Open Ubuntu Settings:
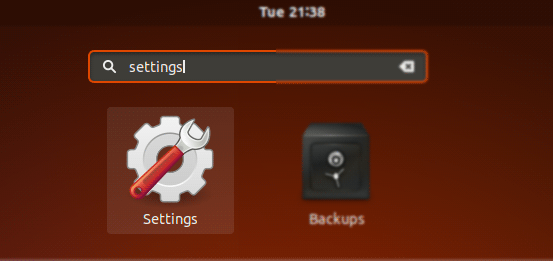
Simply Hit Cmd/Win and Search for ‘Settings’.
And then Add Printer to Ubuntu Desktop.
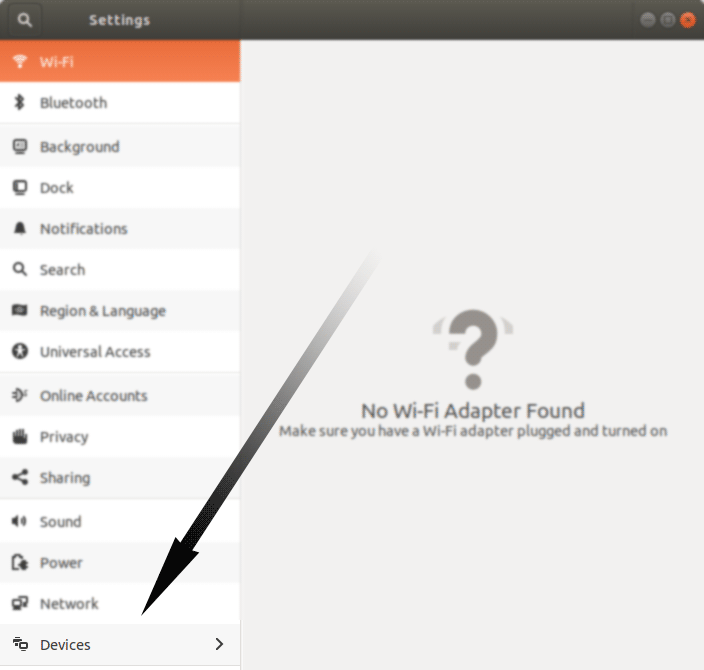
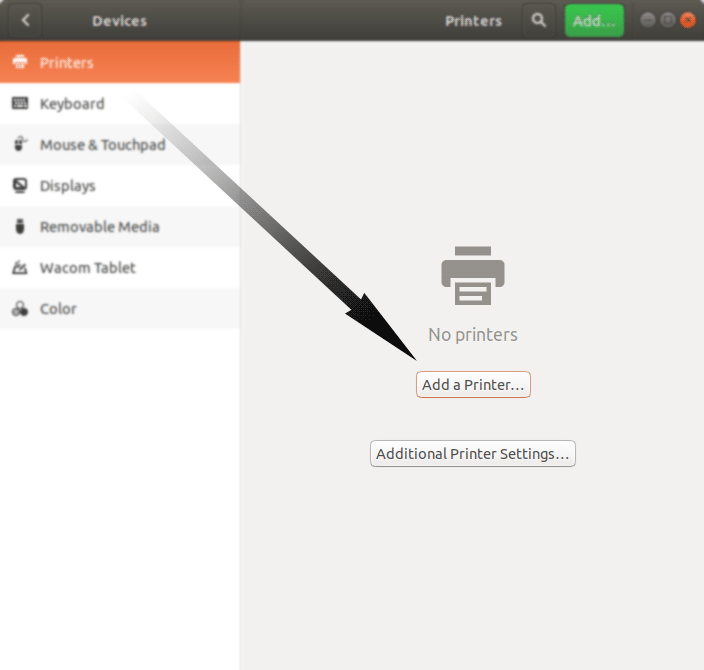
Click the ‘Add Printer’ Button:
So then Select the Printer that should be Found and Confirm to Add it.
But if Not Found then Verify the Printer is Connected and Turned On.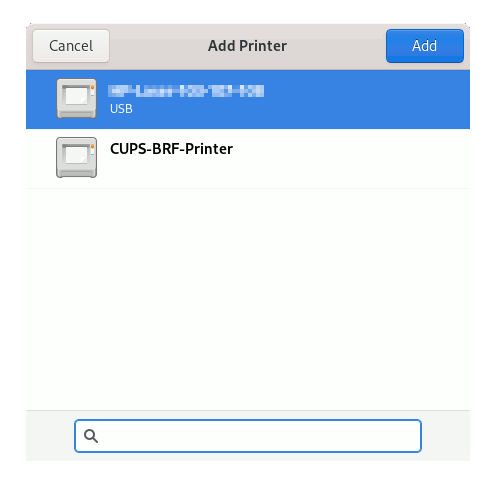
Now wait and the Printer should be Automatically Discovered!
Next again Find and Choose the “Printer Details“: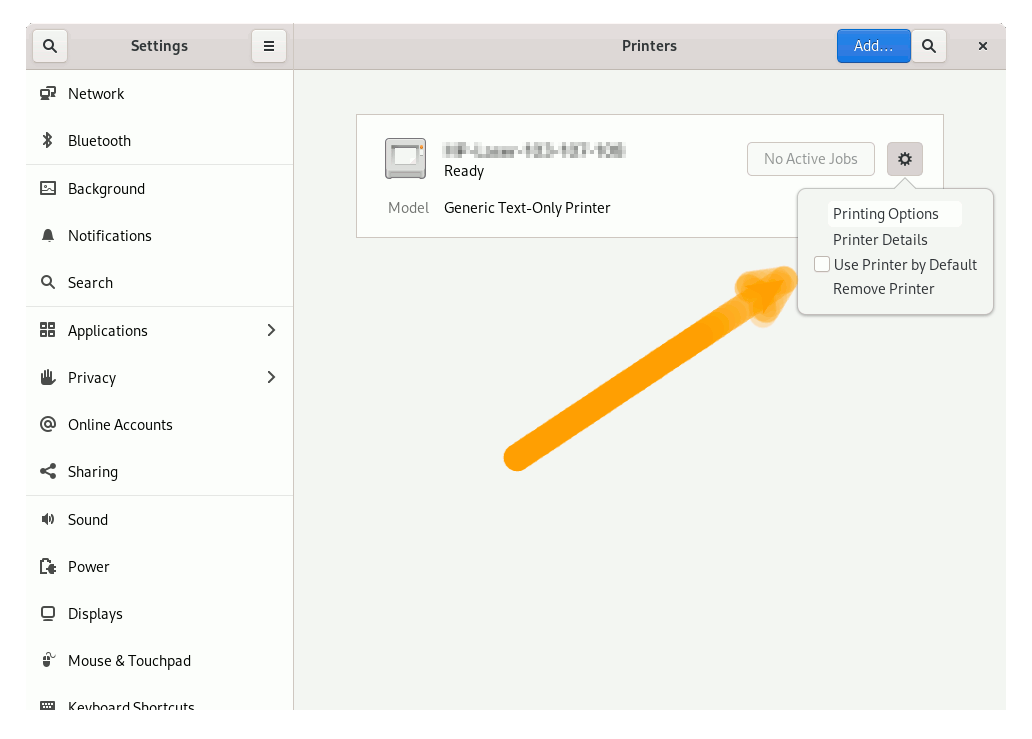
Now “Install PPD File” and then Browse for the Driver:
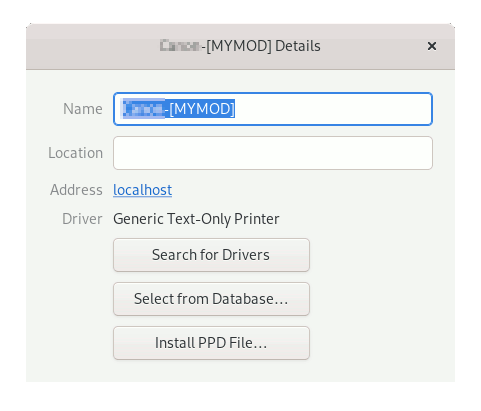
How to Find Printer PPD File Location on Linux
Or else Browse for the “Printer Drivers Database”.
Finally, the Printer should be Successfully Installed and Working on System!
How to Install Google-Chrome for Ubuntu:
Setup Google-Chrome for Ubuntu.
Contents
