Installing
-
2. Adding Repository
How to Add ownCloud Client Repository on Mint GNU/Linux
ownCloud Client Repo Mint Installation GuideFirst, Login as SuperUser with:
sudo su
Authenticate with your User Admin Pass.
If Got “User is Not in Sudoers file” then see: How to Enable sudo
If Not Available then Setup it as for the Former Release. -
3. Installing ownCloud Client
Then to Install ownCloud Client on Mint
Simply run:apt install owncloud-client
Authenticate with your User Admin Pass.
If Got “User is Not in Sudoers file” then see: How to Enable sudo. -
4. Launching ownCloud Client
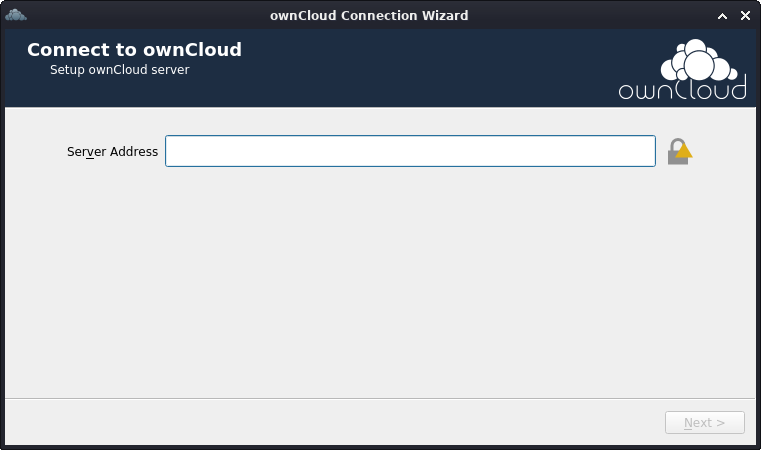
Finally, Launch & Enjoy ownCloud Client
From Shell simply with:owcloud
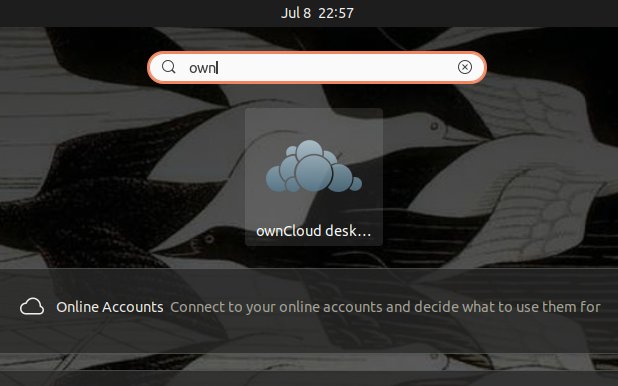
Or Make Use of the desktop Launcher:


So Now I’m truly Happy if this Guide could Help you to Install ownCloud Client on Linux Mint!
Contents