GNU/Linux KDE Neon Installing Avidemux – Step by step Guide
How to Install Avidemux on KDE Neon GNU/Linux desktop – Step by step Tutorial.
And Avidemux for KDE Neon is a Free Video Editor designed for simple Cutting, Filtering and Encoding tasks. It supports many File Types, including AVI, DVD compatible MPEG files, MP4 and ASF, using a variety of Codecs.
Moreover, Avidemux tasks can be Automated using Projects, Job Queue and Powerful Scripting Capabilities.
Finally, this guide includes detailed instructions on Getting Started with Avidemux on KDE Neon.
-
1. Launching Shell Emulator
Open a Shell Terminal emulator window
Just start Typing “konsole” on desktop.
(Press “Enter” to Execute Commands).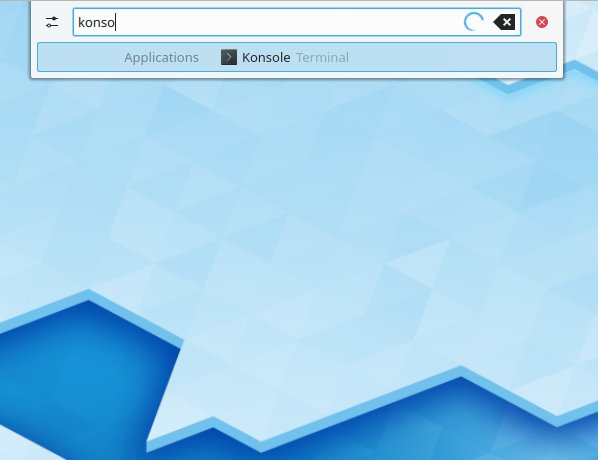
In case first see: Terminal QuickStart Guide.
Contents