GNU/Linux MX 19 Installing GitAhead – Step by step Guide
Join us as we delve into a detailed tutorial, guiding you through the step-by-step process of Installing GitAhead on your MX 19.x GNU/Linux desktop – Step by step Tutorial.
And GitAhead for MX 19 is a fast Native Git Interface designed to help you understand and manage your Source Code History.
Most noteworthy: Git provides a Wealth of Historical Information that, too often, goes unexploited because it’s Cumbersome to explore with other Tools.
Finally, this guide includes detailed instructions on Getting Started with GitAhead on MX.

1. Launching Shell Emulator
Open a Terminal window
(Press “Enter” to Execute Commands)In case first see: Terminal QuickStart Guide.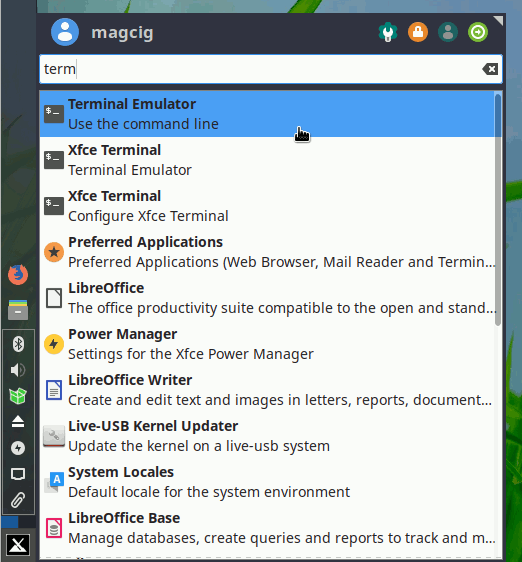
Contents