Installing
-
2. Downloading CLion for RHEL
Download CLion for RHEL
If possible Select directly “Open with Archive Manager”!
-
3. Extracting CLion IDE
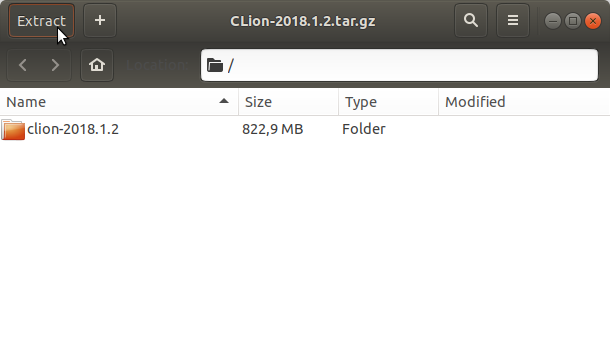
Then Extract CLion into /tmp
Possibly Double-Click on Archive:
Or from Shell:
tar xvzf ~/Downloads/CLion*.tar.gz -C /tmp
-
4. Fixing Permissions
Again to Set Ownership to SuperUser:
sudo chown -R root:root /tmp/CLion*
-
5. Relocating CLion IDE
Again to Set Ownership to SuperUser:
sudo mv /tmp/clion* /opt/clion
-
6. Amending User’s Path
Again Append CLion into the Path (Optional)
This is strictly needed only to Work with CLion from Command Line:echo 'export PATH=$PATH:/opt/clion/bin' >> ~/.bashrc
Reload the Path with:
bash
Contents