Adding Printer
-
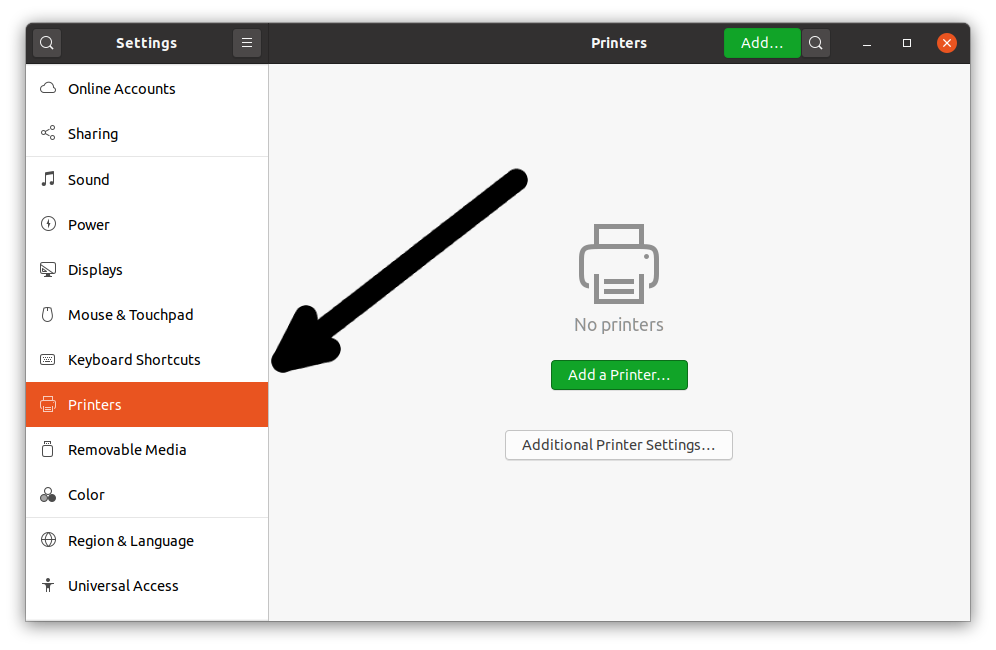
4. Accessing Fedora Settings
Then Open Fedora Settings
This instruction is valid on GNOME, for the other Spins Search directly for the ‘Printer’ Settings:

5. Adding Epson ET-2500 Printer
And follow to Add Epson ET-2500 on Fedora
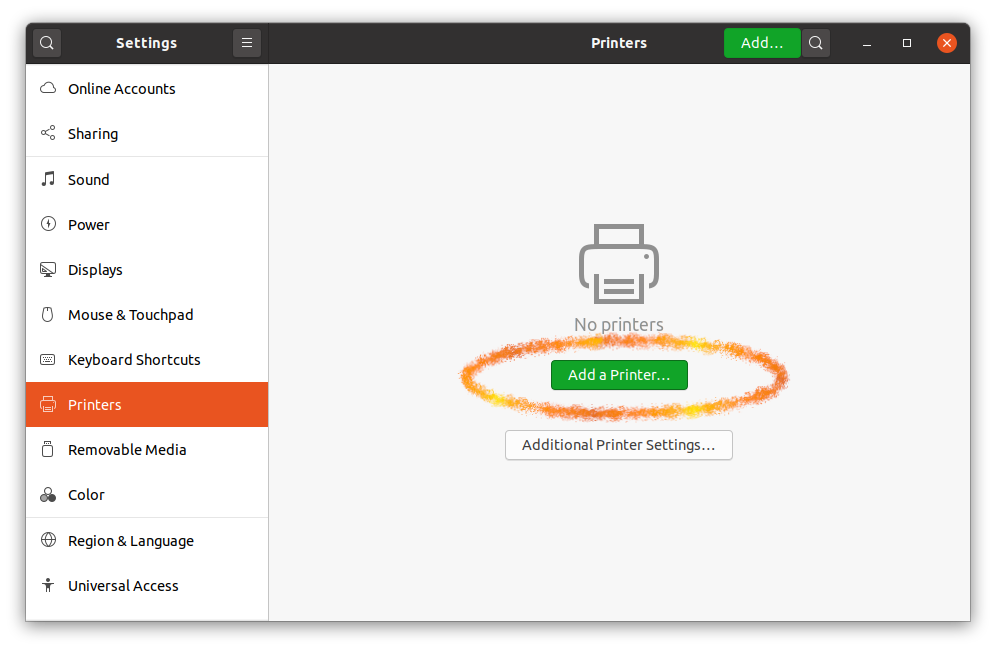
Here below for the GNOME desktop. For the other Spins possibly See How to Add Printer on GNU/Linux desktops.

Click the ‘Add Printer’ Button:

So then Select the Printer that should be Found and Confirm to Add it.
But if Not Found then Verify the Printer is Connected and Turned On.
Then Browse to “Install PPD File” Driver.
How to Find Printer PPD File’s Location on Fedora
Or else Search in the “Printers Driver Database”.
Finally, the Printer should be Successfully Installed and Working on System!
Contents