Setting Up
-
3. Setting up VM Type
Choose the VM Typical SetUp:
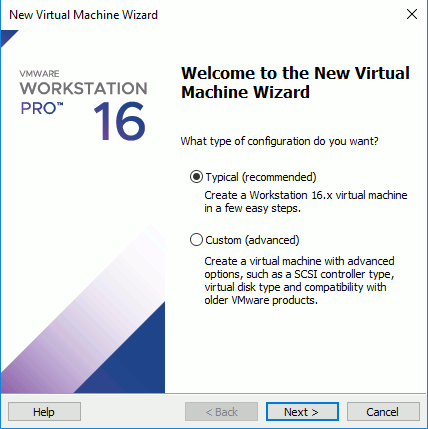
Click on -
4. Choosing Image ISO
First, choose Install from Disk Image File:
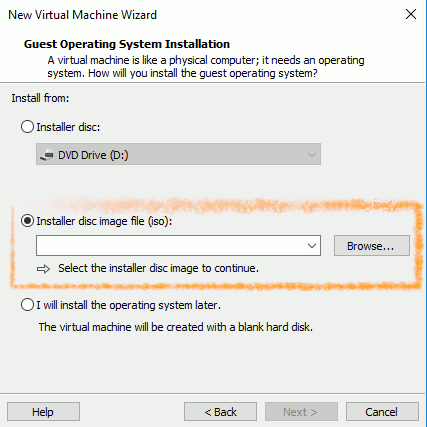
So Browse for ISO Image:
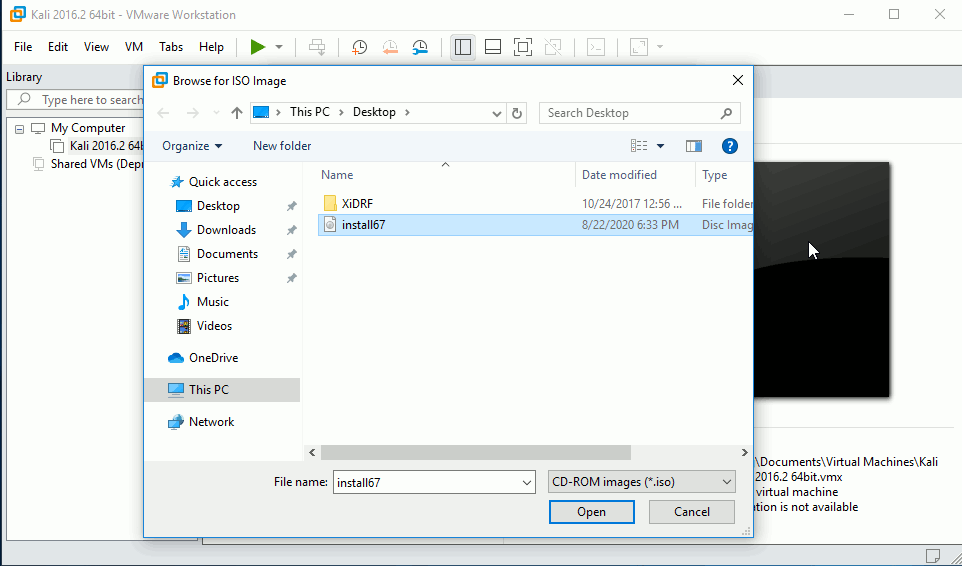
Click on -
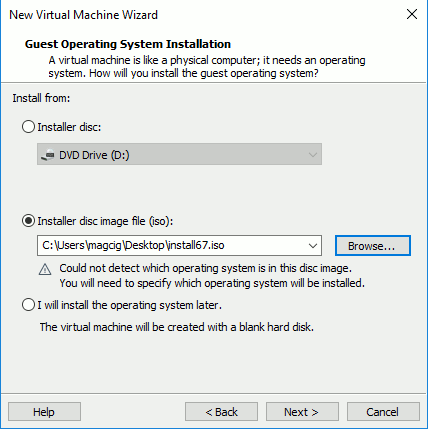
5. Choosing OS Type
If needed then Select the Guest OS
This doesn’t matter and so if you just Do Not Find it then choose Other…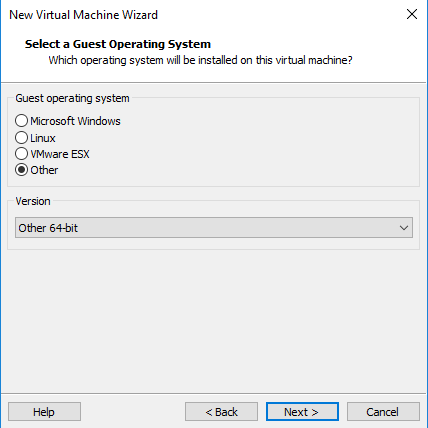
Then Click on -
6. Naming VM
Again choose a VM Name:
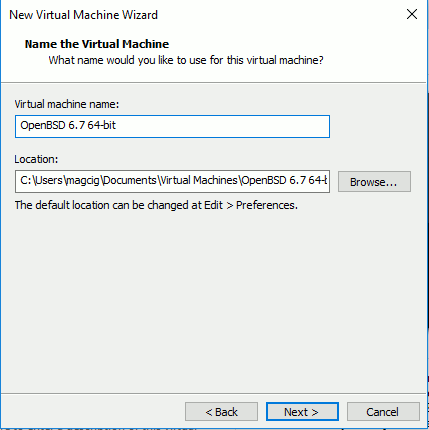
Click on -
7. Setting up Disk
Now specify the Disk Size
This is just the Maximum Size: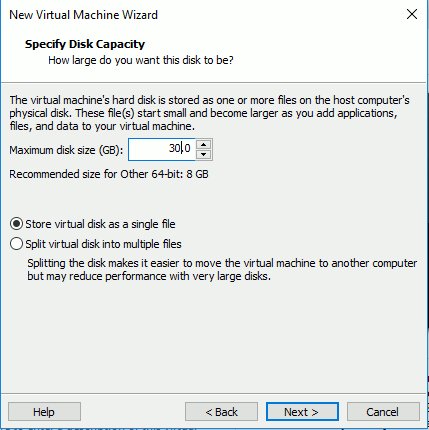
Especially relevant: The Disk then will be Auto-Growing so 30Gb here it’s Just the Upper Limit!
Again it’s Best to Set Disk as a Single File instead of the Default 2Gb Chunks…
Then Click on -
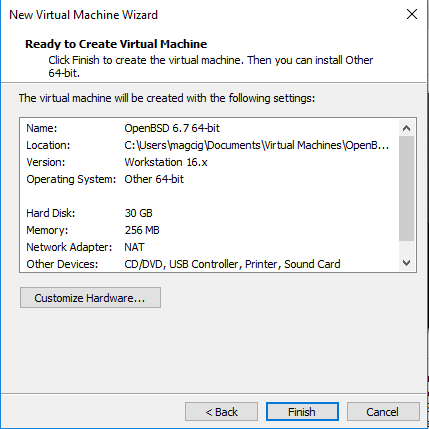
8. Creating VM
Click on Finish on Bottom.
-
9. Running VM
Finally, uou can Power On the Virtual Machine :)
Possibly, choose “Settings” to customize and Set RAM Size: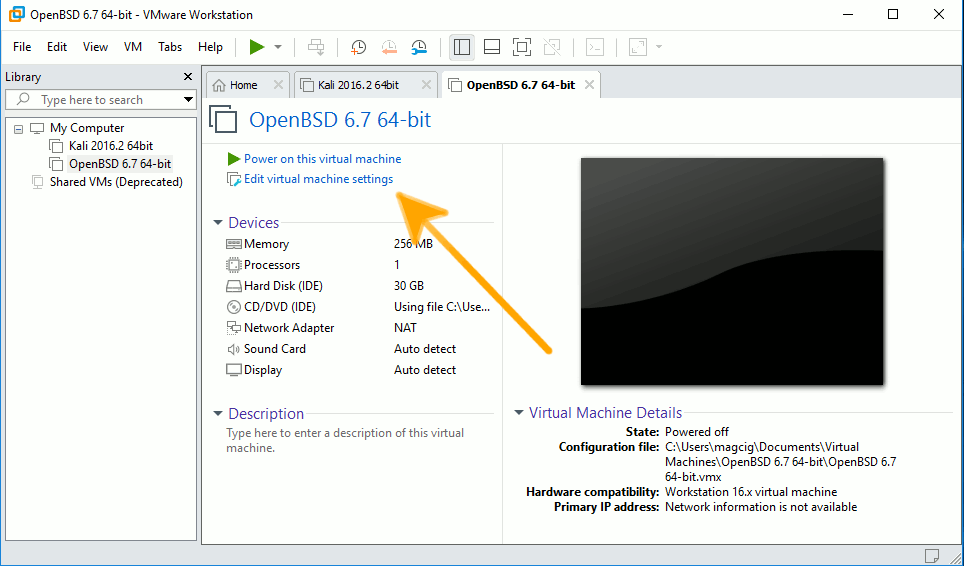
How to Install Ubuntu on a VMware Workstation VM
Contents