Setting up
-
2. Installing Xinput
Now to Install Xinput Utility for Pop!_OS
Simply play:sudo apt install xinput
Again, to manage your Input Devices install also evdev and some others Input Utilities like:
sudo apt install xserver-xorg-input-evdev xserver-xorg-input-libinput xserver-xorg-input-mouse
-
3. Finding out Device Name
So to Display Devices List
Run:xinput list
Select & Copy Device’s Name with Ctrl+x.
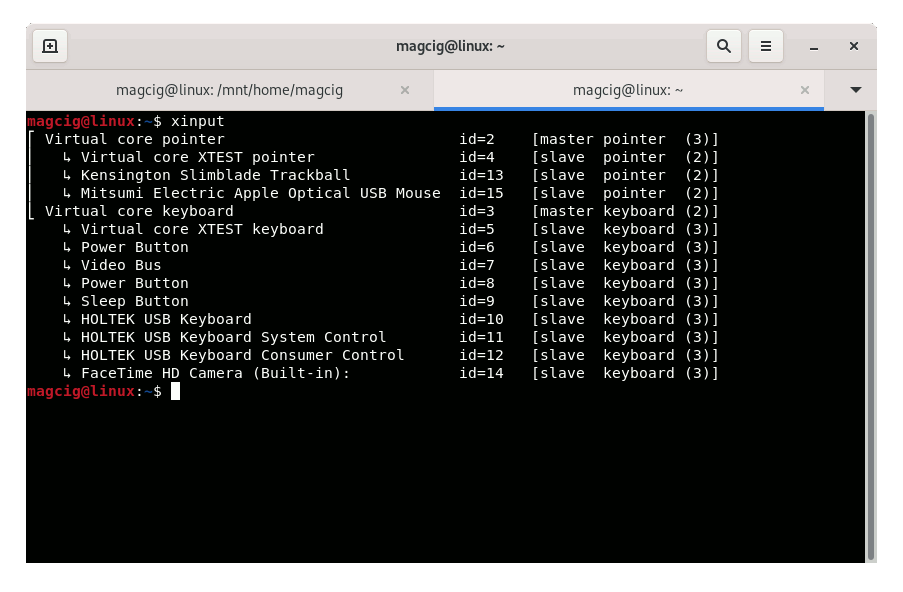
Or simply take note of the Device’s ID.
But if No Device Name but “xwayland” on GNOME Wayland then instead follow the linked Guide: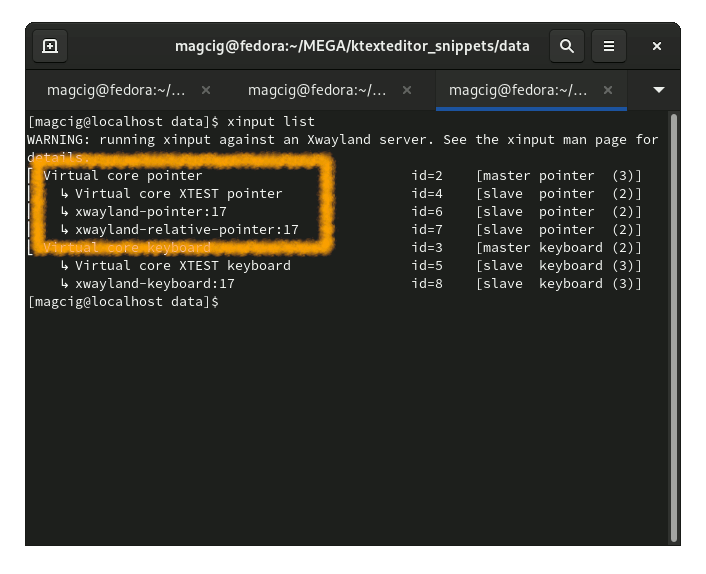
How to Set up Trackball Scroll Wheel Emulation on GNOME Wayland
-
4. Setting up Xinput Device Emulation
Now to Enable Xinput Device Emulation on Pop!_OS
First, to list the available Properties run:xinput list-props "[DEVICENAME]"
Or alternatively:
xinput list-props [DEVICEID]
So in this case for instance:
xinput list-props "Kensington Kensington Expert Mouse"
Or else:
xinput list-props 13

But if the “Wheel Emulation” Property is Not Found then you have to configure Evdev in Xorg like:
sudo cp /usr/share/X11/xorg.conf.d/10-evdev.conf /etc/X11/xorg.conf.d/
And then Reboot with:
sudo reboot
Next to set up a Trackball Wheel Scroll, first enable it:
xinput --set-prop "Kensington Kensington Expert Mouse" "Evdev Wheel Emulation" 1
So alternatively easier using the ID like:
xinput --set-prop 13 "Evdev Wheel Emulation" 1
And then set the Target Button:
xinput --set-prop 13 "Evdev Wheel Emulation Button" 2
How to Find the Trackball Button ID
-
5. Making Permanent Config
Last, to make a Permanent Xinput Configuration File
For a Single User using the nano editor, put your both Commands into:nano ~/.xsessionrc
Ctrl+x to Save & Exit from nano Editor.
So the setup should be consistent also after Reboot.
Contents