Getting Started
-
2. Fixing System
First, Set Wlan Interface Name
So to discover the Wireless Adapter ID run:ifconfig | grep wl
Then turn it Off with:
sudo ip link set wlan1 down
In case, change the “wlan1” with your current one.
Now set the Card Name properly as:sudo ip link set wlan1 name wlan1mon
And turn it On again:
sudo ip link set wlan1mon up
Last, to check up the Network status run:
sudo airmon-ng
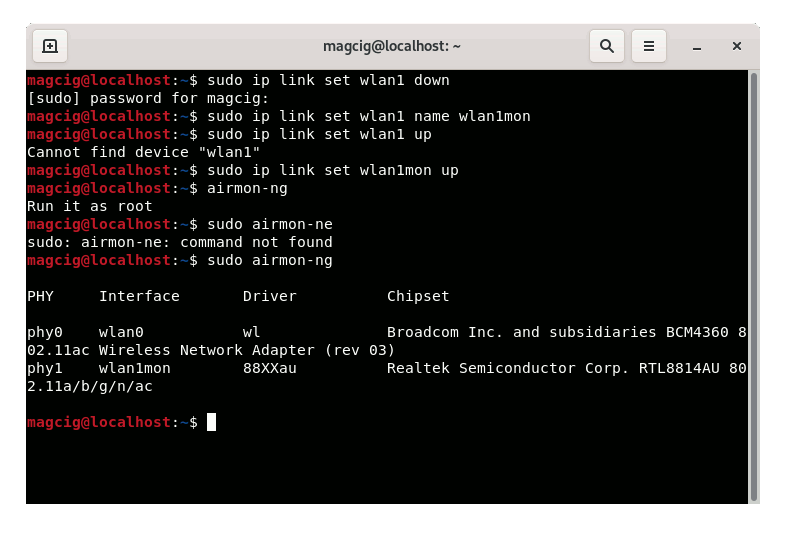
Thanks to CyberSpace!
-
3. Launching Fern
Finally, Launch & Enjoy Fern
Use the desktop Launcher:
From Shell with:
fern-wifi-cracker
-
4. Recovering Wifi Pass
Finally, to Recover/Test Wi-fi WPA/WEP Passwords
First, enable the Wireless Interface in Monitor Mode: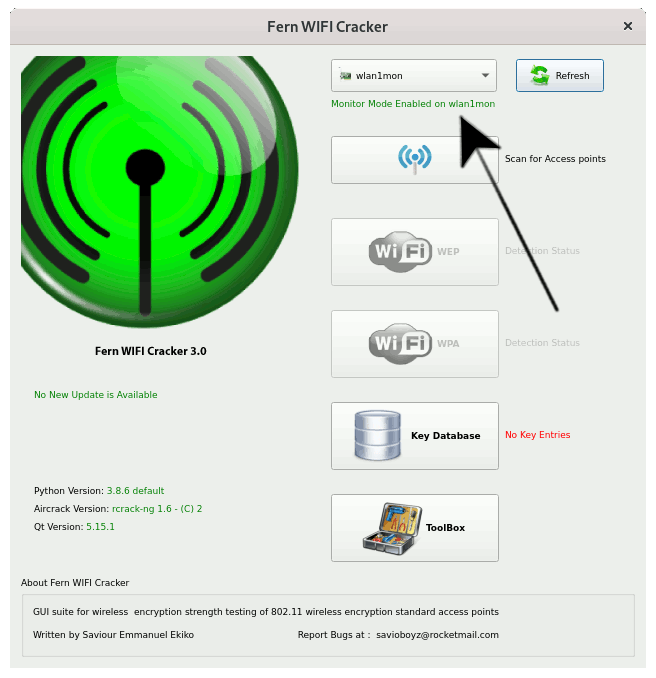
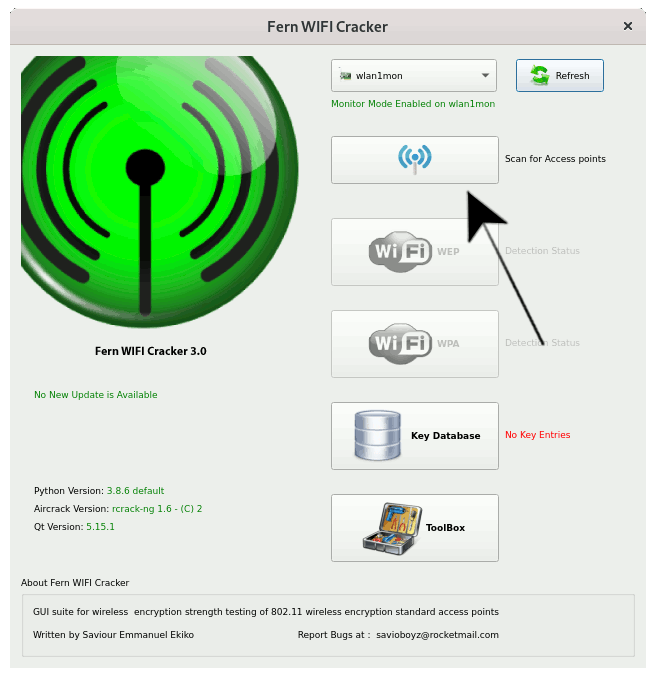
Next, Scan for Access Points:
Choose the retrieved Wireless Networks:
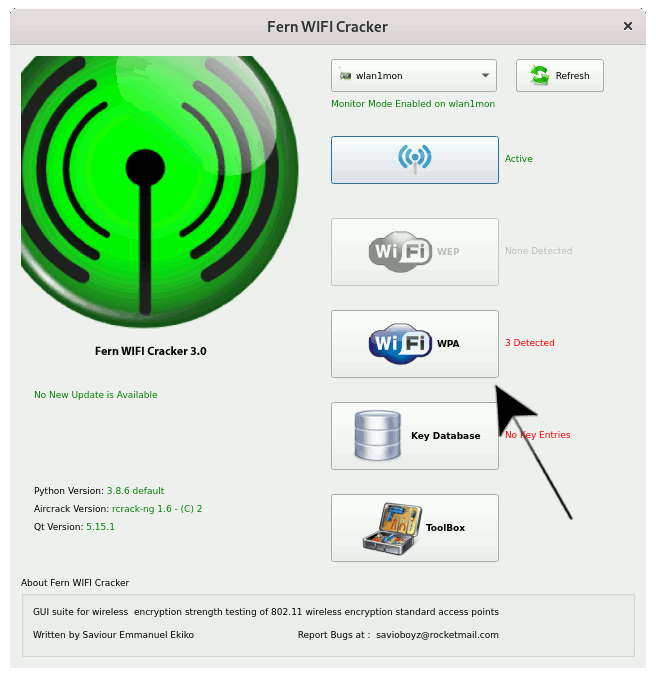
And then your should be able to follow with your first Wireless PenTesting attempt:
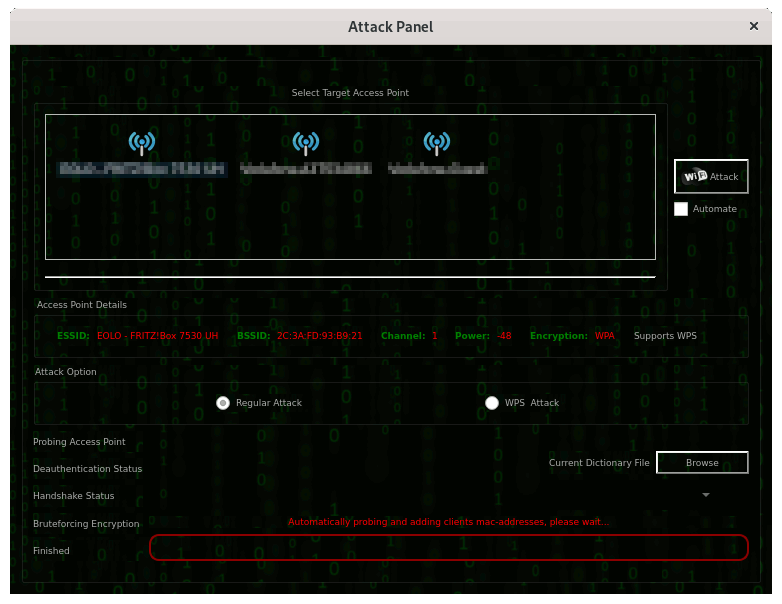
Good Luck! ;)
Contents