Installing
-
2. Downloading Google Fonts
Download Google Fonts for Ubuntu GNU/Linux
If you need instructions about what Font to choose then see the Getting Started section below.
In this guide I make use of the “Open Sans” as example. -
3. Installing Google Fonts
Now to Install Google Fonts on Ubuntu
First, make the target Directory with:sudo mkdir /usr/share/fonts/googlefonts
And then extract the Archive directly into the Target with:
sudo unzip -d /usr/share/fonts/googlefonts ~/Downloads/Open_Sans.zip
But if you are in Trouble to Find the Location on Terminal then See: How to Access Downloads Folder from Browser.
Especially relevant: in case replace the “Open_Sans” above with the current choice.
Next to fix Permissions to default play:sudo chmod -R --reference=/usr/share/fonts/opentype /usr/share/fonts/googlefonts
Authenticate with the User Admin Pass.
If Got “User is Not in Sudoers file” then see: How to Enable sudo.
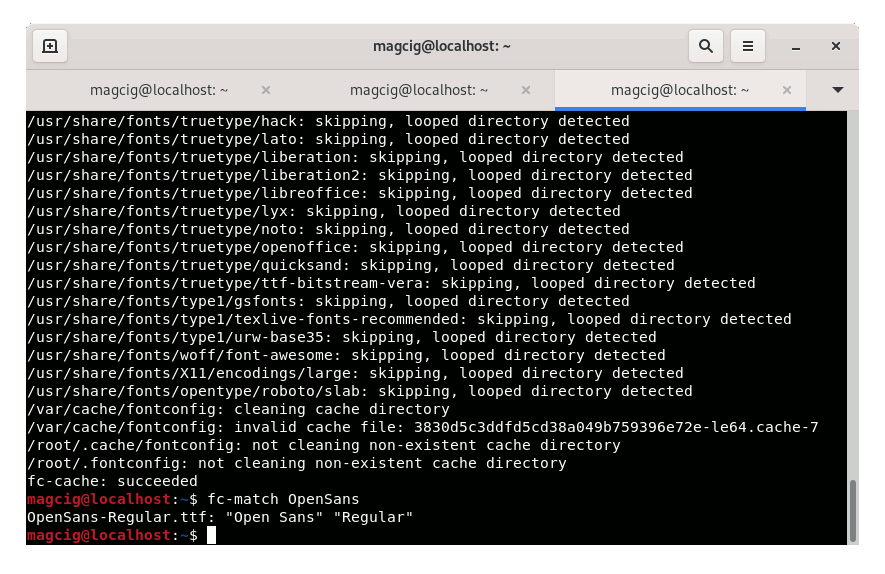
Again to register the Fonts issue:sudo fc-cache -fv
Finally, to check the Font setup use:
fc-match OpenSans

Contents