Step-by-step – Radeon RX 580 Driver Linux Mint 20 Installation

Step-by-step – Radeon RX 580 Driver Installation in Linux Mint 20

GNU/Linux Mint 20 Install Radeon RX 580 Driver

[xyz-ihs snippet=”336AdTop”]

Hi! The linked Tutorial shows you Step-by-Step How to Install AMD Radeon RX 580 Graphics and GPU Driver in GNU/Linux Mint 20 Ulyana/Ulyssa/Uma/Una LTS 64-bit Desktop.

And there are 2 Radeon RX 580 Mint 20 Graphics and GPU Driver available Alternatives: the AMDGPU Pro and the AMDGPU Open-Source.

Moreover, the AMDGPU Pro Software includes Support for Accelerated Graphics, MESA Multimedia, Pro OpenGL, Pro Vulkan and Pro OpenCL.

Especially relevant, the Latest Driver supporting a Device varies over Time, so before the Setup you should check: AMD Radeon Drivers Support

Finally, for the Radeon Open Source Drivers on Repo See instead: How to Install AMDGPU from Mint PPA Repository.

How to Install Radeon RX 580 Driver on Linux Mint 20 - Featured
  1. 1. Launching Shell Emulator

    Open a Terminal window
    (Press “Enter” to Execute Commands).

    How to Install Radeon RX 580 Driver on Linux Mint 20 - Open Terminal Shell Emulator
    In case first see: Terminal QuickStart Guide.
[xyz-ihs snippet=”336Ad0″]
[nextpage title=”Installing”]
[xyz-ihs snippet=”336Ad1″]
  1. 2. Downloading Driver

    Download AMDGPU Driver in Mint GNU/Linux

    AMDGPU Driver tar.xz Archive
    [xyz-ihs snippet=”234Ad1″]
    Grab the Available Release.
  2. 3. Extracting Driver

    Then Extract AMDGPU Driver into /tmp Directory
    If it does Not Open automatically then possibly Double-Click on File Manager:
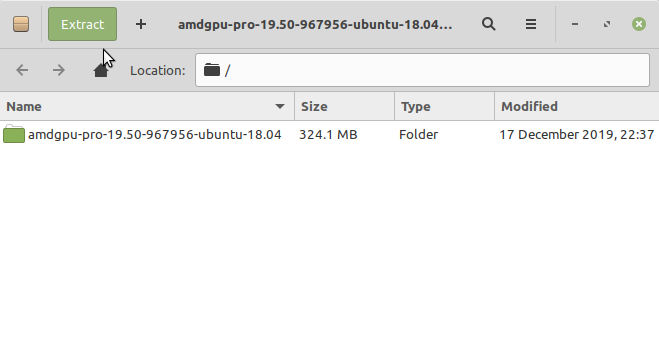
    How to Install Radeon RX 580 Driver on Linux Mint 20 - Extracting Or from Command Line:
    tar xvzf ~/Downloads/amdgpu-pro*.tar.gz -C /tmp/
    But if you are in Trouble to Find the Location on Terminal then See: How to Access Downloads Folder from Browser.
  3. 4. Installing Driver

    Then to Install Radeon RX 580 Driver on Mint
    First, possibly check if a previous version is already installed with:

    apt show amdgpu-pro
    And if yes then to remove it use:
    sudo apt purge amdgpu-pro
    Then for the Proprietary AMDGPU Pro Driver execute:
    /tmp/amdgpu*/amdgpu-pro-install -y
    Again for the Pro with OpenCL Support:
    /tmp/amdgpu*/amdgpu-pro-install --opencl=pal,legacy -y
    Instead, for the OpenCL Headless variant do:
    /tmp/amdgpu*/amdgpu-pro-install --opencl=pal,legacy -y --headless
    Last, for the Open-Source alternative play:
    /tmp/amdgpu*/amdgpu-install -y
    Finally, to load it reboot with:
    sudo reboot