Printer Setup
-
3. Accessing Printers Manager
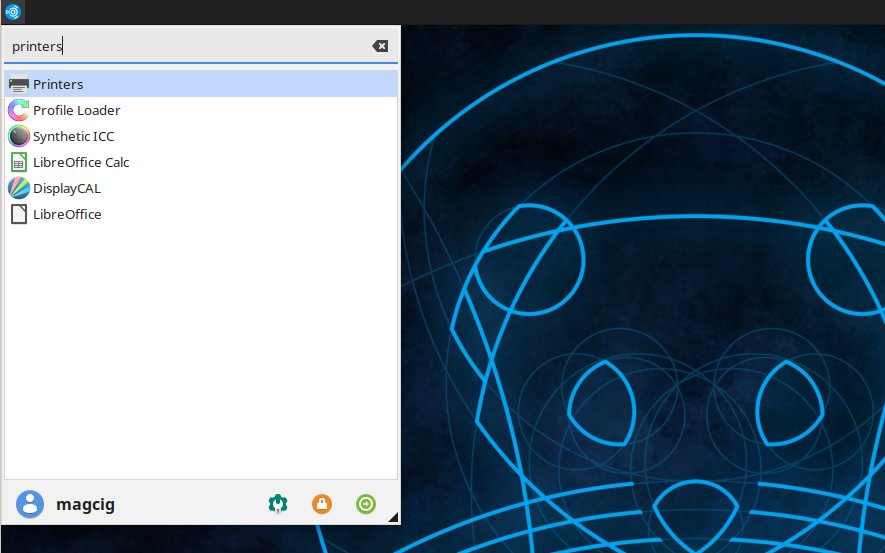
Then Launch Printers Manager Applet
Just searching for “printers” on Ubuntu Studio desktop Menu:
-
4. Adding Printer
Finally, to Add Printer
First, choose Add Printer:
And a USB Device should be automatically discovered when connected and turned On!

Otherwise you may need to specify Network location.
Then select to “Provide PPD File”:
How to Find Printer PPD File Location on Ubuntu Studio Linux
GNU/Linux Ubuntu Studio Linux PPD File LocationAnd next Browse for the PPD File location on System:

Or else try to Search it in the “Printers Database”.
Follow the Wizard and the Printer should be successfully Founded and Installed…
So Now I’m truly Happy if My Guide could Help you to Add Printer on Ubuntu Studio Linux!
Contents