GNU/Linux Ubuntu 21.04 Printer Canon PIXMA Setup – Step-by-step Guide
[xyz-ihs snippet=”as-336-1″]How to Install Canon PIXMA Printer/Scanner on Ubuntu 21.04 Hirsute GNU/Linux desktop – Step by step Tutorial.
And the Canon PIXMA Setup on Ubuntu 21.04 is Quick and Easy, it involves at most some basic Shell commands execution.
Especially relevant: after the Canon PIXMA Driver Ubuntu Installation to achieve the Printer Setup follow the included instructions to Add Printer!
Finally, in case to know how you dispose of a valid Alternative to the Canon Proprietary Driver as the Gutenprint Driver Suite.

-
1. Launching Terminal
First, Open Terminal Window
Ctrl+Alt+t
(Press “Enter” to Execute Commands).In case first see: Terminal Quick Start Guide.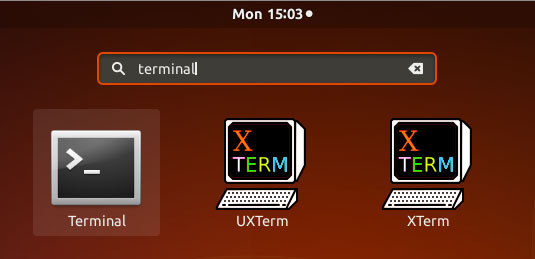
-
2. Downloading Canon PIXMA Driver
Download Canon Printers Linux Ubuntu Drivers
Canon Printers .deb Driver[xyz-ihs snippet=”as-234-1″]Browse for your Printer Model
Knowing that a Model is Valid for All the Series Printer!
Eg: the MX472 Printer Software is the Same for All the MX470 Series Printer. -
3. Extracting Canon PIXMA Driver
Then Extract into the /tmp Directory
If needed Double-Click/Right-Click and Open with Archive Manager: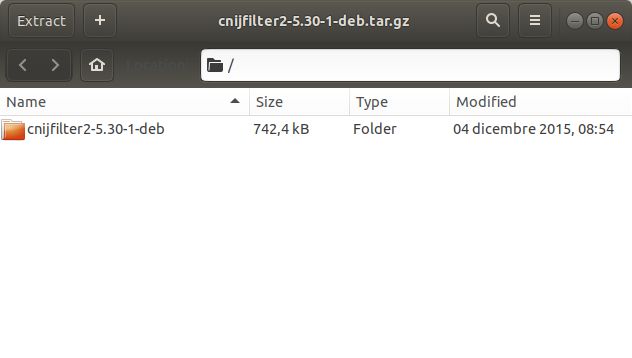
-
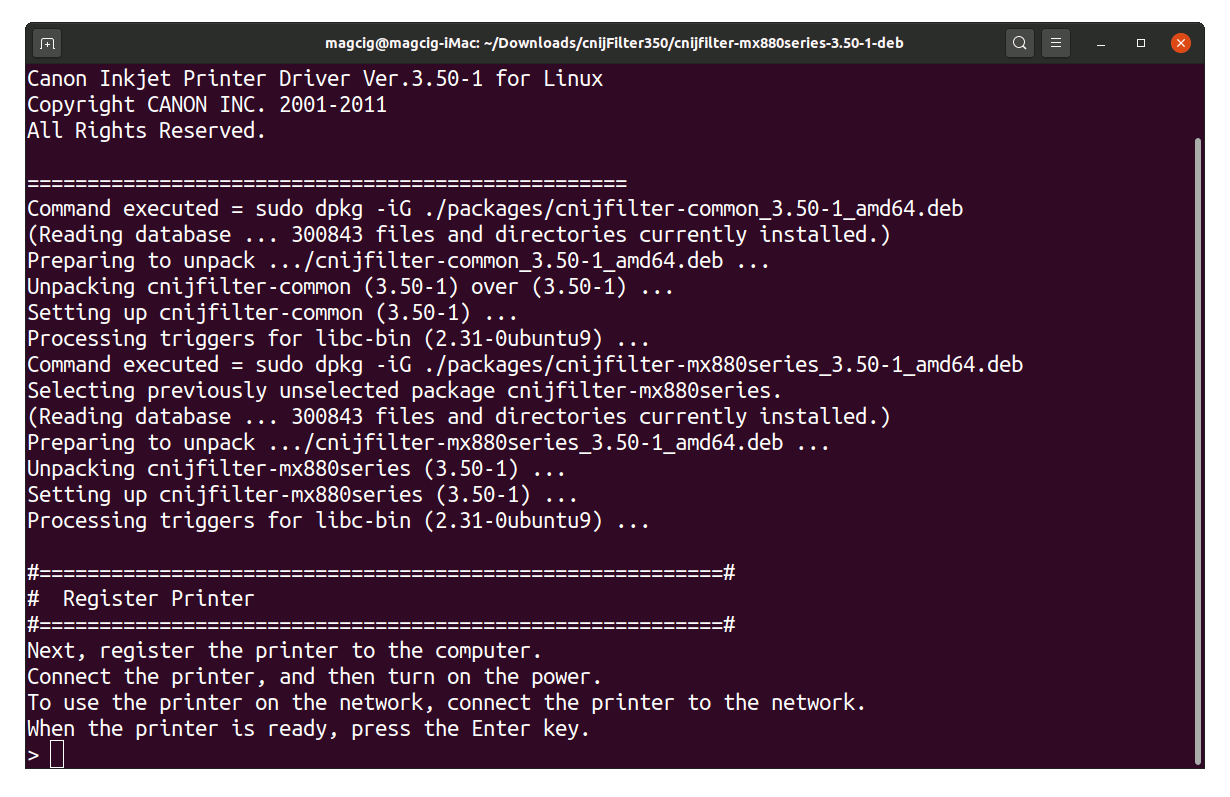
4. Installing Canon PIXMA Driver
Finally, to Install Canon PIXMA Printer Driver on Ubuntu
Access the Target location:cd /tmp/cnijfilter*
Run the Installation script:
sudo ./install.sh
In case of Installation Issues See this Troubleshooting!
During installation you may be Asked to Connect & Power On your Printer…
Now in case of Issue then try first to Install the Packages:
cd packages
Then on 64-bit Systems:sudo gdebi ./*amd64.deb
Instead for 32-bit Systems:sudo gdebi ./*i386.deb
5. Installing Printer
And Add Printer on Ubuntu
Choose ‘Printers’: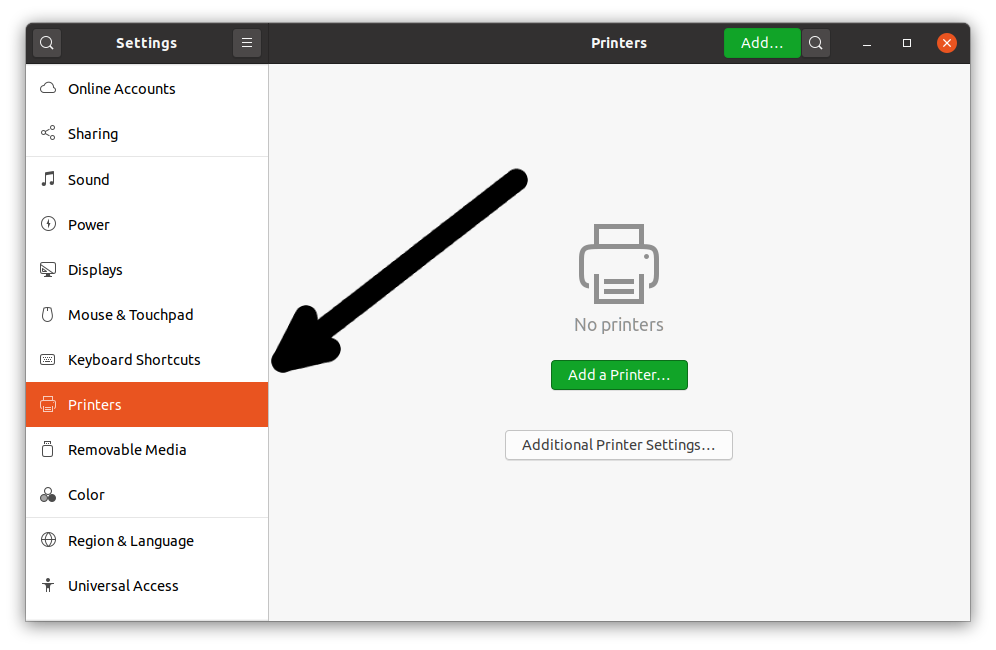
Selecting the ‘Add Printer’ Button:
So then Select the Printer that should be Found and Confirm to Add it.
But if Not Found then Verify the Printer is Connected and Turned On.Now wait and the Printer should be Automatically Discovered! Next again Find and Choose the “Printer Details“: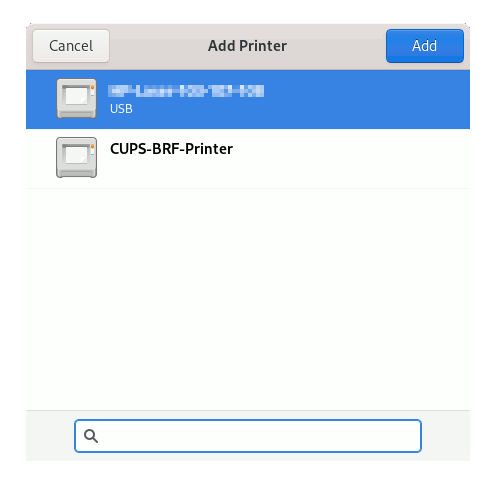
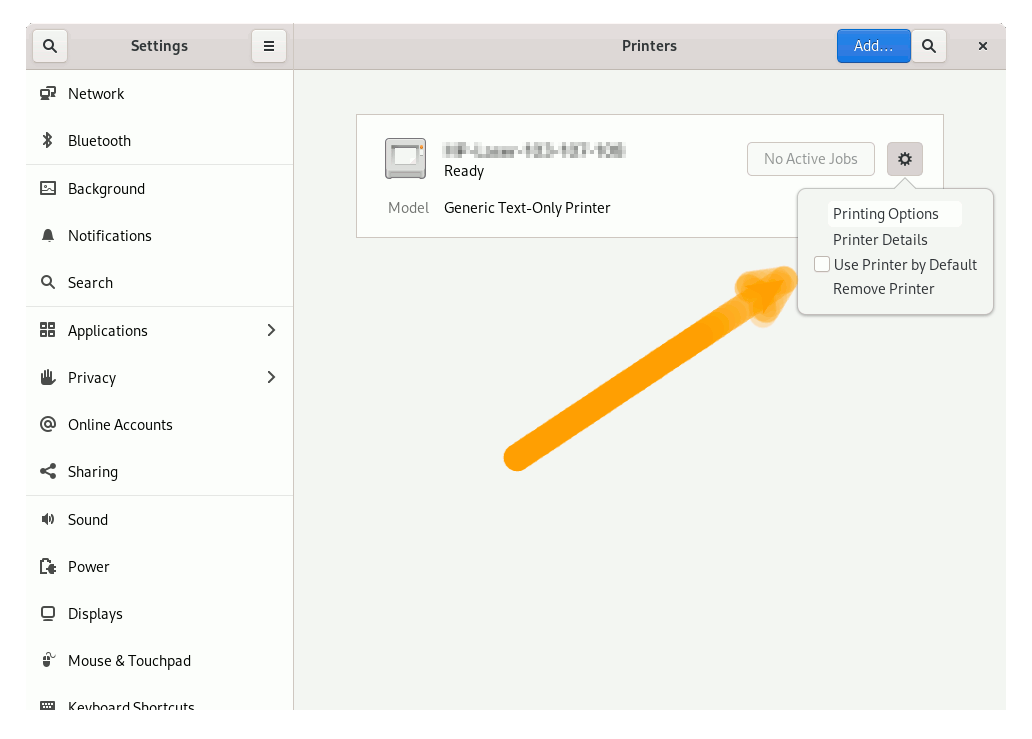
Then you have 2 possible Choices:
[xyz-ihs snippet=”as-336-1″]Browsing for PPD Printer Driver
So Choose “Install PPD File”:
This Step is Needed for many Laser Printer New Models, but may be Used to Install Any Printer!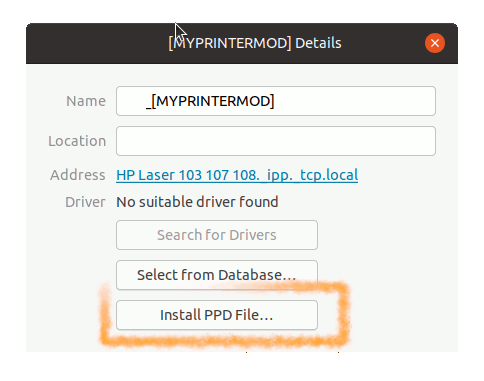
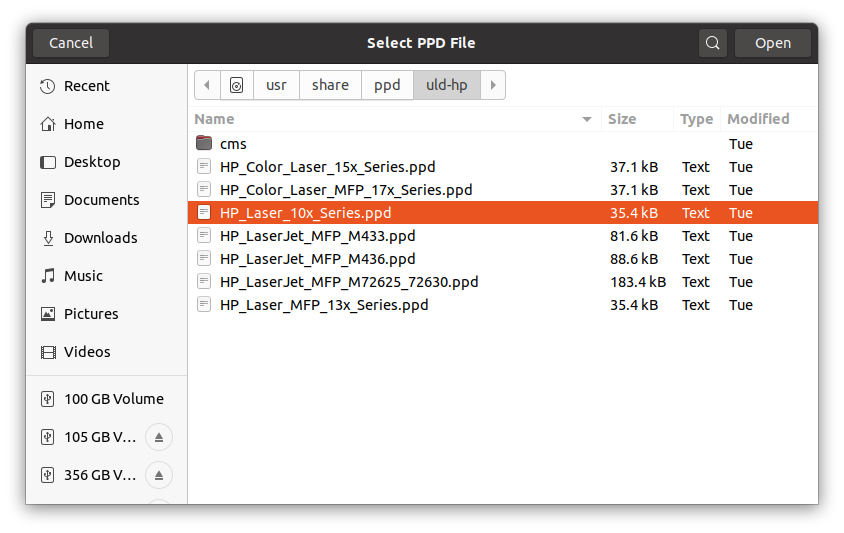
Browsing for the PPD File Location:How to Find Printer PPD File Location on Ubuntu
Selecting Printer Driver from Database
Instead, Choose “Select Driver from Database”:
Now you have simply to Find out your Printer’s Model: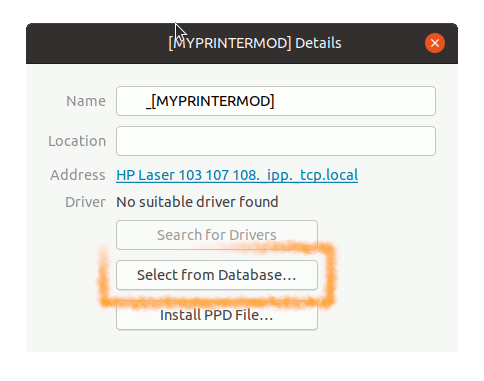 Take into account that the Printer Model in this Wizard may Shows up Rounded.
So 3600 is valid for All the 3600 Series Printer like for instance 3640; and again 10x is valid for All the 100 Series Printer as for example 107a.
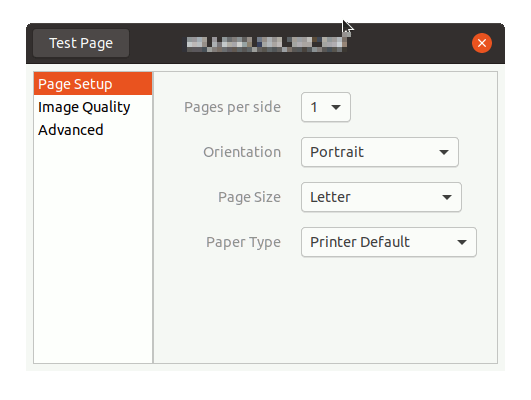
Finally, the Printer should be Successfully Installed and Working!
You may Print the Test Page to Check it Up:
-
6. Get Started Scanning
How to Get Started Scanning on Ubuntu