Setting Up Driver
-
3. Downloading HP Laser 135 Driver
Download HP Laser 135 Installer for openSUSE
Grab the Latest ULD Linux Release available.
If Not Found the Select “Choose a different OS”, then OS Linux and again Version Linux.
And on a Firefox Prompt possibly Select the “Open with Archive Manager” option: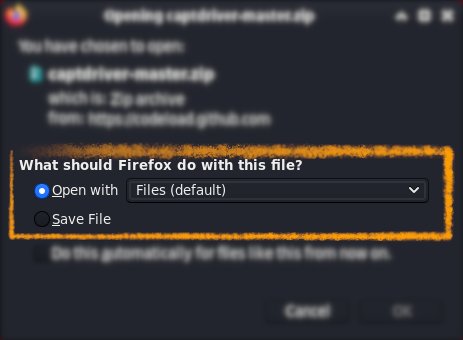
-
4. Extracting HP ULD Driver
Then Extract HP ULD Driver Archive into /tmp Directory
If it does Not Open automatically then Double-Click on File Manager: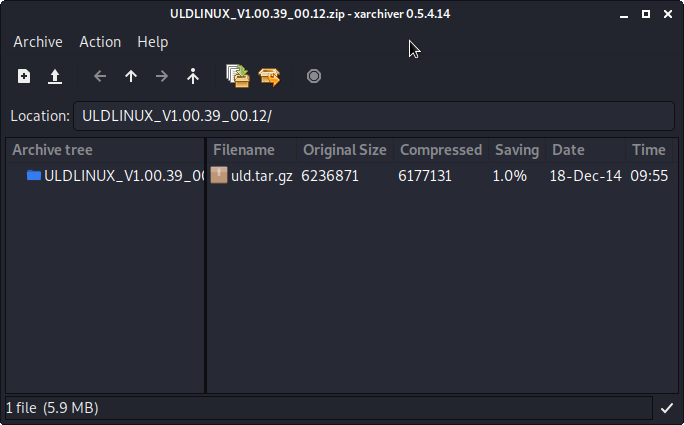
And Again for the Included Archive:
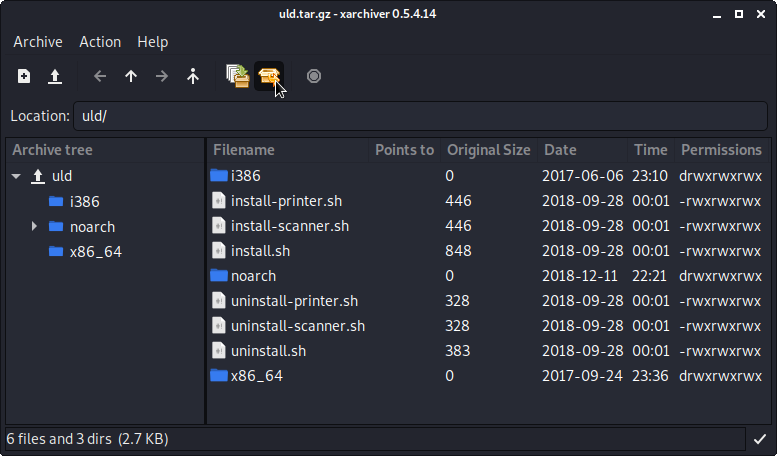
Or from Command Line:unzip -d /tmp/ ~/Downloads/uld*.tar.gz
(But if you are in Trouble to Find the Location on Terminal then See: How to Access Downloads Folder from Browser.)
And again:tar xvzf /tmp/uld*.tar.gz -C /tmp/
-
5. Installing HP Laser 135 Driver
Then to Install HP Laser 135 in openSUSE
First, Access the Target:cd /tmp/uld*/uld
Possibly, to check the Package is there:
ls | grep printer
The grep Command refine the output List showing only the entries Matching the Keyword.
And then Give Execution Permissions:chmod +x install*.sh
And then Run the Installer with:
sudo ./install.sh
First, Type “q” and after “y” to Quit License Agreement and Accept it.
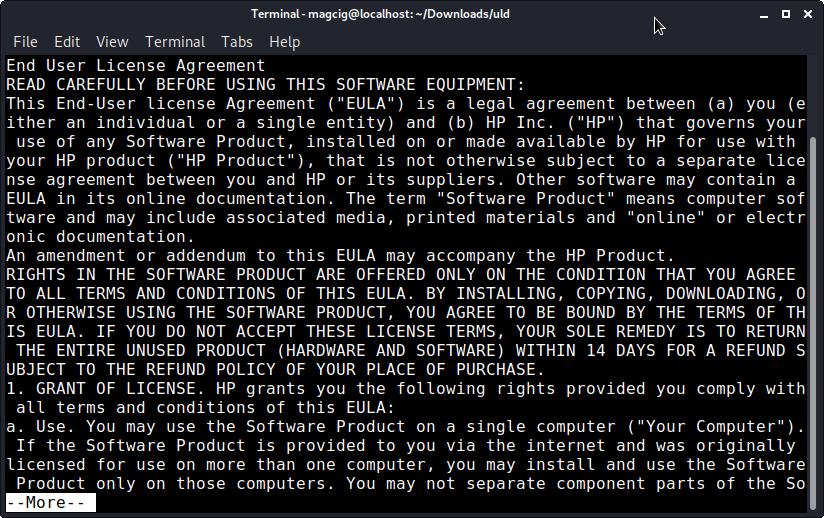
Then for a Network Printer try to Setup Automatically the Firewall with “y”.
And in a Few Times the Setup should be Done!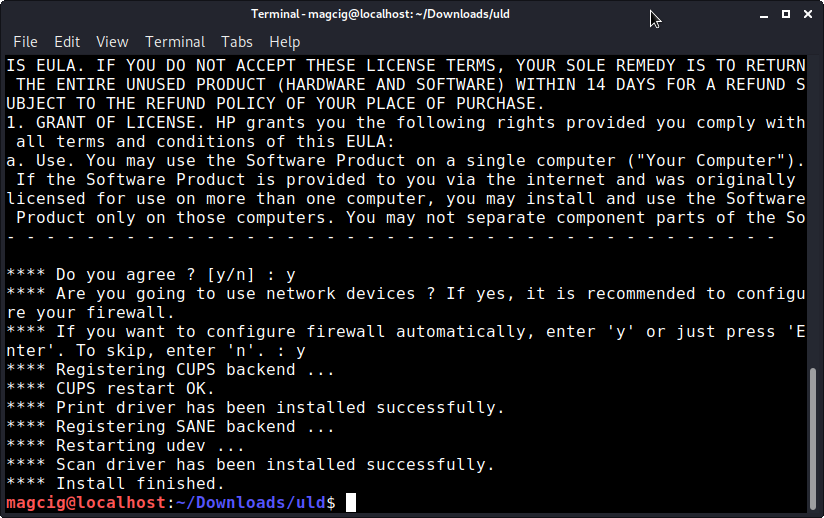
Contents