$schemamarkup = get_post_meta(get_the_ID(), 'schemamarkup', true); if(!empty($schemamarkup)) { echo $schemamarkup; }

Step-by-step – Shinobi Installation in Linux Mint

February 28, 2021 | By the+gnu+linux+evangelist.

Installing

  1. 2. Downloading Shinobi

    Cloning Shinobi Git Repository for Ubuntu GNU/Linux

    Shinobi Git Cloning

    Use “sudo” to store it into the Default /home/Shinobi location!

  2. 4. Installing Shinobi

    Then to Install Shinobi
    First, access the Target Shinobi Folder:

    cd /home/Shinobi

    Then give Execution Permission with:

    chmod +x ./INSTALL/ubuntu.sh

    Last, to run the Installation Script:

    sudo ./INSTALL/ubuntu.sh

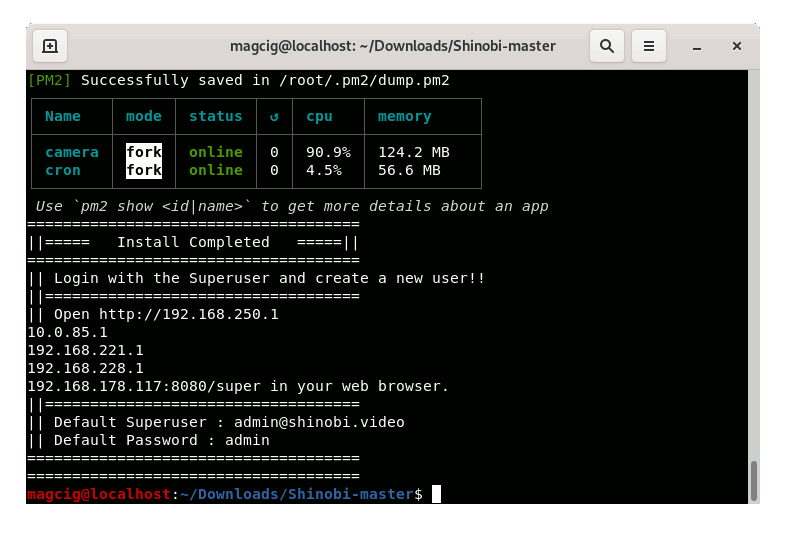
    Follow the Installation Wizard…
    You’ll be prompted about the MariaDB Setup.
    Finally, choose to Start Shinobi Service:
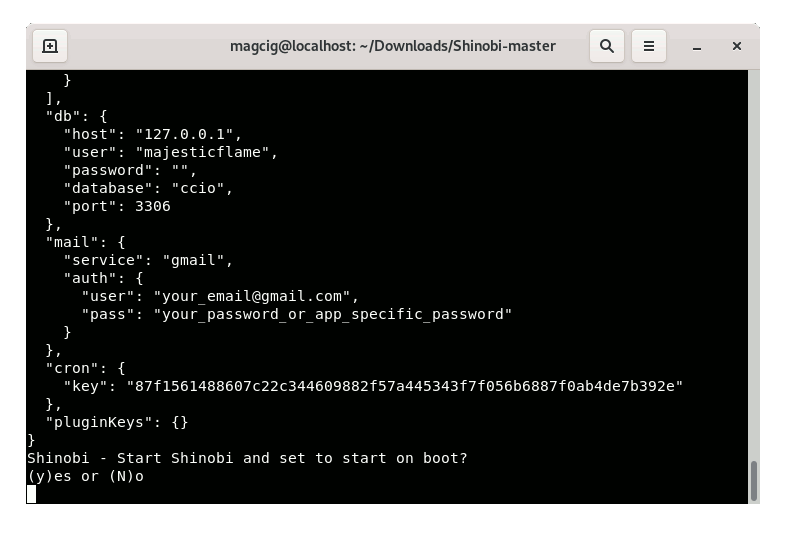
    Step-by-step Shinobi Linux Mint Installation Guide - Start Service

    Congrats, you are Done!

    Step-by-step Shinobi Linux Mint Installation Guide - Done

    Possibly, then see: How to Upgrade Shinobi.
    Finally, to Start Shinobi Service after a System Reboot
    First, access the Target:

    cd /home/Shinobi

    And then run:

    pm2 start camera.js && pm2 start cron.js
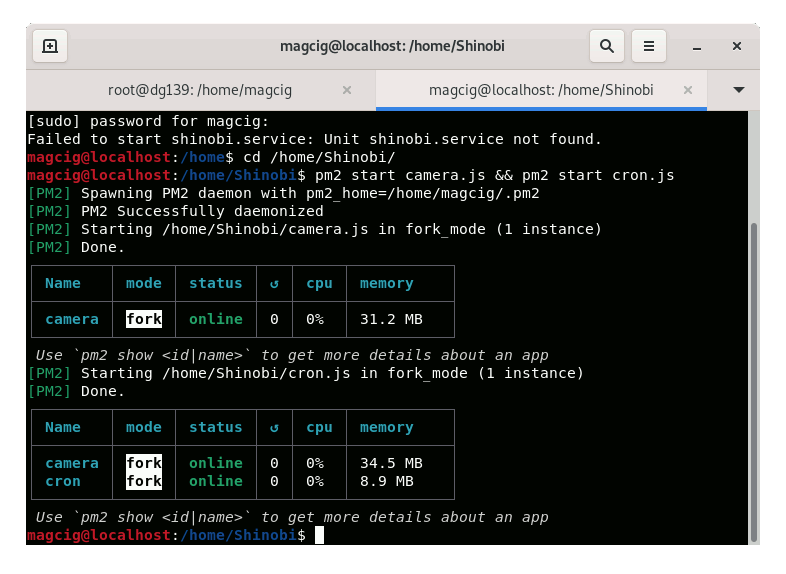
    Starting Shinobi Service after Reboot

    You may need also to Start the Database Server, as for instance here MariaDB with:

    sudo service mariadb start

Contents


Tags: , , , , , , , , , , , , , , , , , , , , , , , , , , , , , , , , , , , , , , , , , , , , , , , , , , , , , , , , , , , , , , , , , , , , , , , , , , , , , , , , , , , , , , , , , , , , , , , , , , , , , , , , , , , , , , , , , , , , , , , , , , ,