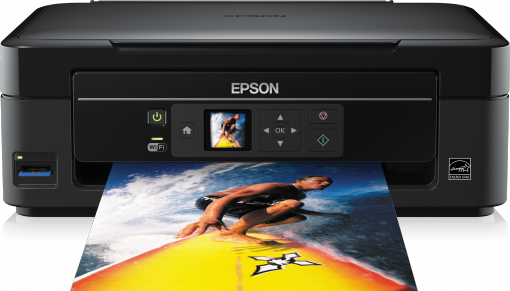
GNU/Linux Ubuntu Epson Stylus SX400/SX410/SX420W Printer Setup – Step by step Guide
[ad_slider autoplay=”true” interval=”8″ count=”5″]Greetings! This comprehensive guide will walk you through the simple steps to install and configure your Epson Stylus SX400/SX410/SX420W printer/scanner seamlessly on Ubuntu 16.04/18.04/20.04/22.04/24.04 LTS GNU/Linux desktop – Step by step Tutorial.
To begin the process of installing your Epson SX400/SX410/SX420W printer on Ubuntu Linux, you’ll first need to set up the proprietary driver.
Furthermore, with the Epson Printer Utility Software, you’ll have the ability to effortlessly monitor ink levels, check for errors, and view status updates.
Of particular importance, this guide includes clear instructions on adding your SX400/SX410/SX420W printer and initiating scanning functionalities to ensure a smooth setup process.

-
1. Launching Terminal
Open a Terminal window
Ctrl+Alt+t on desktop
(Press “Enter” to Execute Commands)
And then Update Ubuntu Linux Repositories:
This step is a precaution in case the sources are not Up to Date.
So if you prefer try first to Install it directly like shown here below…sudo apt update
Authenticate with the User Admin Pass.
If Got “User is Not in Sudoers file” then see: How to Enable sudo. -
2. Downloading Epson SX400/SX410/SX420W Driver for Ubuntu
Download Ubuntu Epson GNU/Linux Driver
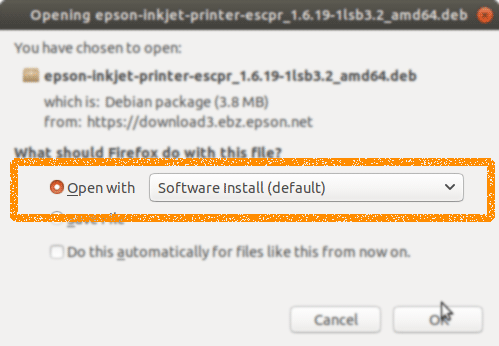
Epson SX400/SX410/SX420W Driver .deb[ad_slider autoplay=”true” interval=”8″ count=”5″]On Firefox prompt if possible Select directly “Open with Ubuntu Software Center”!

Or with Chrome Click on Bottom’s Button, otherwise Double-Click on it in the File Manager.
Finally, if you Prefer the Command Line Setup then simply ‘Save’ it and follow the Instructions here Below.
Contents