Adding Printer
-
6. Adding Epson L15180 Printer
-
How to Enable Kali Linux Printing Service
-
And follow to Add Epson L15180 on Kali
Here below for the GNOME desktop. For the other Spins eventually See How to Add Printer on GNU/Linux desktops.
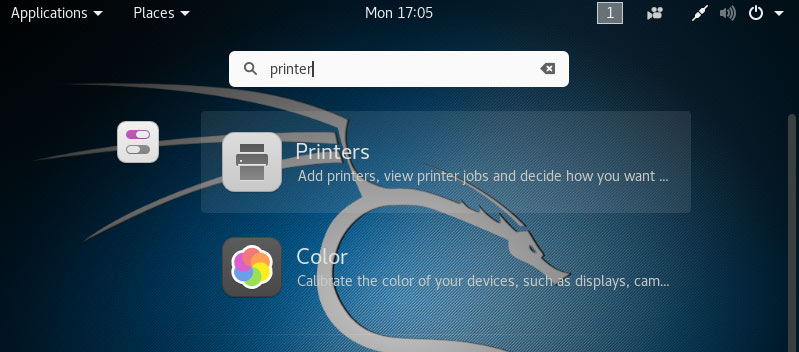
So then Search Printers App
Hit ‘Win/Cmd’ and Search for ‘printer‘. -
Finally, to Add Printer
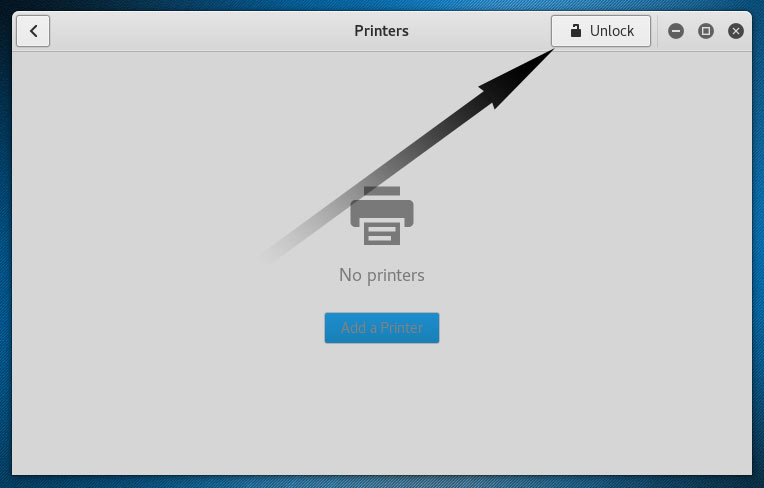
First, Unlock the Applet:
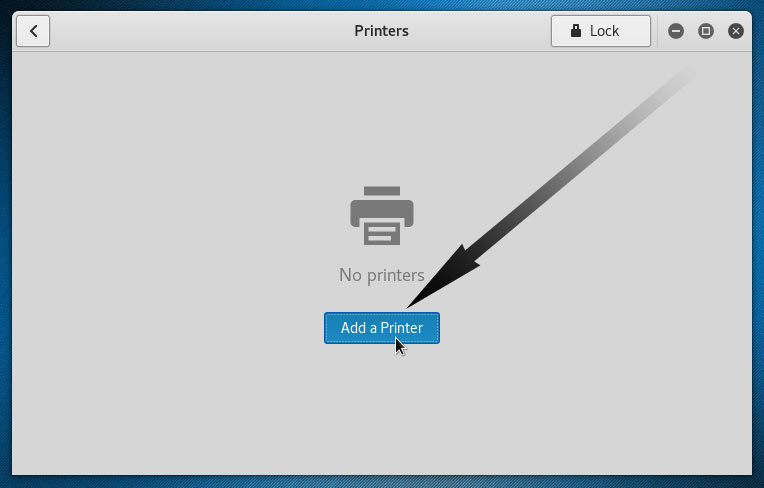
And Add Printer:

So then Select the Printer that should be Found and Confirm to Add it.
But if Not Found then Verify the Printer is Connected and Turned On.
Then Browse to “Install PPD File” Driver.How to Find Printer PPD File’s Location on Kali Linux
Or else Search in the “Printers Driver Database”.
Finally, the Printer should be Successfully Installed and Working on System!
Contents
-
