Installing
-
2. Downloading GlassFish
Download Eclipse GlassFish 7 App Server for Linux.
Use the Web Profile for Servlet, JSF and JSB Apps.
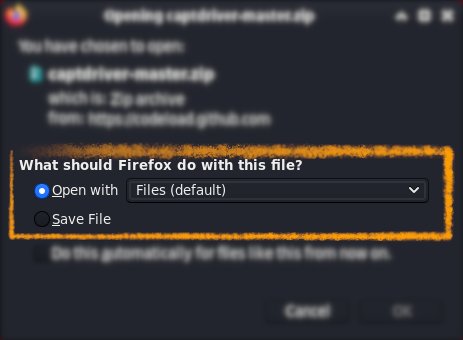
If you are using Firefox then on Prompt Choose “Open with Archive Manager”:

Or After try to Select the Package by the Downloads Button on Top Panel:

Instead, on Google-Chrome simply try to Choose the Package on the Bottom Panel:

-
3. Extracting GlassFish
Then Extract GlassFish 5
First, Check if Unzip is there:which unzip
If Not then to Install the Unzip Tool:
sudo apt install unzip
Authenticate with the User Admin Pass.
If Got “User is Not in Sudoers file” then see: How to Enable sudo
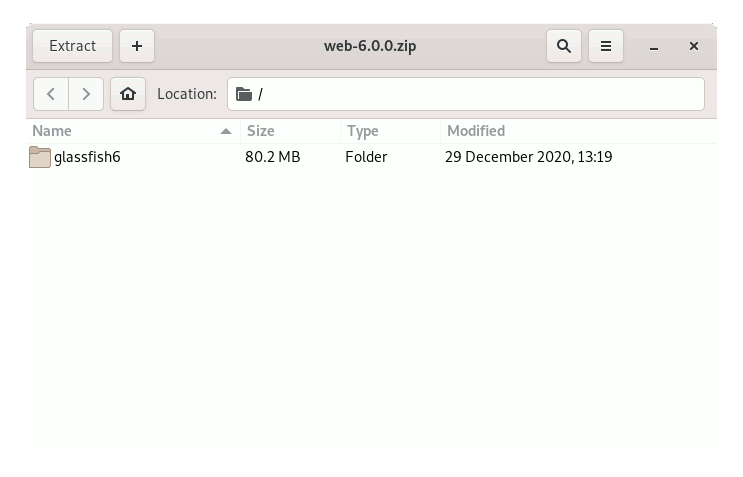
Then Double-Click on Archive and Decompress it into /tmp:
Or from Command Line:
unzip -d /tmp/ $HOME/Downloads/glassfish*.zip
-
4. Installing Oracle JDK
How to Install Required Oracle Java JDK 8+ on Oracle Linux.
-
5. Installing GlassFish
Finally, to Install Eclipse GlassFish 7 on Oracle
(Here we describe a System-Wide Setup, for a Local one Just Run from inside Home)
Set the SuperUser as Owner:sudo chown -R root:root /tmp/glassfish*
Again, give Execution Permissions with:
sudo chown -R +x /tmp/glassfish*
And then Switch contents:
sudo mv /tmp/glassfish* /opt/
Moreover, Append GlassFish into User’s Path:
echo "export PATH=$PATH:/opt/glassfish7/bin" >> ~/.bashrc
In case replace the Version in the above Command.
To Reload Path simply:
bash
Finally, to Test GlassFish 7 Installation:
which asadmin
Contents