Installing
-
2. Downloading V2Ray Core Client
Download V2Ray Core Client for GNU/Linux
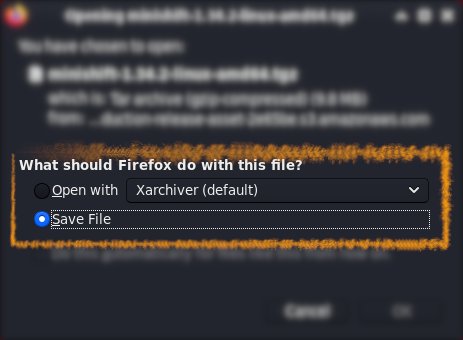
Possibly, on Firefox Prompt Choose “Save File”:

Instead, on Google-Chrome simply try to Choose the Package on the Bottom Panel:

-
3. Making Target
So to Make Installation Folder
(This cause the Zip Archive do not generate automatically a Directory over extraction)
Simply play:mkdir $HOME/v2ray-linux
Here I suppose a Local Install into the user’s $HOME Directory.
-
4. Extracting V2Ray Core Client
And to Extract V2Ray Core Client Archive
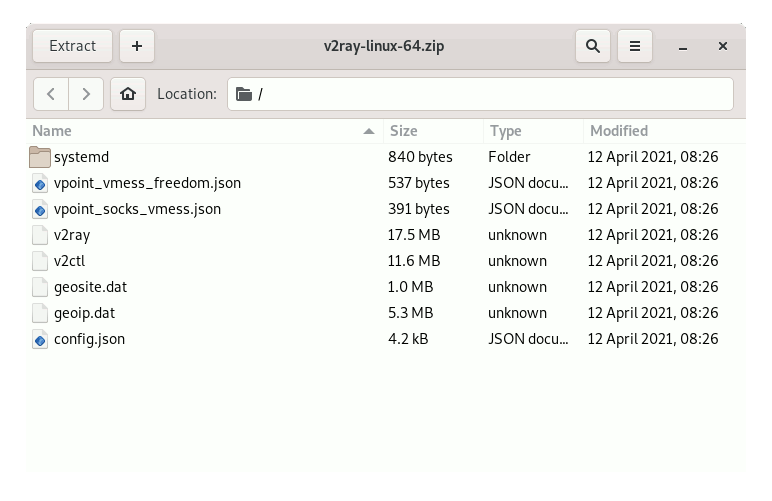
Possibly Double-Click/Right-Click on Package and Open with Archive Manager:
Or from Command Line:sudo unzip -d /$HOME/v2ray-linux/ ~/Downloads/v2ray*.zip
Finally, if you are in Trouble to Find Out it on Terminal See: How to Access Downloads Folder from Browser.
-
5. Running V2Ray Core Client
So now to Run V2Ray Core Client
First, access the Target with:cd $HOME/v2ray-linux
Rename the default Config using:
mv $HOME/v2ray-linux/config.json $HOME/v2ray-linux/config.json.bak
Next make a New Configuration File with nano Editor:
nano $HOME/v2ray-linux/config.json
And append something like:
{"inbounds": [{"port": 1080, "listen": "127.0.0.1","protocol": "socks","settings": {"udp": true
}
}],"outbounds": [{"protocol": "vmess","settings": {"vnext": [{"address": "[YOURREMOTESERVER-IP]", "port": [YOURREMOTESERVER-INBOUND-PORT],"users": [{ "id": "[YOURREMOTESERVER-ID]" }]
}]
}
},{"protocol": "freedom","tag": "direct","settings": {}
}],"routing": {"domainStrategy": "IPOnDemand","rules": [{"type": "field","ip": ["geoip:private"],"outboundTag": "direct"
}]
}
}
Just Replace [YOURREMOTESERVER-IP], [YOURREMOTESERVER-INBOUND-PORT], and [YOURREMOTESERVER-ID] respectively with IP, Port and ID in the above JSON chunk.
To Setup your private V2Ray Server see the Next Step or else you may search the Paramenters of an available one.
And for Local Inbound Port you are free to change the default “1080” like you prefeer.
Ctrl+Shift+v to Paste into nano.
Last, Ctrl+x to Save & Exit from nano Editor.
Finally, launch your Fast V2Ray Core Client with:./v2ray -config ./config.json
Contents