Installing Driver
-
2. Downloading Kyocera Printer Driver
Download Kyocera Printer in Bodhi GNU/Linux
Search for your Printer Model and grab the Linux Driver.
Here below you find instructions to Install the Linux Universal Driver, valid for most Kyocera Printers.
Alternativelly for some Large Format Printer follow the instructions included in the README File. -
3. Extracting Kyocera Printer Driver
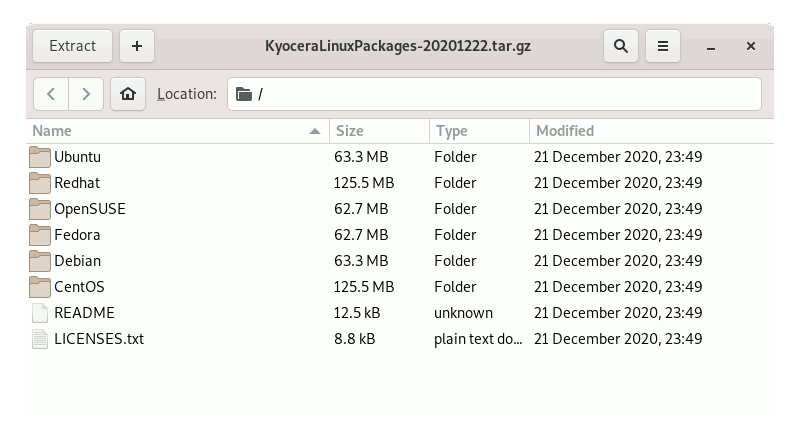
Then Extract Kyocera Printer into /tmp Directory
If it does Not Open automatically then Double-Click/Right-Click on File Manager:
And again for the included Archive:
Or from Command Line:sudo unzip ~/Downloads/Linux_Universal_Driver.zip
If Not Unzip the first install it with:
sudo apt install unzip
And then:
tar xvf ~/Downloads/KyoceraLinuxPackages*.tar.xz -C /tmp/
But if you are in Trouble to Find Out it on Terminal See: How to Access Downloads Folder from Browser.
-
4. Installing Kyocera Printer Driver
Then to Install Kyocera Printer Driver on Bodhi Linux
First, navigate to the Target Folder, you have 2 possible Regional options the EU and the Global release.
For the First, one 64-bit:cd /tmp/Ubuntu/EU/kyodialog*64
And so correspondly for the Global one play:
cd /tmp/Ubuntu/Global/kyodialog*64
Possibly for a 32-bit System replace 64 with 386 in the above Command.
And then to Setup it simply play:sudo apt install ./kyodialog*64*
Authenticate with the User Admin Pass.
If Got “User is Not in Sudoers file” then see: How to Enable sudo.
Contents
