GNU/Linux Debian Bullseye Installing Nexus Repository Manager OSS – Step by step Guide
How to Install Nexus Repository Manager OSS on Debian Bullseye 11.x GNU/Linux – Step by step Tutorial.
And Sonatype Nexus Repository Manager OSS for Debian Bullseye 11 is the world’s only Repository Manager with FREE Support for popular Formats.
Moreover, Nexus Repository Manager OSS can Manage All these formats:
- Maven
- .NET
- Docker Private Registry
- Node & npm
- Bower
- Ruby, RubyGems and Gem
- Raw & Maven Sites
- Git LFS
- Yum
Finally, the Only Requirement for Nexus Repository Manager OSS is a working Oracle Java 8+ Installation on Debian System.

1. Accessing Shell
Open a Shell Terminal emulator window
(Press “Enter” to Execute Commands)
2. Downloading Nexus OSS
Download Nexus Repository Manager OSS for Debian GNU/Linux
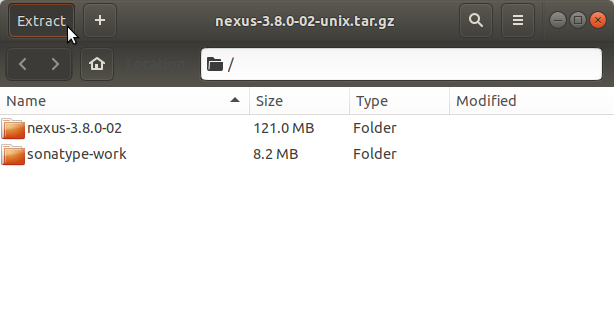
3. Extracting Nexus OSS
Then Extract into /tmp Directory
If it does Not Open automatically then Double-Click on File Manager:
Or from Command Line:tar xvzf $HOME/Downloads/nexus*.tar.gz -C /tmp/
Contents