Installing
-
2. Installing Spyder Python
And then Install Spyder Python
In case first see: Terminal QuickStart Guide.
First, give Execution Permission with:chmod +x ~/Downloads/Anaconda*.sh
And then run the installation Script:
~/Downloads/Anaconda*.sh
Or for a System-Wide setup instead:
sudo ~/Downloads/Anaconda*.sh
Follow the CLI Wizard and type ‘q’ and ‘yes’ to Accept License…
It’s best to Install Spyder Locally without sudo into your Home!
That’s because after the conda packages installer do Not Works with sudo…
In the End Confirm for Amending the Path in the .bashrc File.
And at last, Load the New Setup with:bash
-
3. Launching Spyder Python
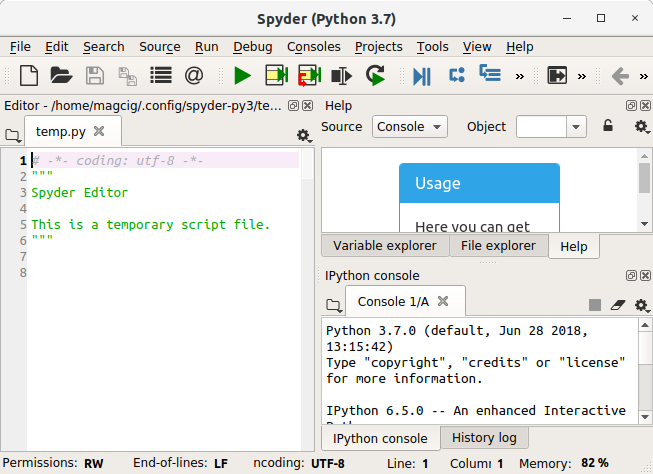
Finally, to Start Spyder IDE.
spyder
For Easy Launching see: How to Create a desktop Launcher.
-
4. Spyder Python Getting Started Guide
How to Getting Started with Spyder Python

So Now I’m truly Happy if My Guide could Help you to Install Spyder Python on Debian Bullseye!
Contents