GNU/Linux KDE Neon Installing FFmpeg – Step by step Guide
[ad_slider autoplay=”true” interval=”8″ count=”5″]How to Install FFmpeg on KDE Neon 16.04+ GNU/Linux desktop – Step by step Tutorial.
And FFmpeg for KDE Neon is the Leading Multimedia Framework, able to Decode, Encode, Transcode, Mux, Demux, Stream, Filter and Execute pretty much Anything that humans and machines have created.
Moreover, it contains libavcodec, libavutil, libavformat, libavfilter, libavdevice, libswscale and libswresample which can be Used by Applications. As well as ffmpeg, ffplay and ffprobe which can be Used by end Users for Transcoding and Executing.
Finally, this guide includes detailed instructions on Getting Started with FFmpeg on KDE Neon.

-
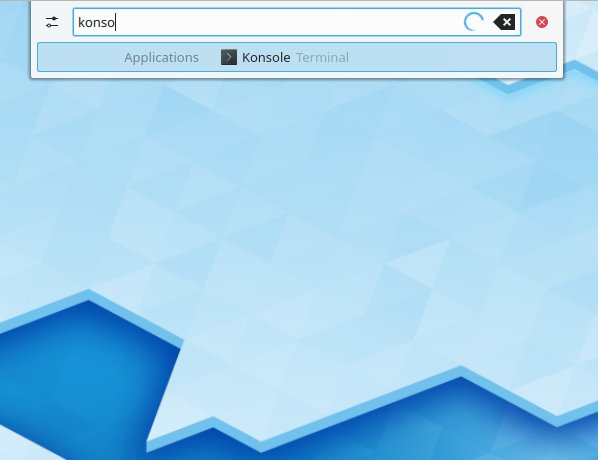
1. Launching Shell Emulator
Open a Terminal window
(Press “Enter” to Execute Commands)In case first see: Terminal Quick Start Guide.
Contents