Installing
-
3. Installing LAMP
To install LAMP PHP 8.x on Linux Ubuntu 20.04
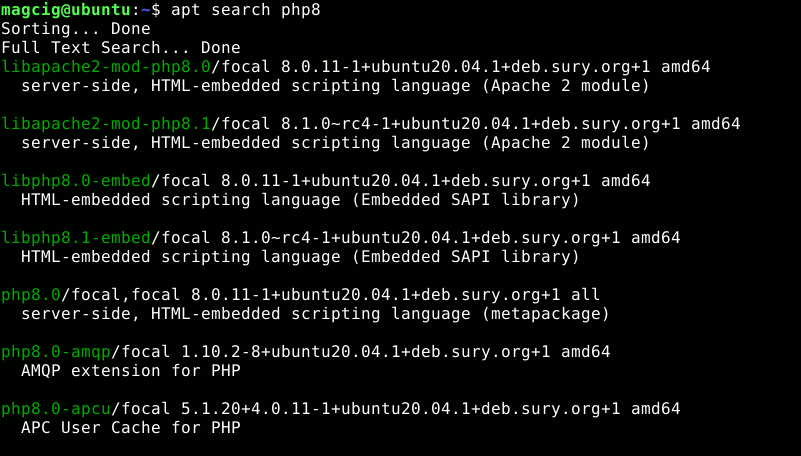
First, to Search for the latest PHP 8 release:apt search php8.
Now run the following command for the actual default setup:
sudo apt install apache2 php8.4 mysql-server mysql-client php8.4-mysql
Alternatively, replace MySQL with MariaDB:
Install with:
sudo apt install apache2 php8.4 mariadb-server mariadb-client php8.4-mysql
Verify PHP installation with:
php -v
-
4. Searching PHP 8.x Extensions
Search for available PHP 8.x extensions:
sudo apt search php8.4
Refine results using grep:
sudo apt search php8.4 | grep [KEYWORD]
Install useful modules for WordPress:
sudo apt install php8.4-imagick php8.4-curl php8.4-gd php8.4-mbstring php8.4-xml php8.4-xmlrpc php8.4-soap php8.4-intl php8.4-zip

To install multiple packages at once:
sudo apt install php8.4-{curl,xml,imagick,mysql,fpm,bz2} -
5. Testing LAMP
To test your LAMP web server installation, access the server’s document root:
cd /var/www/html
Create a PHP info file:
sudo nano info.php
For sudo issues, refer to: Enable sudo
Add the following code:<?php phpinfo(); ?>
Ctrl+x to save and exit nano.
Set www-data as the owner of the web server directory:
sudo chown -R www-data:www-data /var/www
Then open your browser at:
http://localhost/info.php

You should see the PHP info page successfully.For creating an Apache 2 Virtual Host, see: GNU+Linux Apache2 VHost
Contents