GNU/Linux Ubuntu Canon imageCLASS MF8450c/MF8580Cdw Printer Setup – Step by step Guide
How to Install Canon MF8450c/MF8580Cdw imageCLASS Printer on Ubuntu 16.04-Xenial/18.04-Bionic/20.04-Focal/22.04-Jammy/24.04-Noble LTS GNU/Linux desktop – Step by step Tutorial.
And the Canon MF8450c/MF8580Cdw Ubuntu Driver Installation procedure is Quick & Easy and simply involves the execution of some basic Commands on the Terminal Shell emulator.
Especially relevant: after the Driver Installation to achieve the Printer Setup follow guidance to Add Printer!
The Canon imageCLASS Printers use the UFRII Driver that is the 2nd version of UFR (Ultra Fast Render) functionally similar to Postscript and PCL.
Finally, this Setup is valid for all the Ubuntu-based Distros like:
- Linux Mint
- Zorin OS
- Elementary OS
- Pop_OS!
- Lubuntu
- Kde Neon
- Kubuntu
- Xubuntu
- Linux Lite
- Bodhi
- LXLE
- Trisquel
- Voyager Ubuntu
- feren OS
- Peppermint
- Linux Ultimate Edition

-
1. Launching Terminal
Open a Terminal Shell Emulator Window:
Ctrl+Alt+t on desktop
(Press “Enter” to Execute Commands)In case first see: Terminal Quick Start Guide.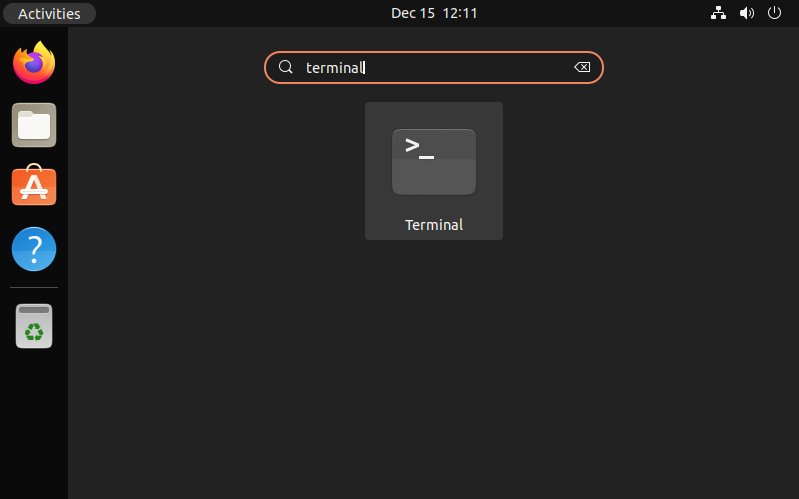
-
2. Getting Driver
Download Canon MF8450c/MF8580Cdw Ubuntu Driver
-
3. Extracting Driver
Then when needed Extract the Driver Package:
Choosing Open with Archive Manager when Starting to Download or After Double-Clicking on the File Manager…
Or from Shell simply like:tar xvzf ~/Downloads/linux-UFRII*tar.gz -C /tmp/
Contents