Installing Printer
[ad_slider autoplay=”true” interval=”8″ count=”5″]
-
3. Extracting Driver
Possibly Double-Click on Printer Driver on the File Manager:
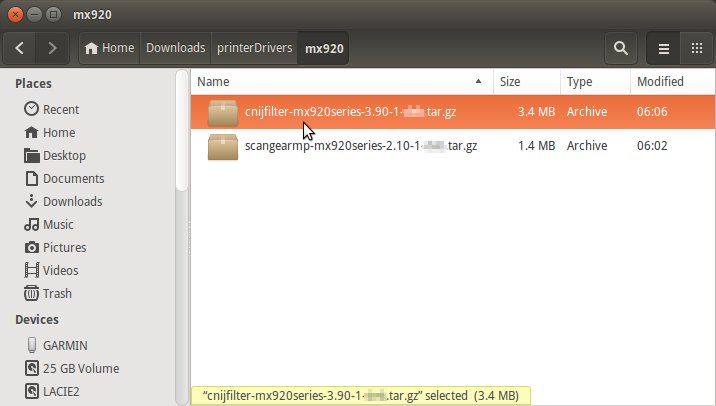
But if you are in Trouble to Find it out then See: How to Access Downloads Folder from Browser.
And Extract into the /tmp directory: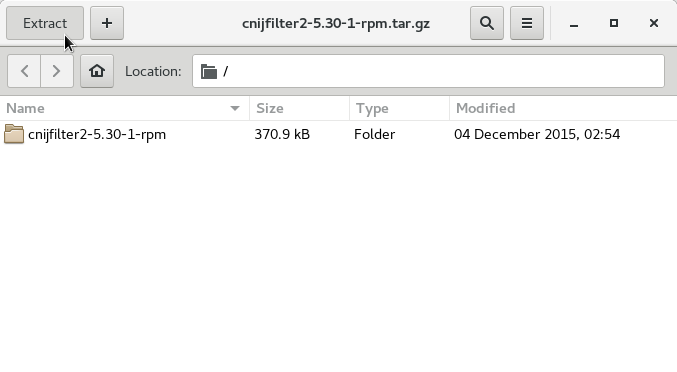
-
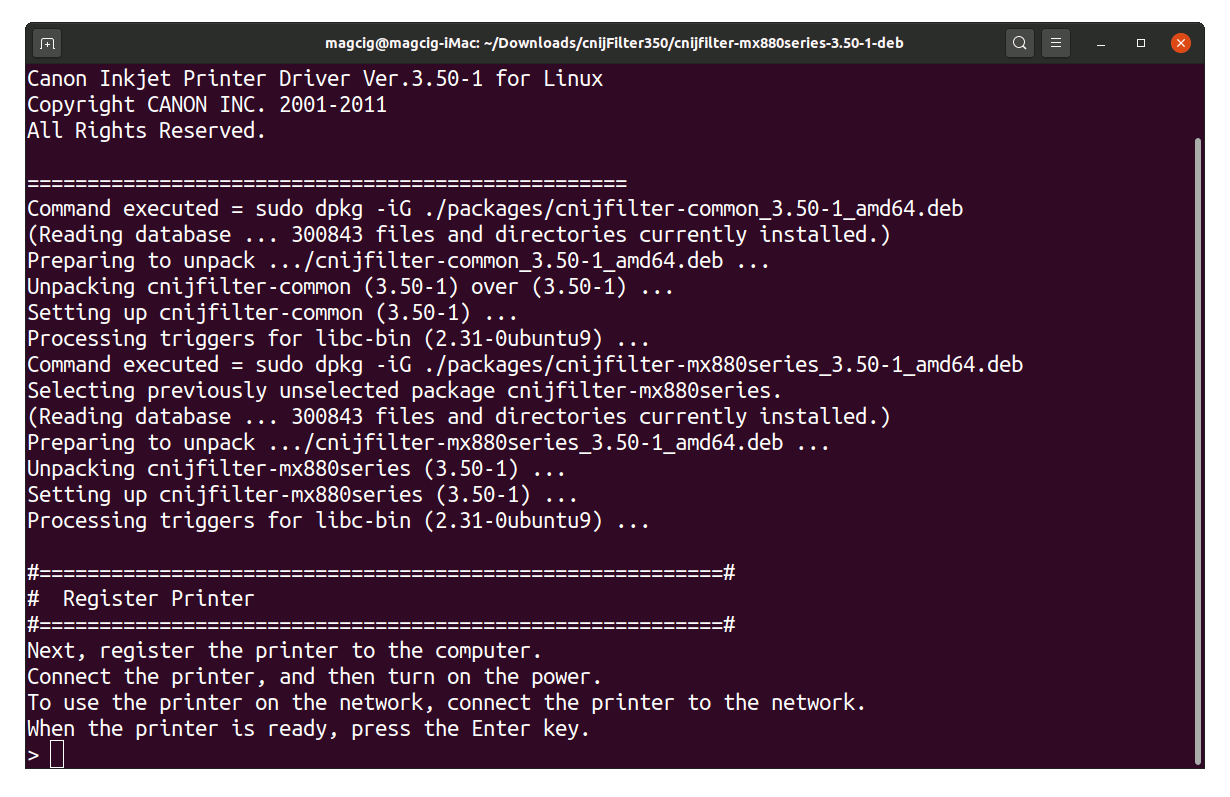
4. Installing Driver
Then to Install Canon Printer Driver
First, access the Target with:cd /tmp/cnijfilter*
sudo ./install.sh
During installation you may be Asked to Connect & Power On your Printer…
Now in case of Issue then try first to execute:
And on a 64-bit System play:sudo zypper in ./*64.rpm
5. Adding Printer
Then to Add Printer
Open Printer Settings
Here below on the Gnome desktop:
For the other Spins you may see How to Add Printer on GNU/Linux desktops.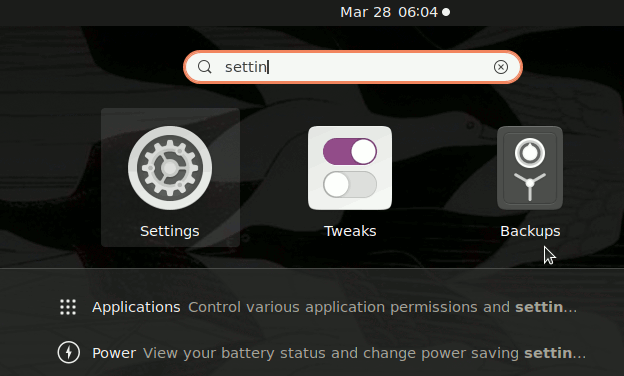
On GNOME simply Hit ‘Cmd’/’Win’ and Search for ‘Settings’.
And Add Printer in openSUSE
Choose ‘Printers’: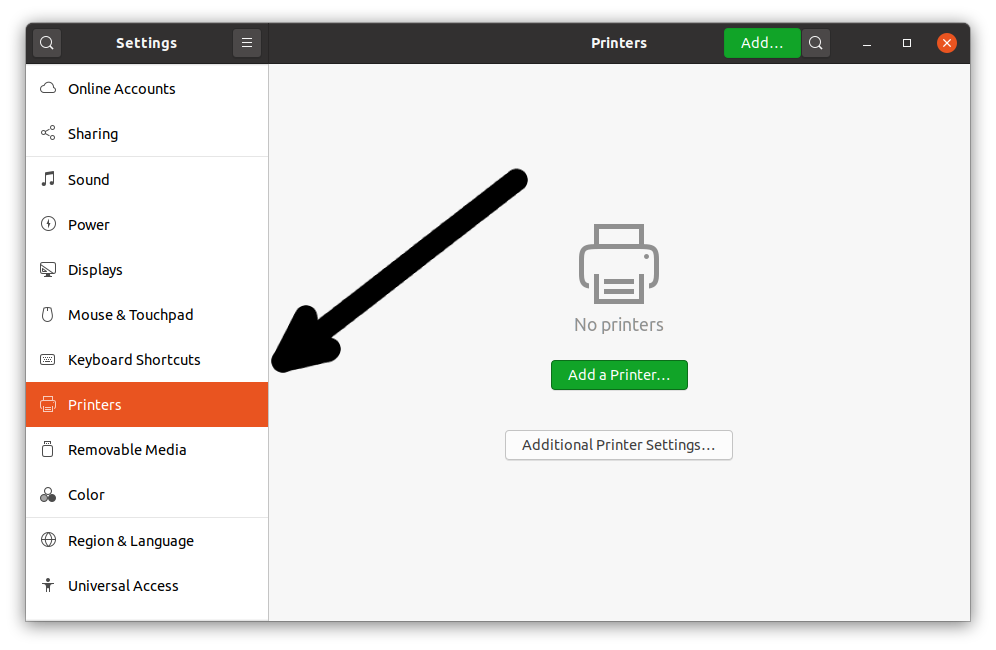
Selecting the ‘Add Printer’ Button:

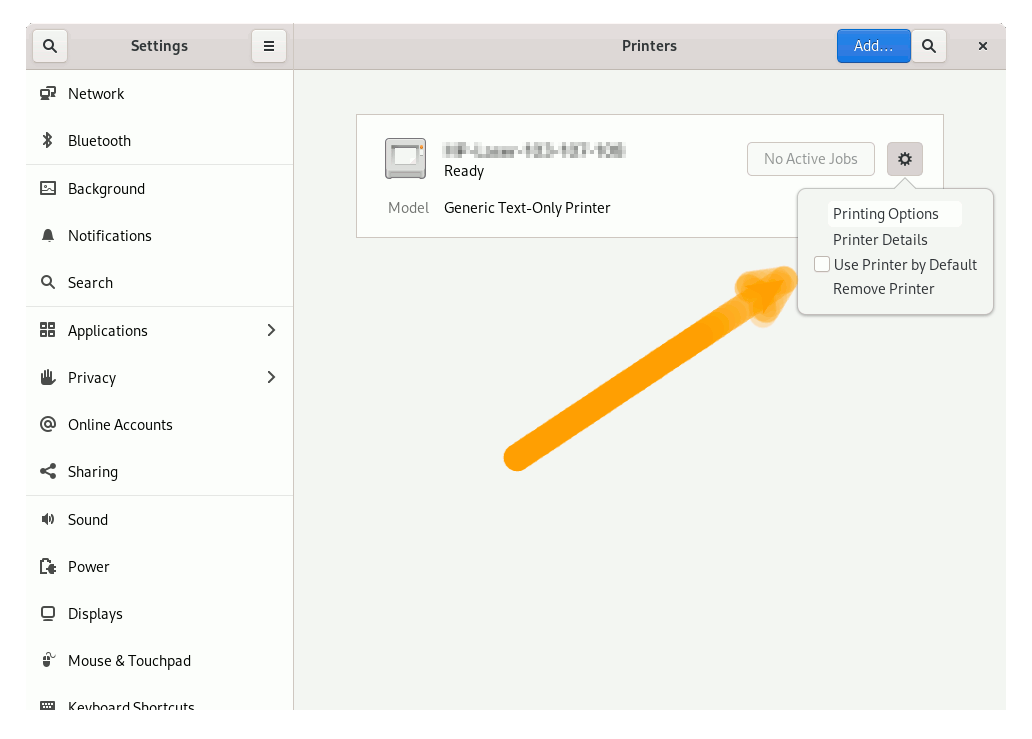
Next again Find and Choose the “Printer Details”:
Again Browse to “Install PPD File” Driver:
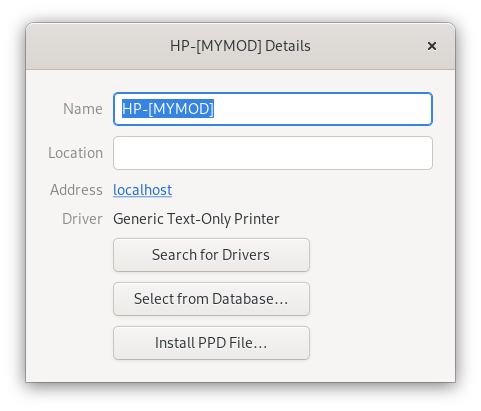
Then Browse to “Install PPD File” Driver.
How to Find Printer PPD File Location on openSUSE
GNU/Linux openSUSE PPD File Location[ad_slider autoplay=”true” interval=”8″ count=”5″]Or otherwise Search in the “Printers Driver Database”.
Finally, you should Find the New Printer and Successfully Achieve the Setup!
[ad_slider autoplay=”true” interval=”8″ count=”5″]
Contents