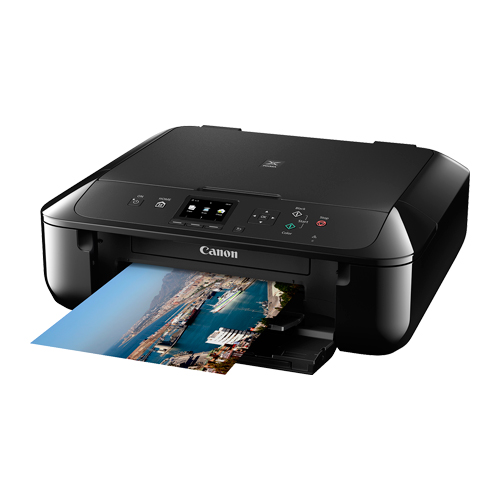
GNU/Linux Ubuntu 18.04 Canon PIXMA MG5700 Printer Setup – Step by step Guide
How to Install Canon PIXMA MG5700 Printer/Scanner on Ubuntu 18.04 Bionic LTS GNU/Linux desktop – Step by step Tutorial.
And the Canon PIXMA MG5700 Ubuntu Driver Setup It’s quick and easy because it only involves running a few Basic Shell Commands.
Especially relevant: after the Driver Installation to achieve the Printer Setup follow guidance to Add Printer!
The Canon PIXMA MG5700 Series Printer includes the following Models: MG5710, MG5720, MG5721, MG5722, MG5740, MG5750, MG5751, MG5752, MG5753, MG5760, MG5765, MG5766, MG5770, MG5780, MG5790, and MG5795.
Finally, included in the guide you find also instructions to Quick Start with Canon Scanning on Ubuntu.

1. Launching Terminal
Open a Terminal Shell Emulator Window:
Ctrl+Alt+t on desktop
(Press “Enter” to Execute Commands)In case first see: Terminal Quick Start Guide.
2. Installing Dependencies
Then Install Required Packages With:
sudo apt update
sudo apt-get install cups libxml2 libglade2-0 libpng1* libtiff*
3. Downloading Driver
Download Canon MG5700 Printer Linux Driver
Select the MG5700 Printer .deb Driver.
Contents