Installing Printer
-
4. Extracting Driver
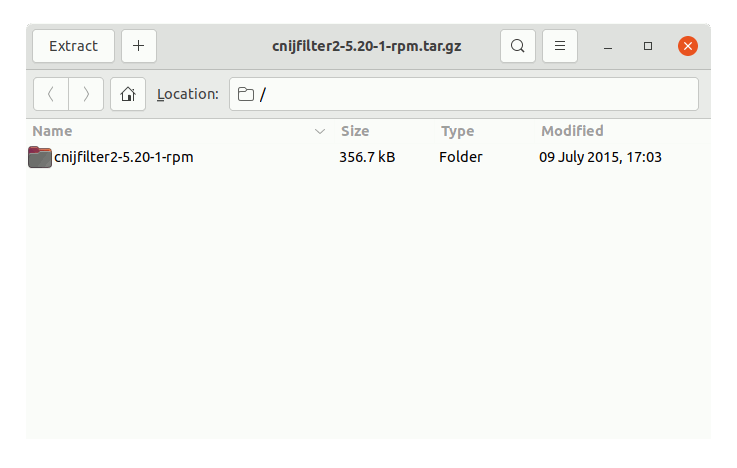
Extract into the /tmp directory
Possibly Double-Click on Driver from the File Manager:
But if you are in Trouble to Find it out then See: How to Access Downloads Folder from Browser.
-
5. Installing Driver
Now to Install Canon Printer Driver
Access the Target location:cd /tmp/cnijfilter*
Run the Installation script:
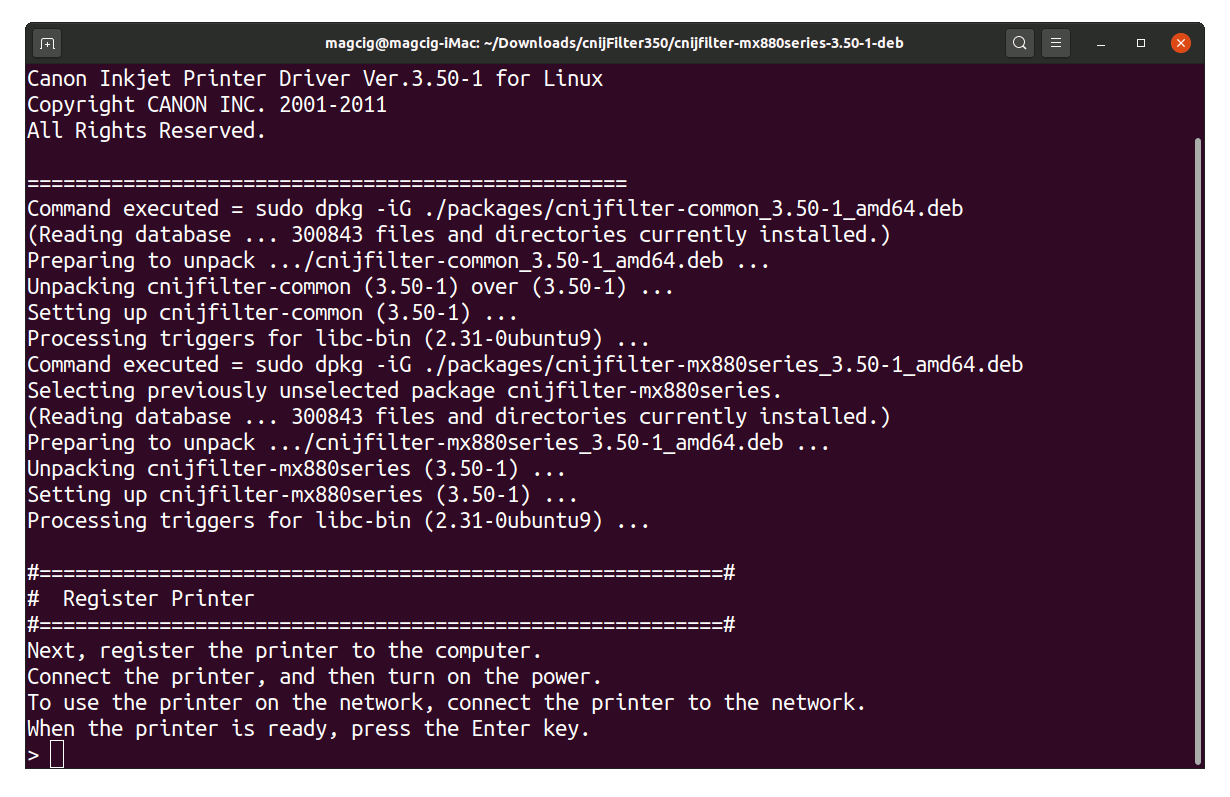
sudo ./install.sh
You could be asked to Connect and Turn On the Printer…
In case of Installation Issues see this Troubleshooting!

Now in case of Issue then try first to execute:cd packages
And then for 64-bit Systems:
sudo apt install ./*amd64.deb
Instead on 32-bit:
sudo apt install ./*i386.deb
-
6. Adding Printer
The Canon PIXMA MG5700 Series Printer includes the following Models: MG5710, MG5720, MG5721, MG5722, MG5740, MG5750, MG5751, MG5752, MG5753, MG5760, MG5765, MG5766, MG5770, MG5780, MG5790, and MG5795.
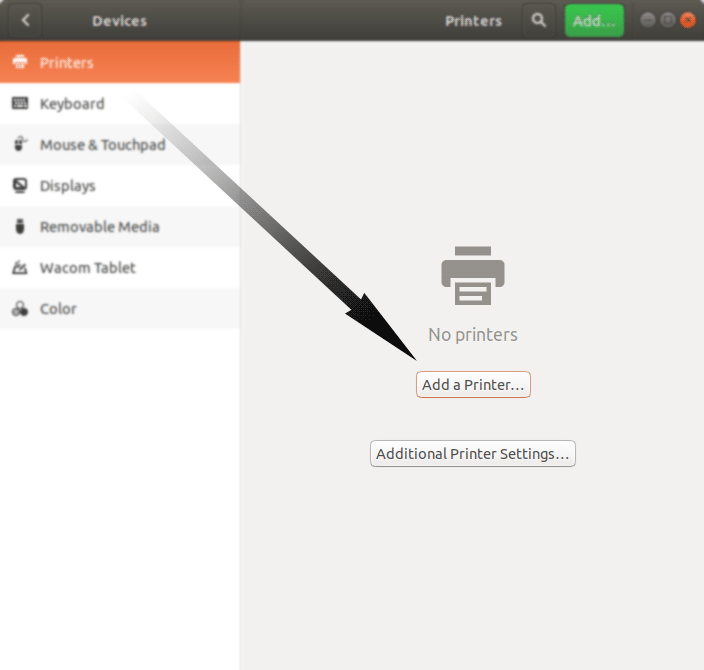
Finally, Go to Add Printer:
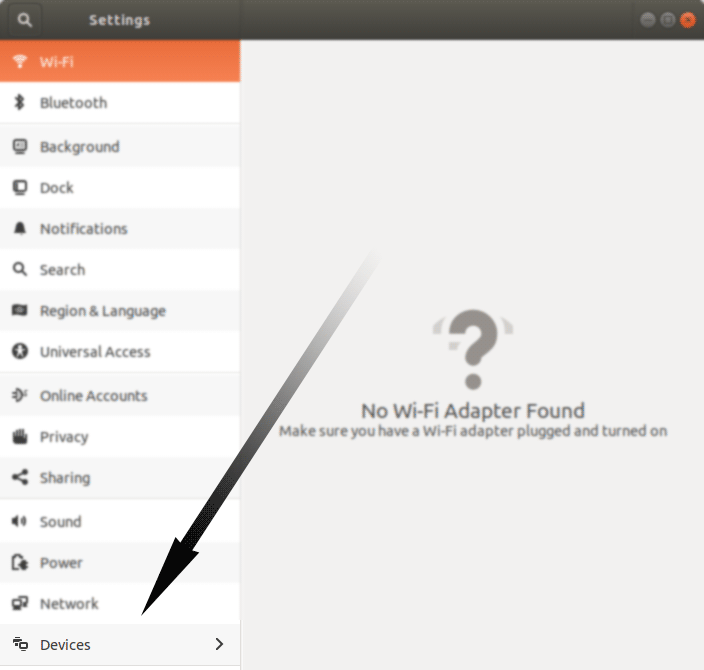
Search for the Settings App (Type Cmd/Win to Start Searching):

Again Choose Devices:

And now Choose the “Add Printer” Button:

Then Browse to “Install PPD File” Driver…
How to Find Printer PPD File Location on GNU/Linux
Or Else Find it in the “Printers Database”.
So, your Printer should be Now successfully Installed and Working! ;)
Contents