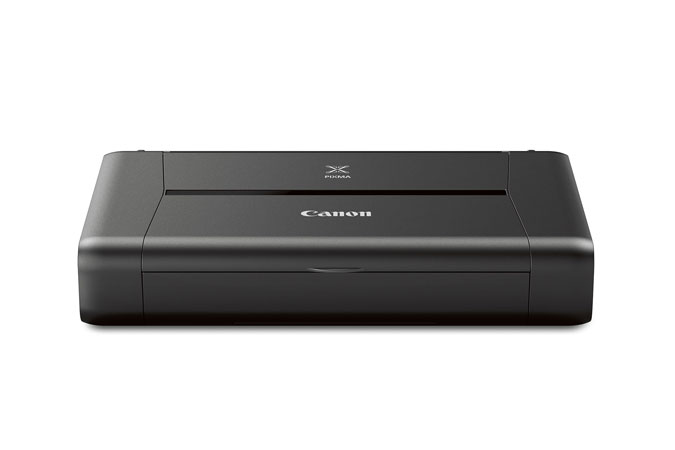
GNU/Linux Ubuntu 18.04 Canon PIXMA iP110 Printer Setup – Step by step Guide
How to Install Canon PIXMA iP110 Printer on Ubuntu 18.04 Bionic LTS GNU/Linux desktop – Step by step Tutorial.
And the Canon PIXMA iP110 Ubuntu Driver Setup It’s quick and easy because it only involves running a few Basic Shell Commands.
Especially relevant: after the Driver Installation to achieve the Printer Setup follow guidance to Add Printer!
Finally, this Setup is valid for all the Ubuntu-based Distros like:
- Linux Mint
- Zorin OS
- Lubuntu
- Elementary OS
- Kde Neon
- Pop_OS!
- Xubuntu
- Linux Lite
- Bodhi
- Puppy
- Kubuntu
- LXLE
- Trisquel
- Voyager
- feren OS
- Peppermint
- Linux Ultimate Edition (You may just need to Discover what’s the Parent Release)

1. Launching Terminal
Open a Terminal Shell Emulator Window:
Ctrl+Alt+t on desktop
(Press “Enter” to Execute Commands)In case first see: Terminal Quick Start Guide.
2. Installing Dependencies
Then Install Required Packages With:
sudo apt update
sudo apt-get install cups libxml2 libglade2-0 libpng1* libtiff*
3. Downloading Driver
Download Canon iP110 Printer Linux Driver
Select the iP110 Printer .deb Driver.
Contents