Installing Driver
-
2. Extracting Kyocera Printer Driver
Then Extract Kyocera Printer into /tmp Directory
If it does Not Open automatically then Double-Click/Right-Click on File Manager: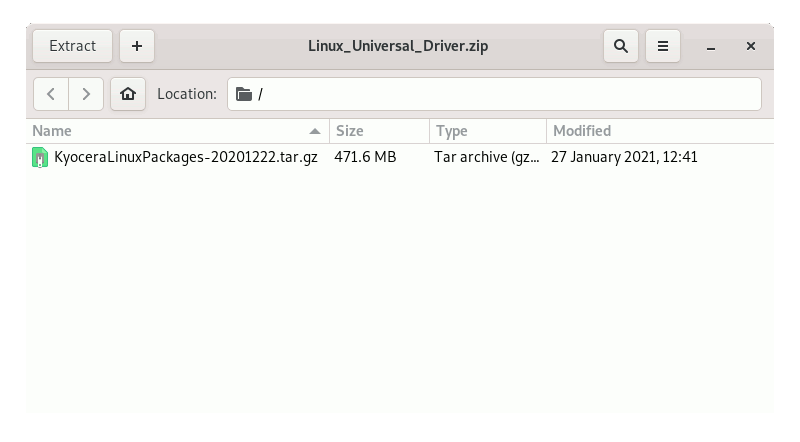
And again for the included Archive:
Or from Command Line:sudo unzip ~/Downloads/Linux_Universal_Driver.zip
If Not Unzip the first install it with:
sudo apt install unzip
And then:
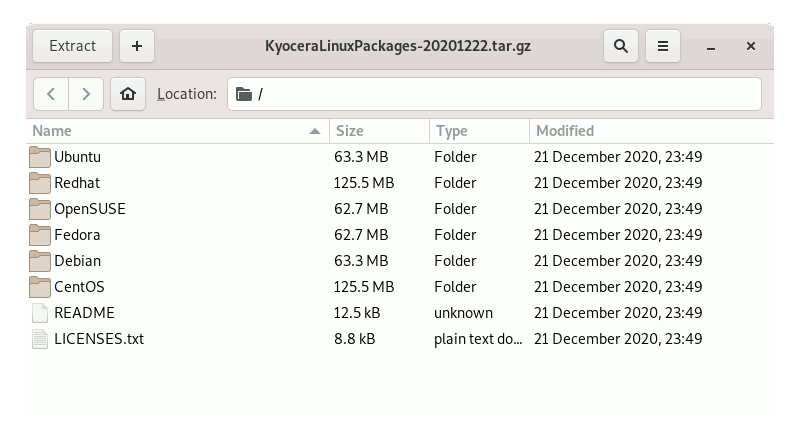
tar xvf ~/Downloads/KyoceraLinuxPackages*.tar.xz -C /tmp/
But if you are in Trouble to Find Out it on Terminal See: How to Access Downloads Folder from Browser.
-
3. Installing Kyocera Printer Driver
Then to Install Kyocera Printer Driver on Ubuntu
First, navigate to the Target Folder, you have 2 possible Regional options the EU and the Global release.
For the First, one 64-bit:cd /tmp/Ubuntu/EU/kyodialog*64
And so correspondly for the Global one play:
cd /tmp/Ubuntu/Global/kyodialog*64
Possibly for a 32-bit System replace 64 with 386 in the above Command.
And then to Setup it simply play:sudo apt install ./kyodialog*64*
Authenticate with the User Admin Pass.
If Got “User is Not in Sudoers file” then see: How to Enable sudo.
Contents
