Installing
-
2. Installing RabbitVCS
Next to RabbitVCS CLI and Client
For the RabbitVCS Command Line simply play:sudo dnf install rabbitvcs-core rabbitvcs-cli
Then for the GNOME Nautilus extension:
sudo dnf install rabbitvcs-nautilus
Instead, for Xfce Thunar:
sudo dnf install rabbitvcs-thunar
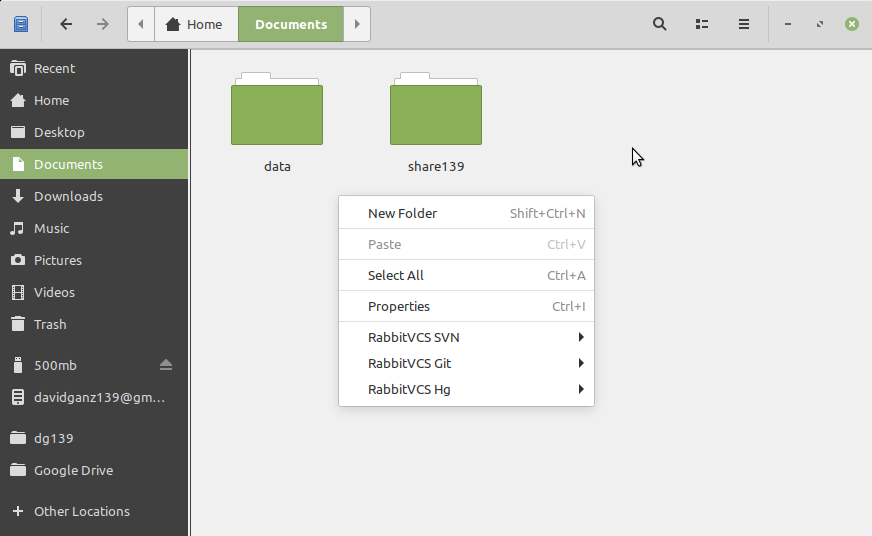
Again for Cinnamon Nemo:
sudo dnf install rabbitvcs-nemo
Furthermore, for Mate Caja:
sudo dnf install rabbitvcs-caja
And finally, for the GEdit Editor integration:
sudo dnf install rabbitvcs-gedit
-
3. Launching RabbitVCS
Now, to Start RabbitVCS Nautilus Client
From Command Line execute:nautilus
Or Use the desktop Launcher!

So Now I’m truly Happy if My Guide could Help you to Quick Start with RabbitVCS on Fedora 34!
Contents