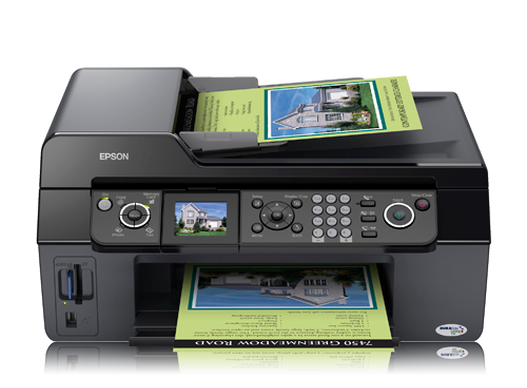
GNU/Linux RHEL-based Epson Stylus DX5000/DX7400/DX8400/DX9400F Driver Setup – Step-by-step Guide
How to Install Epson Stylus DX5000/DX7400/DX8400/DX9400F Series Printer/Scanner on CentOS 7.x/8.x/8-Stream/9-Stream/10-Stream GNU/Linux desktop – Step by step Tutorial.
And to Install Epson Stylus DX5000/DX7400/DX8400/DX9400F Printer on CentOS you need to Setup the Proprietary Driver.
Especially relevant: after the Driver Installation to achieve the Printer Setup follow guidance to Add Printer!
Using the Epson Printer Utility Software, you can check Ink Levels, View Error and other Status…
So this Guide is Valid also for All the others RHEL Based Distros like:
- Red Hat Enterprise Linux
- Oracle Enterprise Linux
- Rocky Linux
- AlmaLinux
Finally, the guide includes also detailed instructions on How to Get Started Epson Scanning.

-
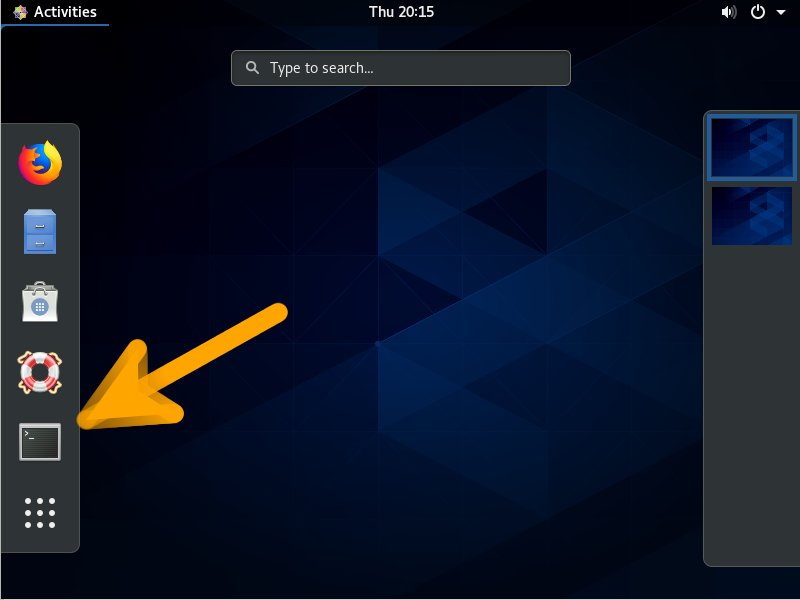
1. Launching Terminal
Open a Terminal window
(Press “Enter” to Execute Commands)In case first see: Terminal QuickStart Guide.
-
2. Downloading Epson Stylus DX5000/DX7400/DX8400/DX9400F Driver
Download Epson Stylus DX5000/DX7400/DX8400/DX9400F GNU/Linux Driver
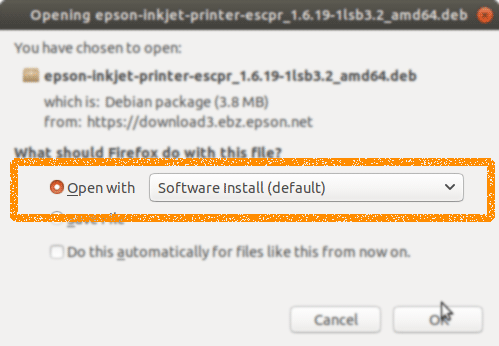
On Firefox prompt if possible Select directly “Open with Software Install”!Epson Stylus DX5000/DX7400/DX8400/DX9400F Driver .rpmOr with Chrome Click on Bottom’s Button, otherwise Double-Click on it in the File Manager.
Contents