Installing
-
3. Installing LAMP
Now to Install LAMP Stack with PHP 8.x on Mint
For the Default Setup play:sudo apt install apache2 php8.4 mysql-server mysql-client php8.4-mysql
Or to replace MySQL with MariaDB Open Source Server
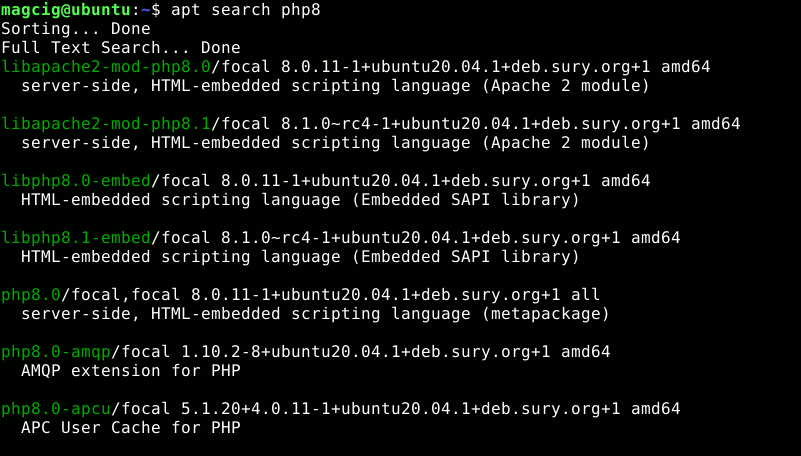
Searching for the latest PHP 8 release:
apt search php8.
Currently the Command become:
sudo apt install apache2 php8.4 mariadb-server mariadb-client php8.4-mysql
Possibly replace 8.4 with the newest one in the above Command.
This Setup includes also the most useful Extensions and Tools.
Then Test your new Php with:php -v
-
4. Searching PHP 8.4 Extensions
Again to Search PHP 8.4 Extensions.
So you can Search for the available PHP 8 Extensions running:
sudo apt search php8.4
And possibily refine the Result using a grep Pipe
sudo apt search php8.4 | grep [KEYWORD]
Like for instance:
sudo apt search php8.4 | grep mysql
Some useful Modules to Support a WordPress Website can be installed with:
sudo apt install php8.4-imagick php8.4-curl php8.4-gd php8.4-mbstring php8.4-xml php8.4-xmlrpc php8.4-soap php8.4-intl php8.4-zip

Last, to Install multiple Packages at once you may use the following Syntax:
sudo apt install php8.4-{curl,xml,imagick,mysql,fpm,bz2} -
5. Testing LAMP
Finally, to Test LAMP WebServer Installation
Access the Server document’s location:cd /var/www/html
Create a PHP Info file:
sudo nano info.php
If Got “User is Not in Sudoers file” then see: How to Enable sudo
And Append:<?php phpinfo(); ?>
Ctrl+x to Save & Exit from nano Editor ;)
Set www-data as owner of Web Server main Directory:sudo chown -R www-data:www-data /var/www
Then Open on Browser the URL:
http://localhost/info.php

You should Successfully see the PHP Info notice similar to here above :)How to Create an Apache 2 Virtual Host on Linux Mint 21.
Contents