Installing
-
3. Downloading Joplin
Download Joplin AppImage GNU/Linux:
The AppImage may Not be Verified so to Run it Securely in a Sandbox you should see the Firejail Setup.
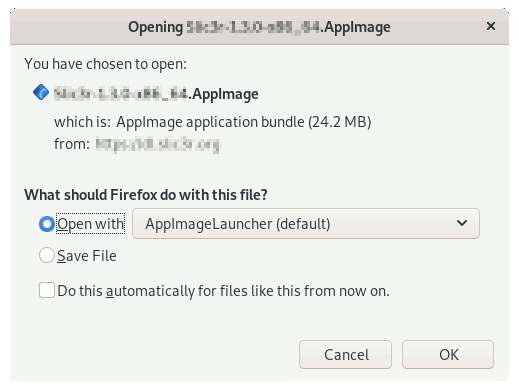
Possibly, on Firefox Prompt Choose “Open with AppImageLauncher” or “Save File”:
Instead on Google-Chrome simply try to Choose the Package on the Bottom Panel:

-
4. Launching Joplin
Finally, Launch & Enjoy Joplin
If Not Prompet from AppImageLauncher on File Manager Right-Click > Open with AppImageLauncher:
Or simply Double-Click on it!
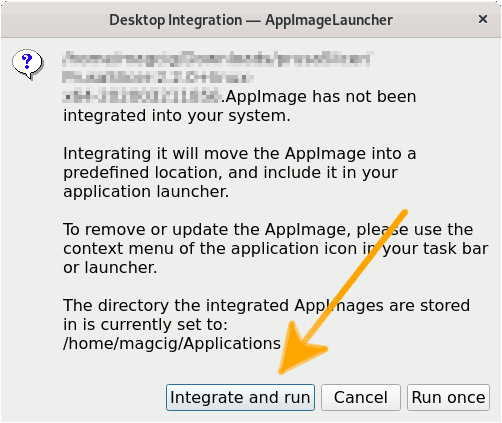
On prompt choose to “Integrate and Run”:
Then you can easily make use of the desktop Launcher:

But instead without AppImageLauncher, first give Execution Permissions with:
chmod +x ~/Downloads/Joplin*.AppImage
Then to Run it simply Double-Click on the File Manager…
But if you are in Trouble to Find the Location on Terminal then See: How to Access Downloads Folder from Browser.
And then to Run it from Terminal use:~/Downloads/Joplin*.AppImage

So Now I’m truly Happy if My Guide could Help you to QuickStart with Joplin on MX!
Contents