Installing
-
2. Installing Dependencies
Now Install Oracle VirtualBox
Simply play:sudo apt install virtualbox
-
3. Downloading Genymotion
Download Genymotion for Mint GNU/Linux
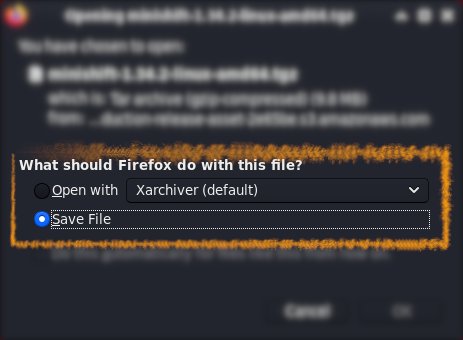
Possibly, on Firefox Prompt Choose “Save File”:

There follow also instructions on How to Register a desktop Account.
-
4. Installing Genymotion
Then to Set up Genymotion on Mint
First, Access the Target, usually in the Downloads folder:cd && cd Downloads
To Check that there is run:
ls . | grep genymotion
The grep Command Refine the output List showing only the entries Matching the Keyword.
(But if you are in Trouble to Find Out it on Terminal See: How to Access Downloads Folder from Browser)
Give Execution Permission with:chmod +x ./genymotion*.bin
And then to Setup Genymotion:
sudo ./genymotion*.bin
Finally, possibly to modify the PATH use:
echo "export PATH=$PATH:/opt/genymobile/genymotion" >> ~/.bashrc
Amend the above Command in case of a Custom Location.
To reload it:bash

Contents