Installing
-
5. Configuring Kernel
So now to Configure Deepin Custom Linux Kernel
First, access the Kernel Source with:cd linux*
Then copy the current Configuration File into the New Kernel Source:
cp /boot/config*`uname -r` .config
In case of a Chrooted System instead yuo may look up the available Kernels with:
ls /boot | grep config
The grep Command refine the output List showing only the entries Matching the Keyword.
Again fix the Configuration File editing it with nano and commenting out like:sudo nano .config
Use Ctrl+w to search for “CONFIG_SYSTEM_TRUSTED_KEYS” on nano.
And comment out the Line like:#CONFIG_SYSTEM_TRUSTED_KEYS="debian/certs/debian-uefi-certs.pem"
Ctrl+x to Save & Exit.
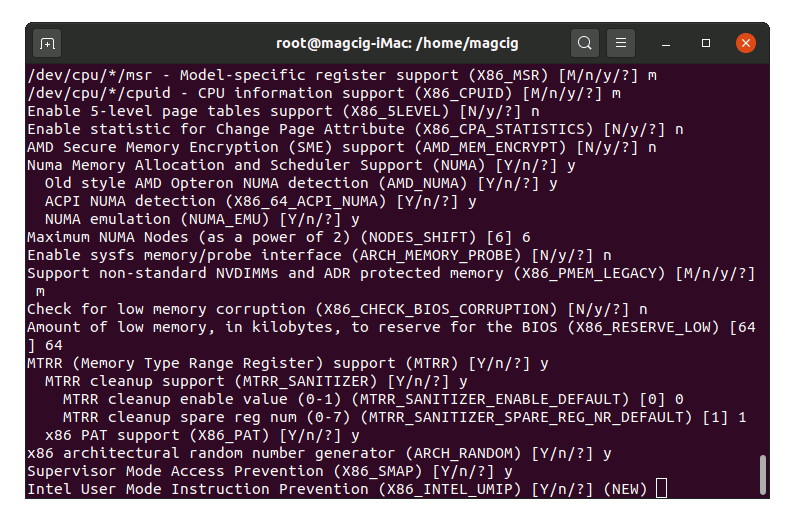
Else to make a Custom one then reconfigure the Kernel (Only for advanced Users) with:sudo make menuconfig
For instructions see: How to Configure a Build Kernel.
-
6. Building Kernel
Next to Build Deepin Custom Linux Kernel
Make it with:sudo make clean
And then:
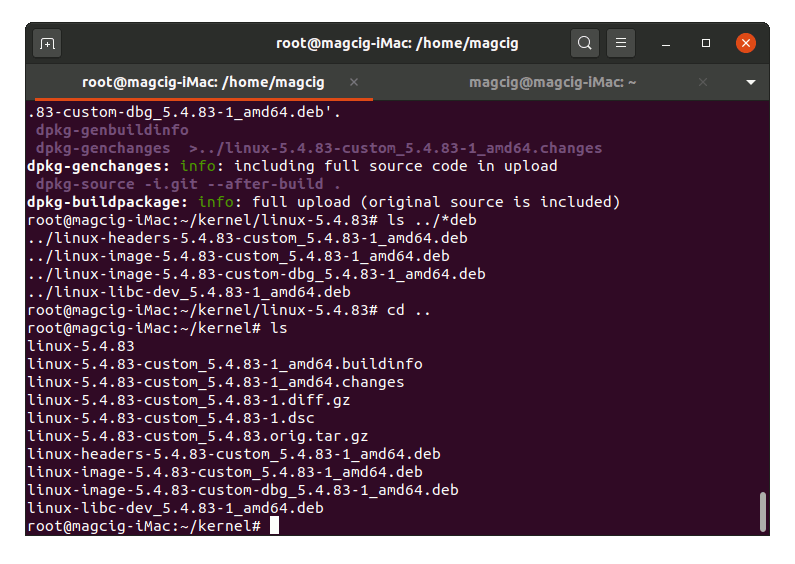
sudo make deb-pkg LOCALVERSION=-custom KDEB_PKGVERSION=$(make kernelversion)-1
When prompted if uncertain then simply follow to hit until the end.

Then think to other task to follow because the process will take about a couple of Hours…
Last, to check the builded Images play:ls ../*.deb | grep image

-
7. Installing Kernel
Finally, to Install Deepin Custom Linux Kernel
Simply play:sudo dpkg -i ../linux-image*custom_*.deb ../linux-headers*.deb
And this setup includes also the Custom Kernel Headers that you don’t will find online…
And finally reboot with:sudo reboot now
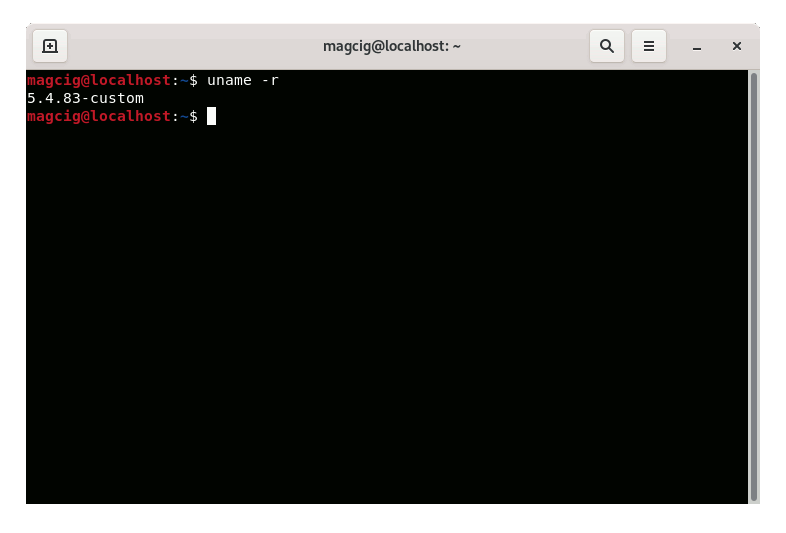
Finally, you should boot into your barely new Deepin Linux Kernel :)
To check it run:uname -r
In case of Issues you still can choose the previous one on the GRUB Splash Screen.

Contents