Installing
-
5. Installing Dependencies
Now to Install Required Dependencies
Now install the Dependency Package with Multilib support with:sudo dnf groupinstall "Development Tools"
And again:
sudo dnf install ncurses-devel bison flex openssl-devel elfutils-libelf-devel glibc-devel libstdc++-devel glibc-devel.i686 libstdc++-devel.i686
Then access the Target Directory:
cd ~/Downloads/gcc-12.*/
And again to Download the Required Libraries play:
./contrib/download_prerequisites
-
6. Setting up Environment
Next Set Libraries Env Variable
Eventually to Check the Target run:find /usr/ -name crti*
Then Output should be as:
/usr/lib64/crti.o
So in this case then to Set up the Environment Variables use:export LIBRARY_PATH=/usr/lib64
And then amend the User’s Path to append the New shared Libraries:
echo "export LD_LIBRARY_PATH=/usr/lib:/usr/local/lib:/usr/local/lib64" >> ~/.bashrc
Last, to reload it:
bash
-
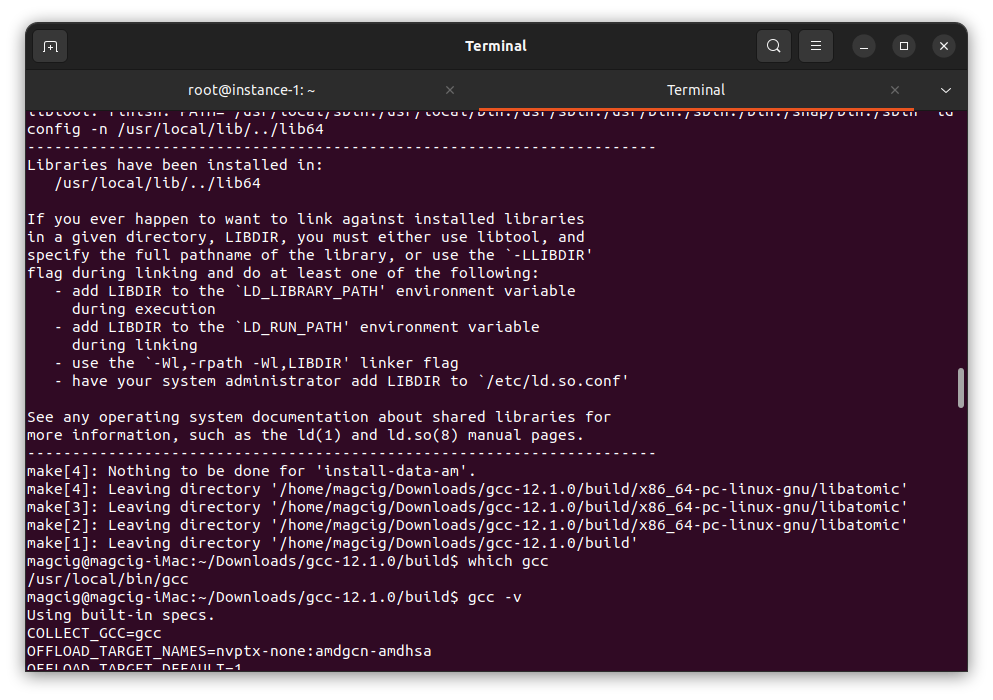
7. Installing GCC 12.2
Finally, to Install GCC 12.2 on CentOS 9
First, make a Build Directory:mkdir build
Then entry it:
cd build
Configuring with:
../configure --enable-languages=c,c++,fortran,objc,obj-c++,go --prefix="/usr/local"
Possibly customize the “languages” choiches in the above Command. To enable ADA and D Support see the Official Documentation.
And then making it:make -j $(nproc)
This Command to make it quicker using Multiples CPU Cores.
Now take a long Time Out because the Build process will run for a while…
Last, to make the Installation:sudo make install
Contents