Installing
-
2. Downloading Android Studio IDE
Download Android Studio IDE for CentOS
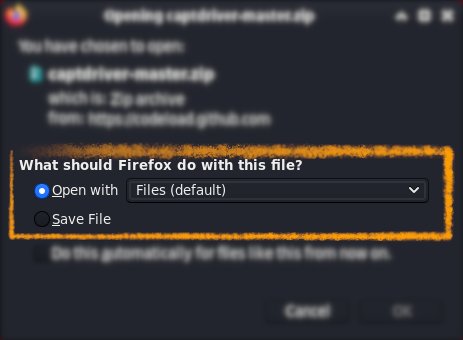
If you are using Firefox then on Prompt Choose “Open with Archive Manager”:
Or After try to Select the Package by the Downloads Button on Top Panel:
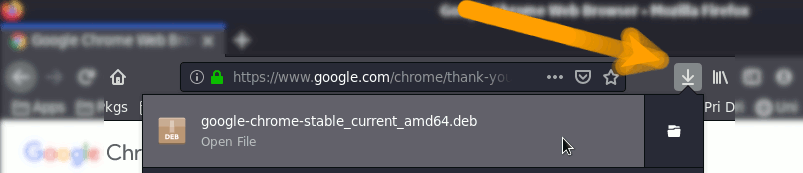
Instead, on Google-Chrome simply try to Choose the Package on the Bottom Panel:

-
3. Extracting Android Studio IDE
Then Extract Android Studio IDE into /tmp
Possibly Double-Click/Right-Click on Archive to Open with Archive Manager: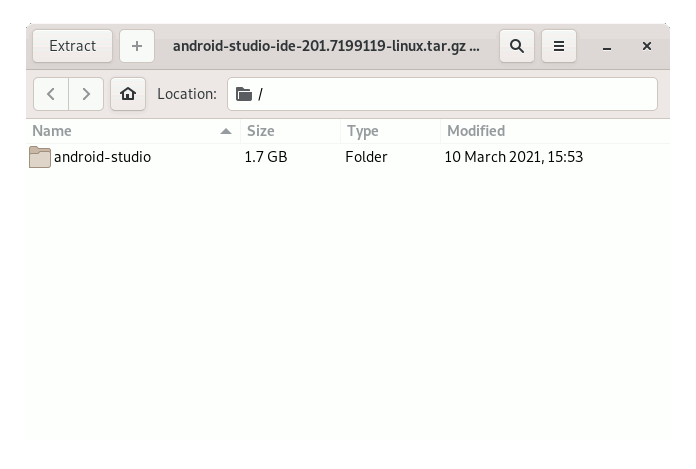
Or from Shell:
tar xvzf ~/Downloads/android-studio*.tar.gz -C /tmp
But if you are in Trouble to Find the Location on Terminal then See: How to Access Downloads Folder from Browser.
-
4. Installing Dependencies
Now to Install Required Packages
Simply play:sudo dnf install zlib.i686 ncurses-libs.i686 bzip2-libs.i686
Authenticate with the User Admin Pass.
If Got “User is Not in Sudoers file” then see: How to Enable sudo. -
5. Installing Oracle JDK
How to Install Required Oracle Java JDK on CentOS
To check your current JDK version:
javac --version && java -XshowSettings:properties -version 2>&1 | grep 'java.vendor'
If it’s the official Oracle JDK, the output will include:
java.vendor = Oracle Corporation. -
6. Relocating Android Studio
Again to Relocate Android Studio IDE
For a System wide installation Set the superUser as Holder with:sudo chown -R root:root /tmp/android-studio
Then Move the Android Studio contents into the /opt Directory:
sudo mv /tmp/android-studio /opt/
-
7. Amending User’s Path
And to Make Android Studio Command-line Accessible
Amend the User’s Path with:echo "export PATH=/opt/android-studio/bin:$PATH" >> ~/.bashrc
And then to Reload the PATH simply run:
bash
Contents