Installing Driver
-
3. Downloading Realtek rtl8852AU Driver
Download Realtek rtl8852AU Driver for Ubuntu GNU/Linux
Clone it with Git like:
git clone https://github.com/lwfinger/rtl8852au.git
-
4. Installing Realtek rtl8852AU Driver
Then to Install Realtek rtl8852AU Wi-fi Driver for Linux
Access the Target Folder:cd rtl8852au
And then to Make it play:
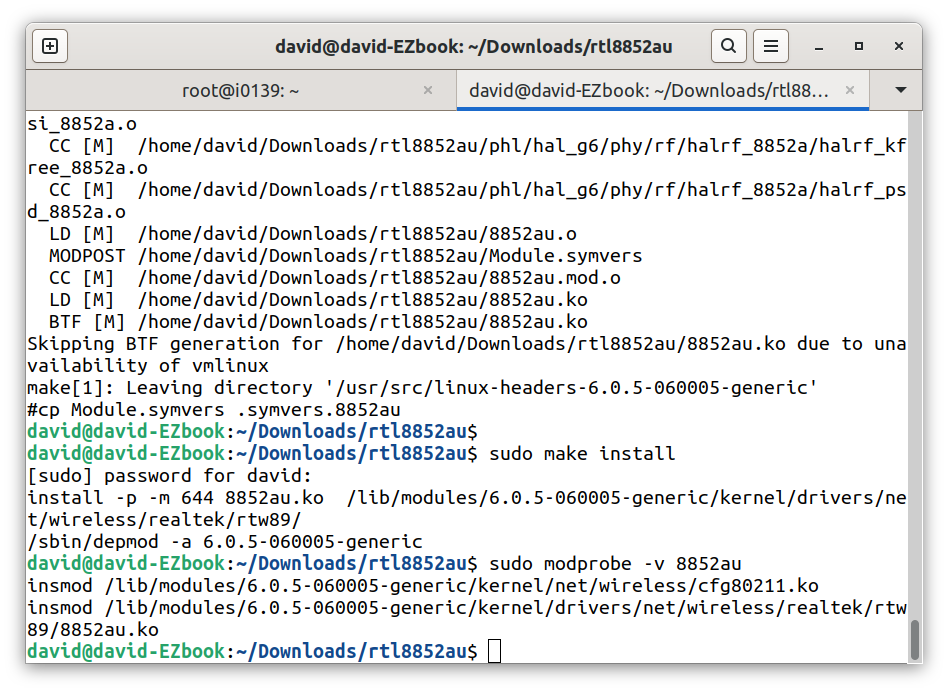
make
(This Setup has been sucessfully tested with a GCC 12 Compiler on a 6.0 Kernel.)
Now you can take a long Break cause this setup will require several Minutes to be achieved.
Then to Setup it run:sudo make install
Especially relevant: you’ll need to renew this Setup after each Kernel Upgrade. Else for a DKMS auto rebuilding installation see directly the Developer’s Docs.
Last, to load it you may try simply to Reboot:sudo reboot
Or to manually load and unload it:
sudo modprobe -v 8852au
sudo modprobe -rv 8852au

Thanks to Lwfinger inestimable Work!
-
5. Disabling Secure Boot
(Only on PCs with BIOS and installed in UEFI Mode) So to Disable Secure Boot
First, check your installation Mode with:[ -d /sys/firmware/efi ] && echo "EFI" || echo "BIOS"
And then again to check Secure Boot state:
mokutil --sb-state
If it is Enabled then access you PC BIOS and Disable it!
In case you may be interested to see: How to Access BIOS Guide.
Congratulations, your Realtek rtl8852AU Network Device on Ubuntu 18.04 should be now nicely working!
Contents