Installing Driver
-
3. Blacklisting Drivers
Now Blacklist Conflicting Drivers
So make or edit the File with the nano Editor:sudo /etc/modprobe.d/blacklist.conf
And Paste in:
# wireless drivers (conflict with Broadcom hybrid wireless driver 'wl')
blacklist ssb
blacklist bcma
blacklist b43
blacklist brcmsmac
Ctrl+Shift+v to Paste in with nano.
Finally, Ctrl+x to Save & Exit from nano Editor. -
4. Downloading Broadcom Wl Driver
Download Broadcom Wl Driver in Rocky GNU/Linux
Grab the Zip Archive or Clone it with Git.
-
5. Extracting Broadcom Wl Driver
And to Extract Broadcom Wl Driver Zip Archive into the /tmp Folder
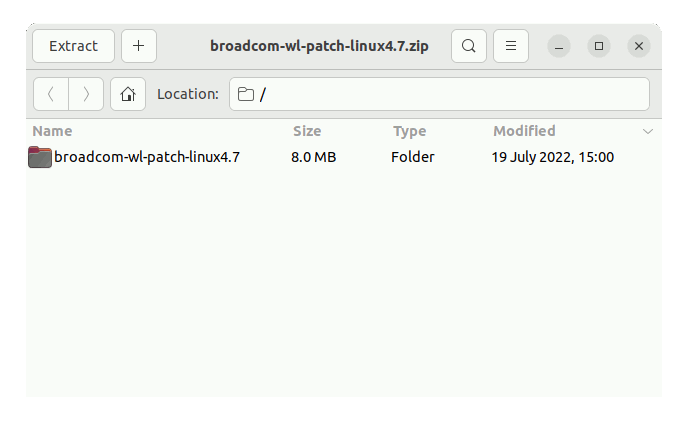
Possibly Double-Click/Right-Click on Package and Open with Archive Manager:
Or from Command Line:unzip -d /tmp/ ~/Downloads/broadcom-wl*.zip
(But if downloaded with Firefox it may be instead into /tmp/mozilla*)
Finally, if you are in Trouble to Find Out it on Terminal See: How to Access Downloads Folder from Browser. -
6. Installing Broadcom Wl Driver
Then to Install Broadcom Wl Driver in Rocky Linux 9
You have 2 available Setups:- Manually
- Automatically with DKMS
Access the Target Folder:
cd /tmp/broadcom-wl*
To Manually Build and Install it simply run one by one:
make
sudo make install
Next try to Load it:
sudo depmod -A
sudo modprobe wl
Instead for the DKMS Installation that should automatically renew after a Kernel Upgrade.
Set the needed Idintifiers with:DRV_NAME=broadcom-wl
DRV_VERSION=6.30.223.271
Move the Source to the Target:
sudo cp -r . /usr/src/${DRV_NAME}-${DRV_VERSION}Last, Add, Build, and Install it:
sudo dkms add -m ${DRV_NAME} -v ${DRV_VERSION}sudo dkms build -m ${DRV_NAME} -v ${DRV_VERSION}sudo dkms install -m ${DRV_NAME} -v ${DRV_VERSION}To Check the Setup:
dkms status
And in Output you should find:
broadcom-wl, 6.30.223.271, 4.7.6-200.x86_64, x86_64: installed
In case Reboot your System with:sudo reboot
So Now I’m truly Happy if My Guide could Help you to Get Wi-fi Working on Rocky Linux 9!
Contents