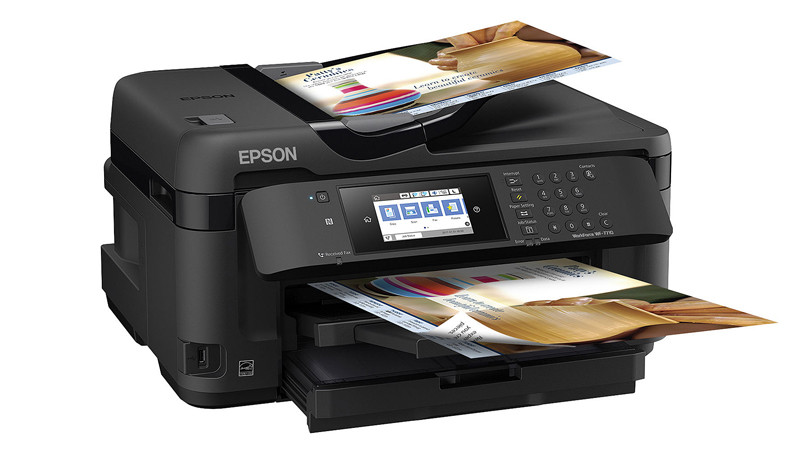
GNU/Linux Ubuntu 22.04 Printer Epson WF-7710 Setup – Step-by-step Guide
[ad_slider autoplay=”true” interval=”8″ count=”5″]How to Install Epson WorkForce WF-7710 Printer on Ubuntu 22.04 Jammy LTS GNU/Linux desktop – Step by step Tutorial.
And to achieve the Epson WF-7710 Printer Ubuntu Jammy Setup you need to Download and Install the Proprietary Driver and then Add Printer.
Especially relevant: using the Epson Printer Utility Software, you can Check Ink Levels, View Error and other Status… on EPSON Series Printers.
This Guide is valid for all the Ubuntu-based Distros like:
- Linux Mint
- Zorin OS
- Lubuntu
- Elementary OS
- Kde Neon
- Pop_OS!
- Xubuntu
- Linux Lite
- Bodhi
- Kubuntu
- LXLE
- Trisquel
- Voyager Ubuntu
- feren OS
- Peppermint
- Linux Ultimate Edition
Finally, the guide includes also instructions on How to Get Started Scanning & Faxing with Epson WF-7710 on Ubuntu.

-
1. Launching Terminal
Open a Terminal window
Ctrl+Alt+t on desktop
(Press “Enter” to Execute Commands)In case first see: Terminal Quick Start Guide.
-
2. Updating Ubuntu Repo
Then Update Ubuntu Repositories:
Simply play:sudo apt update
Authenticate with the User Admin Pass.
If Got “User is Not in Sudoers file” then see: How to Enable sudo.
Contents