Installing
-
2. Installing Dependencies
Then to Install Libtinfo 5 Software
Run:sudo dnf in ncurses-compat-libs
Authenticate with the User Admin Pass.
If Got “User is Not in Sudoers file” then see: How to Enable sudo. -
3. Downloading GNAT Studio for Fedora
Download GNAT Studio for Fedora GNU/Linux
-
4. Installing GNAT Studio
Then to Set up GNAT Studio on Fedora
First, access the Download location by default with:cd ~/Downloads
To Check it’s there List the contents with:
ls . | grep gnat
The grep Command refine the output List showing only the Entries matching the Keyword.
But if you are in Trouble to Find it out on Terminal then See: How to Access Downloads Folder from Browser.
Then give Execution Permission:chmod +x ./gnat*
Finally, to Setup GNAT Studio:
sudo ./gnat*
Now, follow GNAT Studio Installation Wizard
First, choose :
Then specifiy the Target Folder:
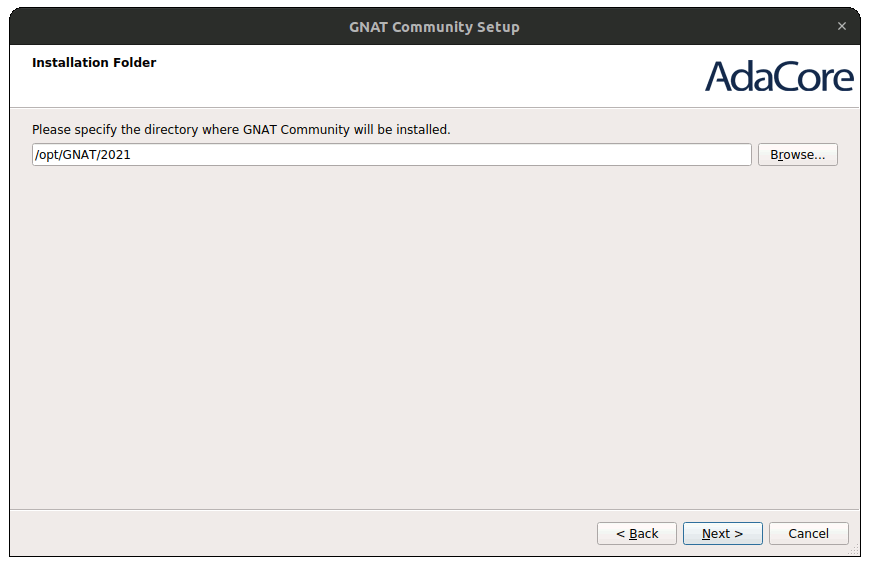
Here is in the “/opt/GNAT/2021” Location.
Next possibily choose the Components to Install: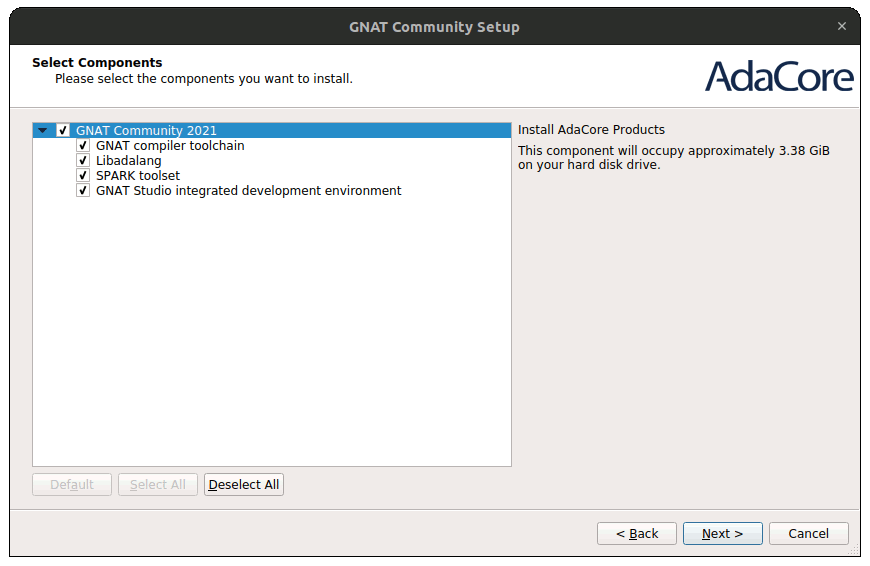
Agree to the License:

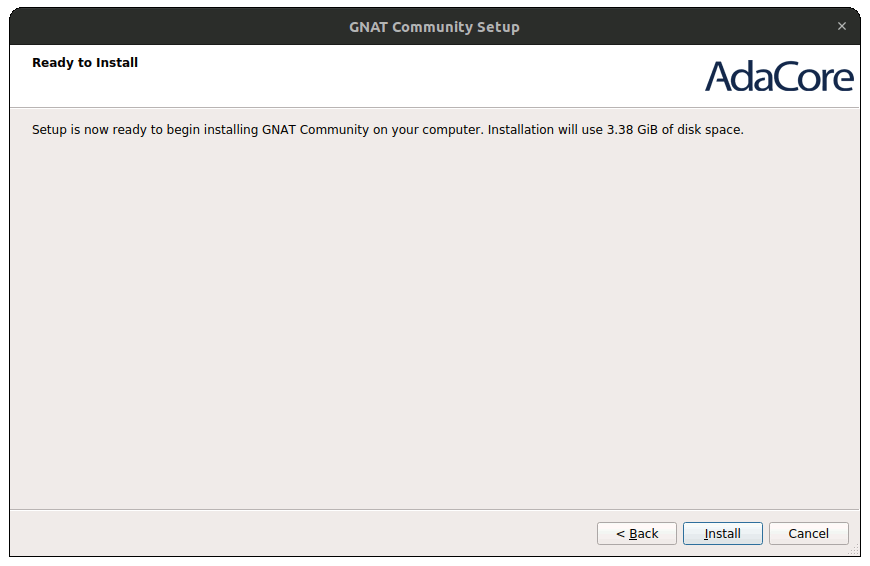
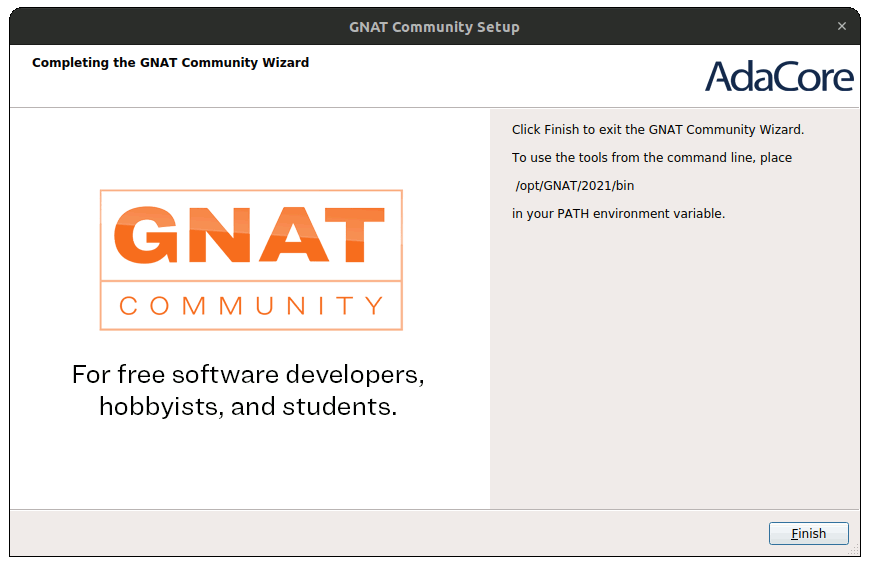
Now select to Start the Setup:
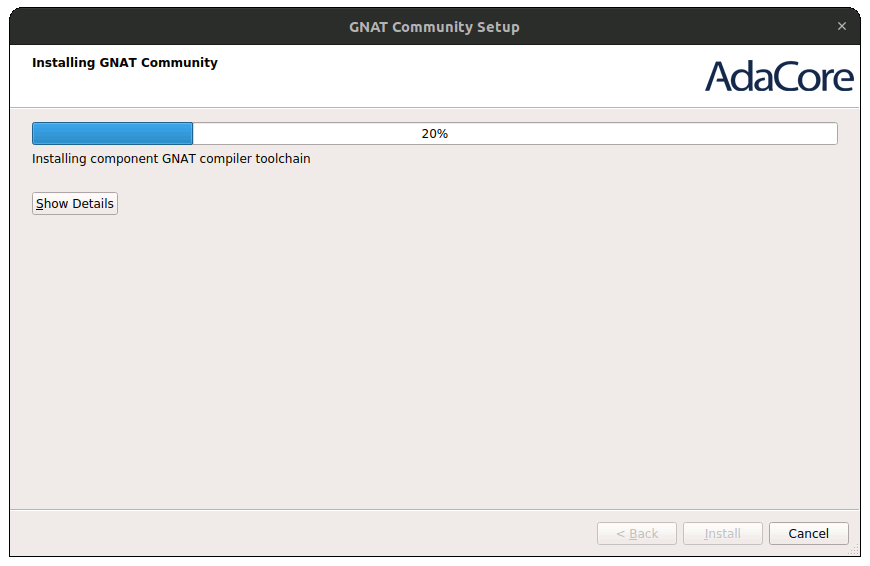
And in few time the Installation is successfully achieved:
-
5. Amending User’s Path
Again Append GNAT Studio into the Path
So execute:echo 'export PATH=$PATH:/opt/GNAT/2021' >> ~/.bashrc
In case amend the “2021” in the above Path consequently.
Finally, Reload the Bash User’s Path simply with:bash
Contents
