GNU/Linux Debian Bullseye Installing RetroShare – Step by step Guide
How to Download and Install RetroShare on Debian Bullseye 11.x GNU/Linux desktop – Step by step Tutorial.
And RetroShare for Debian Bullseye establish Encrypted Connections between you and your friends to create a P2P Network of Computers, and provides various distributed Services on top of it: Forums, Channels, Chat, eMail…
Especially relevant: Retroshare is fully Decentralized, and designed to provide Maximum Security and Anonymity to its users beyond direct friends.
Retroshare is entirely Free & Open-source Software, available on Android, Linux, MacOS and Windows.
Moreover, this guide includes detailed instructions about to Getting Started with RetroShare on Debian.
Finally, this Setup is valid for all the Debian-based Distros like:
- Kali
- MX Linux
- Deepin
- Parrot
- antiX
- SparkyLinux
- Q4OS
- Netrunner
- Voyager
- MakuluLinux
- Elive
- LMDE
- Devuan

1. Launching Shell Emulator
Open a Terminal window
(Press “Enter” to Execute Commands)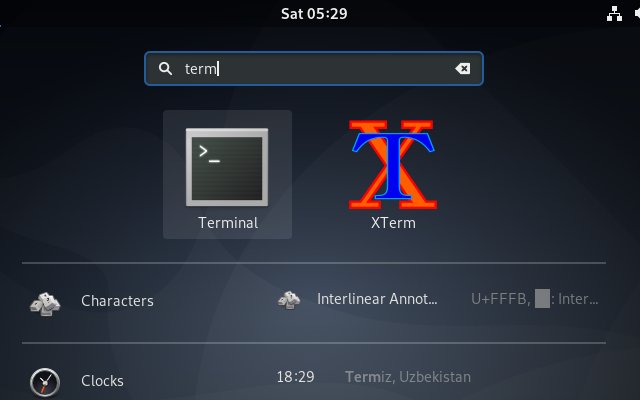
2. Installing AppImageLauncher
(Optional and Not recommended on Wayland) Then to Set up AppImageLauncher on Debian
Otherwise you can simply Grab & Run the RetroShare AppImage…
Contents