Installing
-
3. Installing Dependencies
Then to Install Required Python Software
Run one by one:pip install --upgrade pyparsing
pip install --upgrade appdirs
pip install --upgrade --no-deps --force-reinstall --no-cache-dir numpy==1.24.0 absl-py
pip install -U pip six wheel importlib-metadata setuptools mock future
pip install -U keras_applications --no-deps
pip install -U keras_preprocessing --no-deps
Possibly take into account to Amend also the Numpy Version cause there is a recommended one for every Python Release. As for Python 3.7 it was “1.21.6”.
-
4. Downloading ZenDNN Library
Download ZenDNN Library for CentOS GNU/Linux
Grab the Tensorflow supporting Library.
-
5. Extracting ZenDNN Library
Then Extract Tensorflow ZenDNN Library into /tmp Directory
First, if needed to Install Unzip:sudo yum install unzip
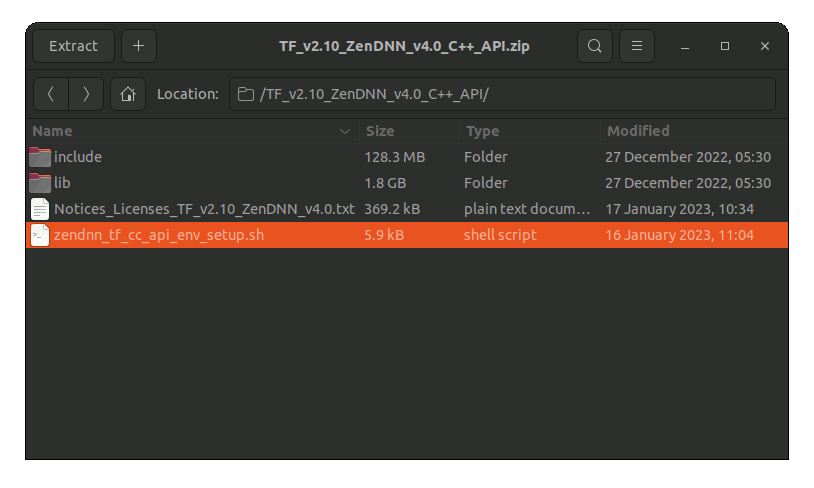
Then if it does Not Open automatically then Double-Click/Right-Click to Open with Archive Manager:

Or from Command Line:unzip -d ~ ~/Downloads/*ZenDNN*.zip
Finally, if yuo are in Trouble to Find Out it on Terminal See: How to Access Downloads Folder from Browser.
-
6. Installing ZenDNN Library
Then to Install Tensorflow ZenDNN Library
To Setup the TensorFlow wheel Package.
Access the Target:cd ~/TF*ZenDNN*
And run:
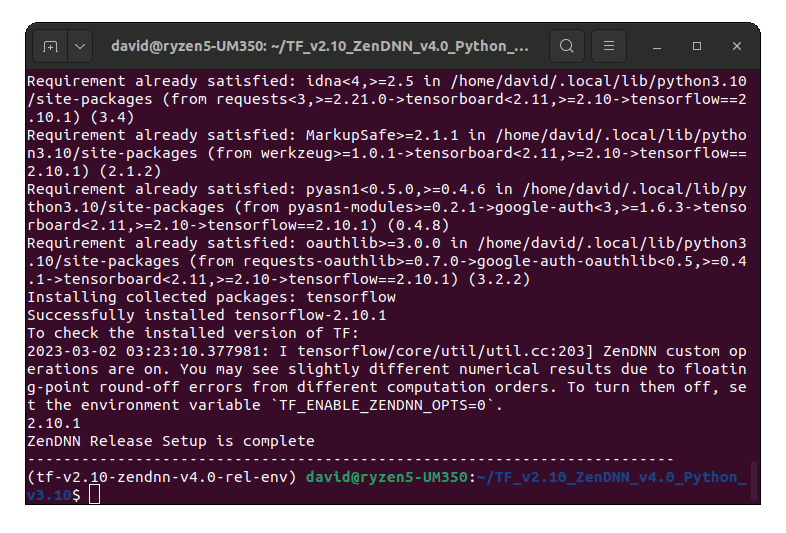
source ./scripts/TF_ZenDNN_setup_release.sh

-
7. Amending User’s Env Vars
(Optional) In case of Issue in Benchmark Testing
You may be needed to Set the Environment Variables indicated in the Setup Output.
For further insight you should see the Official TensorFlow ZenDNN Docs.
First, you may try some TensorFlow Benchmark Testing.
In case to find out the Number of CPUs Cores in your System:nproc --all
And consequently you may then Set the Variable:
echo "export GOMP_CPU_AFFINITY=0-[CPUSNUM]" >> ~/.bashrc
Replace [CPUSNUM] with the Output of the previous Command in the above.
Last, to Reload the Path simply:bash
-
8. TensorFlow Getting Started Guide
Getting Started with TensorFlow on CentOS GNU/Linux
Contents