Installing
[ad_slider autoplay=”true” interval=”8″ count=”5″]
-
3. Making Target
So to Make Installation Folder
(This cause the Zip Archive do not generate automatically a Directory over extraction)
Simply play:mkdir $HOME/v2ray-linux
Here I suppose a Local Install into the user’s $HOME Directory.
-
4. Extracting V2Ray Core Client
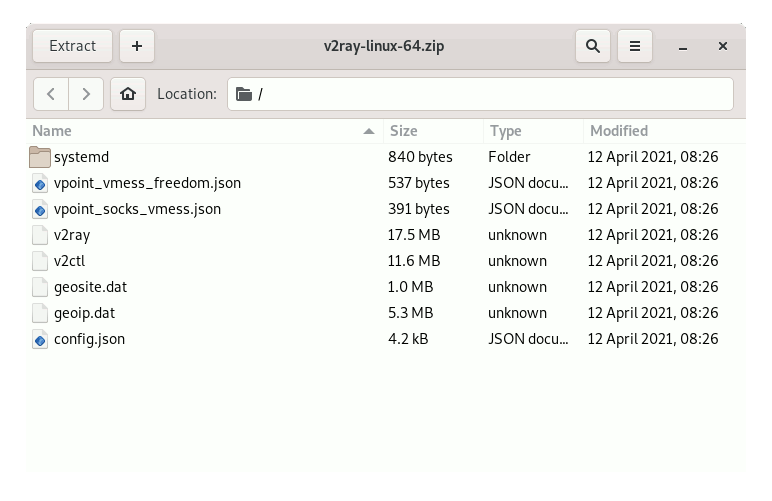
And to Extract V2Ray Core Client Archive
Possibly Double-Click/Right-Click on Package and Open with Archive Manager:
Or from Command Line:sudo unzip -d /$HOME/v2ray-linux/ ~/Downloads/v2ray*.zip
Finally, if you are in Trouble to Find Out it on Terminal See: How to Access Downloads Folder from Browser.
-
5. Running V2Ray Core Client
So now to Run V2Ray Core Client
First, access the Target with:cd $HOME/v2ray-linux
Rename the default Config using:
mv $HOME/v2ray-linux/config.json $HOME/v2ray-linux/config.json.bak
Next make a New Configuration File with nano Editor:
nano $HOME/v2ray-linux/config.json
And append something like:
{"inbounds": [{"port": 1080,"listen": "127.0.0.1","protocol": "socks","settings": {"udp": true
}
}],"outbounds": [{"protocol": "vmess","settings": {"vnext": [{"address": "[YOURREMOTESERVER-IP]","port": [YOURREMOTESERVER-INBOUND-PORT],"users": [{ "id": "[YOURREMOTESERVER-ID]" }]
}]
}
},{"protocol": "freedom","tag": "direct","settings": {}
}],"routing": {"domainStrategy": "IPOnDemand","rules": [{"type": "field","ip": ["geoip:private"],"outboundTag": "direct"
}]
}
}
And for Local Inbound Port you are free to change the default “1080” like you prefeer.
Ctrl+Shift+v to Paste into nano.
Last, Ctrl+x to Save & Exit from nano Editor.
Finally, launch your Fast V2Ray Core Client with:./v2ray -config ./config.json
[ad_slider autoplay=”true” interval=”8″ count=”5″]
Contents