GNU/Linux Ubuntu 22.04 Installing Pantum Printer – Step by step Guide
How to Install Pantum Printer on Ubuntu 22.04 Jammy LTS GNU/Linux desktop – Step by step Tutorial.
And the Pantum Driver Ubuntu Installation it’s quick and easy because it only involves running a few Basic Shell Commands.
Especially relevant, after the Driver Installation to achieve the Setup follow the included instructions to Add Printer!
Moreover, for the MultiFunctionl Models this guide include detailed instructions about to Getting Started with Pantum Scanning on Ubuntu.
Finally, this Setup is valid for all the Ubuntu-based Distros like:
- Linux Mint
- Zorin OS
- Lubuntu
- Elementary OS
- Kde Neon
- Pop_OS!
- Xubuntu
- Linux Lite
- Bodhi
- Puppy
- Kubuntu
- LXLE
- Trisquel
- Voyager Ubuntu
- feren OS
- Peppermint
- Linux Ultimate Edition

1. Downloading Pantum Printer Driver
Download Pantum Printer Driver for Ubuntu GNU/Linux
Search for your Printer Model.
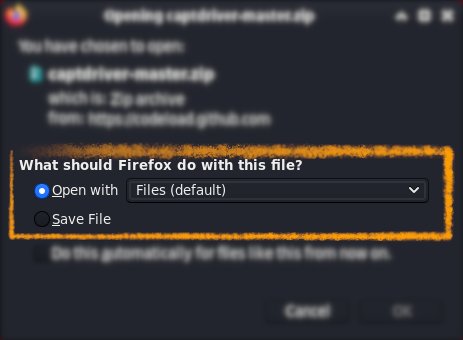
If you are using Firefox then on Prompt Choose “Open with Archive Manager”:Or After try to Select the Package by the Downloads Button on Top Panel: Instead on Google-Chrome simply try to Choose the Package on the Bottom Panel:
 How to Install Chrome Browser on Linux
Contents