Installing
-
2. Installing Dependencies
Then to Install Required Packages
First, Update your System because if Not then the Headers & Source may not be matching the Kernel:su -c "dnf update"
Or instead, for a stronger Update without backward Compatibility:
su -c "dnf upgrade"
Then possibly to activate a New Kernel Reboot with:
su -c "reboot"
And next install the Required Stuff play:
su -c "dnf install kernel-headers kernel-devel gcc glibc-headers make libaio"
Authenticate with the User Admin Pass.
If Got “User is Not in Sudoers file” then see: How to Enable sudo. -
3. Downloading VMware Workstation 17 Pro
Download VMware Workstation 17 Pro (30 Days Trial)
-
4. Setting Up VMware Workstation 17 Pro Installer
So now Run VMware-Workstation Bundle
Access the VMware Workstation Bundle Location:cd $HOME/Downloads
Possibly, to check the Package is there:
ls | grep Workstation
The grep Command refine the output List showing only the entries Matching the Keyword.
But if you are in Trouble to Find it Out on Terminal See: How to Access Downloads Folder from Browser.
Next give Execution Permissions with:chmod +x ./VMware-Workstation*17*.bundle
Then Run the VMware Workstation Bundle:
su -c "./VMware-Workstation*17*.bundle"
With this Take the Time and leave the Setup to Make all required Components.
-
5. Starting VMware Workstation 17 Pro Installer
Now Launch VMware Workstation 17 Pro Wizard
From Command Line with:vmware
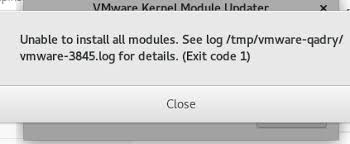
In case of Issue see: How to Install Kernel Modules Guide!
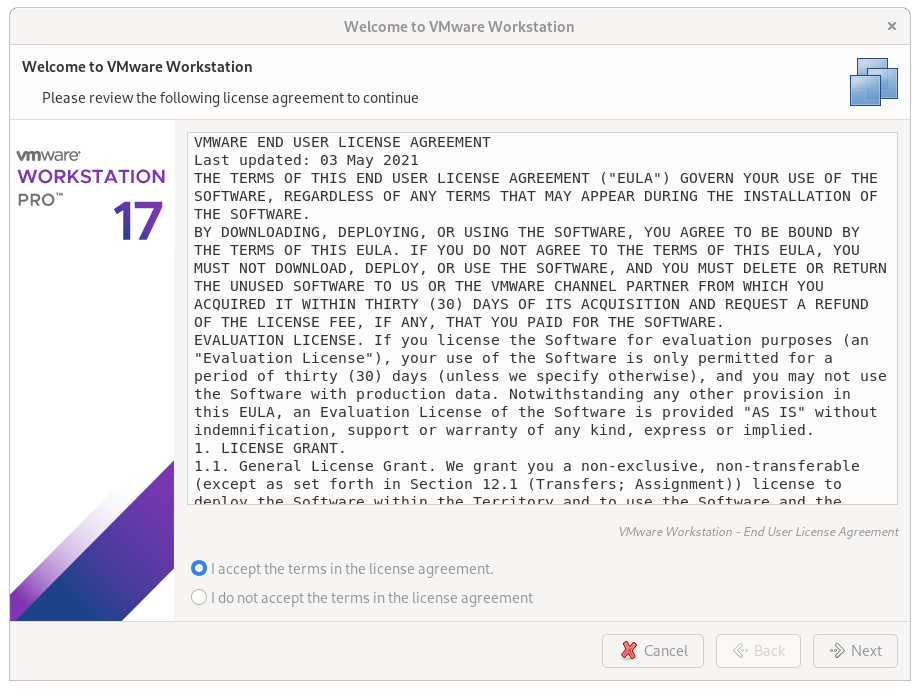
Accept the Licenses:
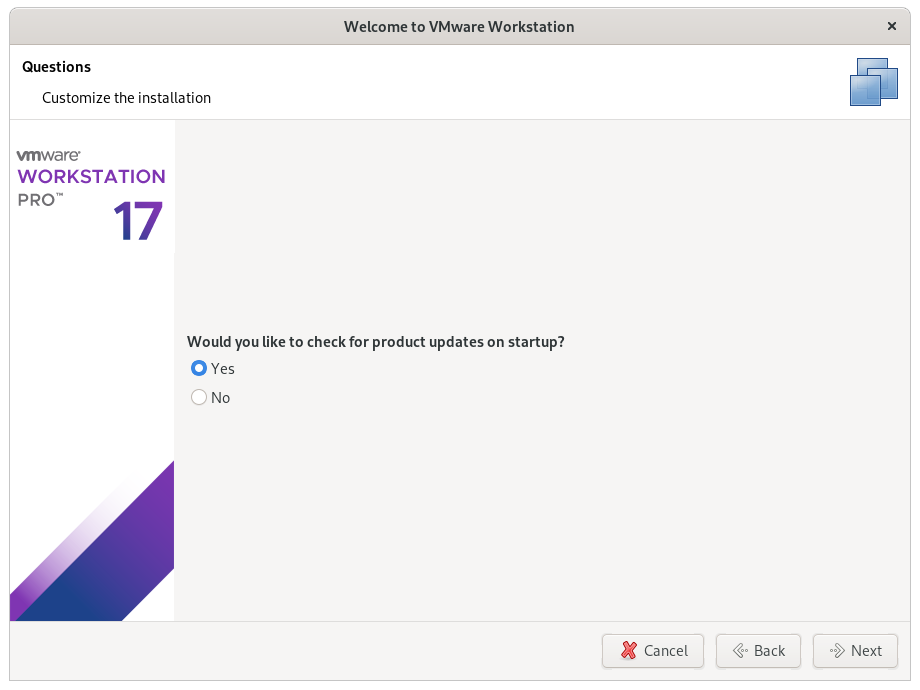
Then Choose if Check for Update at Startup:
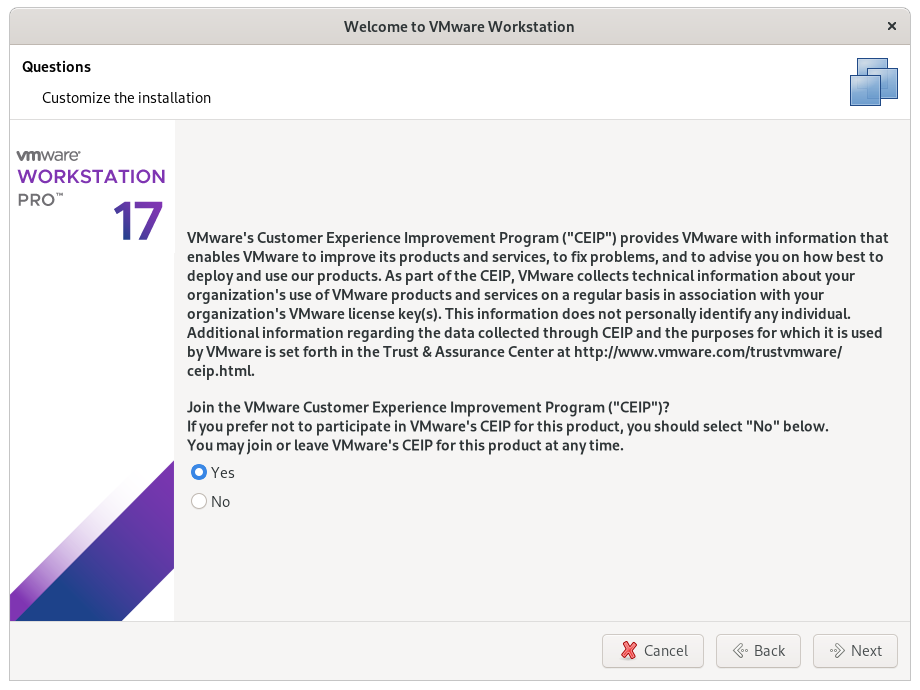
Next Choose if to join VMware CEIP:
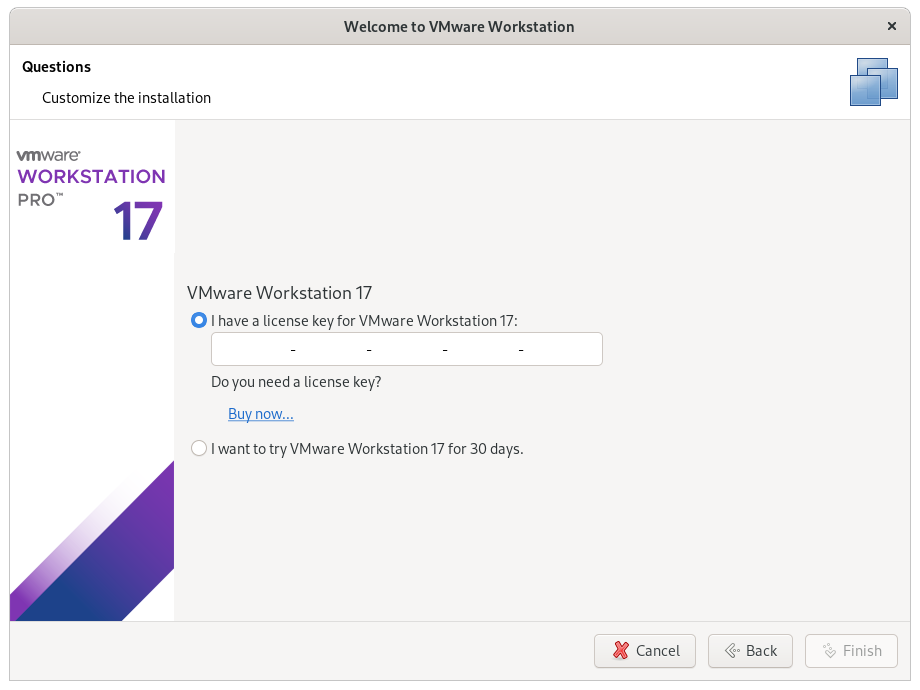
Now, in case Insert the License Key if any:
(You can always Set it up in a next time)
Then automatically Start Installation and in a few while it should be Successfully Achieved!
Contents