Installing
-
2. Downloading Clockify
Download Clockify for MX GNU/Linux
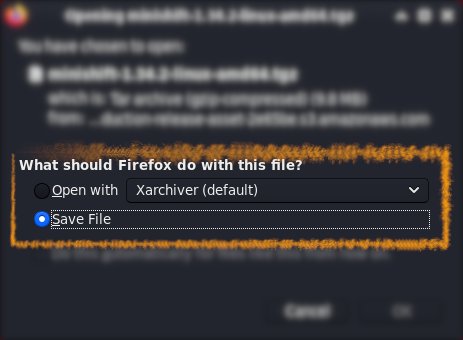
Possibly, on Firefox Prompt Choose “Save File”:

-
3. Installing Clockify
Then to Set up Clockify on MX
First Access the Target, usually in the Downloads folder:cd && cd Downloads
To Check is there do:
ls . | grep Clockify
The grep Command Refine the output List showing only the entries Matching the Keyword.
But if yuo are in Trouble to Find Out it on Terminal See: How to Access Downloads Folder from Browser.
And then to Setup Clockify:sudo apt install ./Clockify*.deb
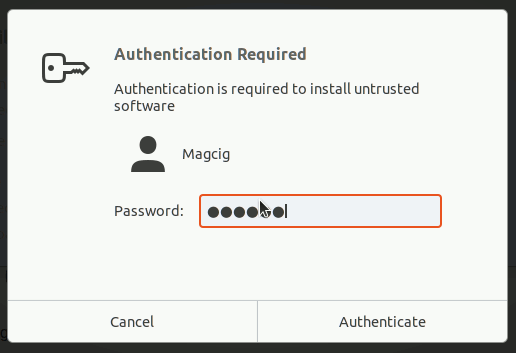
Authenticate with the User Admin Pass.
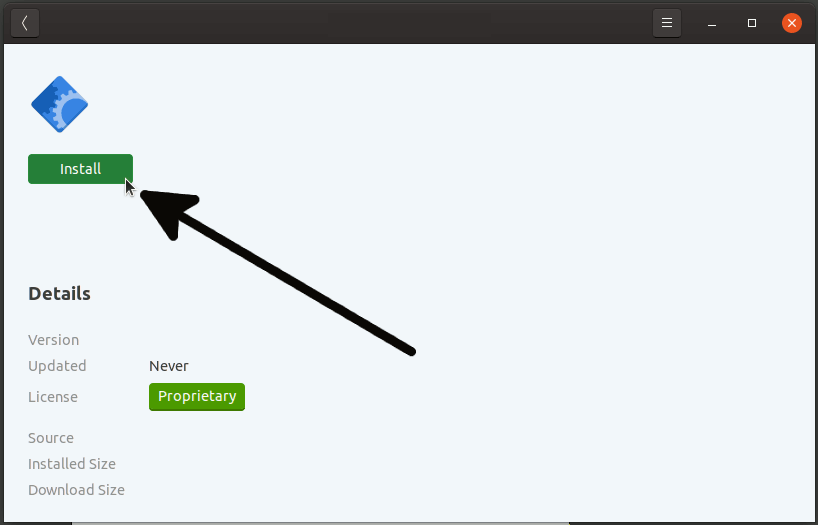
Or if you prefeer then try to Install it with the MX Software Installer UI.
Simply Double-Click on the Package on the File Manager:
And Authenticate with the Admin Pass to Install it:

-
4. Launching Clockify
Finally, Launch & Enjoy Clockify
From Shell simply with:Clockify
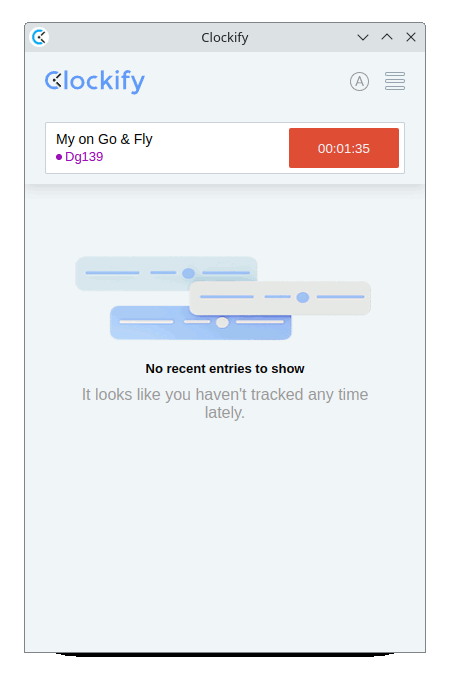
Or better, make Use of the desktop Launcher:

-
5. Getting Started Guide
Getting Started with Clockify for MX GNU/Linux

I’m Truly Happy if This Guide Helped You Get Started with Clockify on MX!
Contents