Installing Sdk
-
2. Updating Android Command Line Tools
Next to Update Android Command Line Tools
Simply run:sdkmanager --install --sdk_root=~/Android/Sdk "cmdline-tools;latest"
If prompted Agree to the License with “y”.
But if the target Folder is missing, to make it:mkdir -p ~/Android/Sdk
And again:
touch ~/.android/repositories.cfg
sdkmanager --update --sdk_root=~/Android/Sdk
In case of Issue check your current Java JDK release:
javac --version
For further Insight see the Official Documentation.
How Install and Switch Java JDK Guide. -
3. Listing Android SDK
First, to List Android SDK Components
All installed and available Packages:sdkmanager --list --sdk_root=${ANDROID_HOME}And the $ANDROID_HOME Env Var is Set to the “/Android/SDK” Target by the .bashrc Config File during the former Command Line Tools Setup.
Then use the grep Command to refine the output List showing only the Entries matching the Keyword.
And so for instance to show just the Build Tools releases:sdkmanager --list --sdk_root=${ANDROID_HOME} | grep Build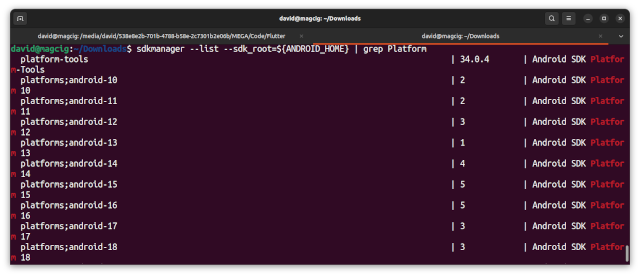
-
4. Installing Android SDK
Then to Install Android SDK Components
Simply run:sdkmanager --sdk_root=${ANDROID_HOME} "[MYNAME;MYREL]"Replace [MYNAME:MYREL] in the above with suitable Choice.
And so for instance to Setup the currently Latest API release play:sdkmanager --sdk_root=${ANDROID_HOME} "platform-tools" "platforms;android-34" "build-tools;34.0.0" "emulator" "tools"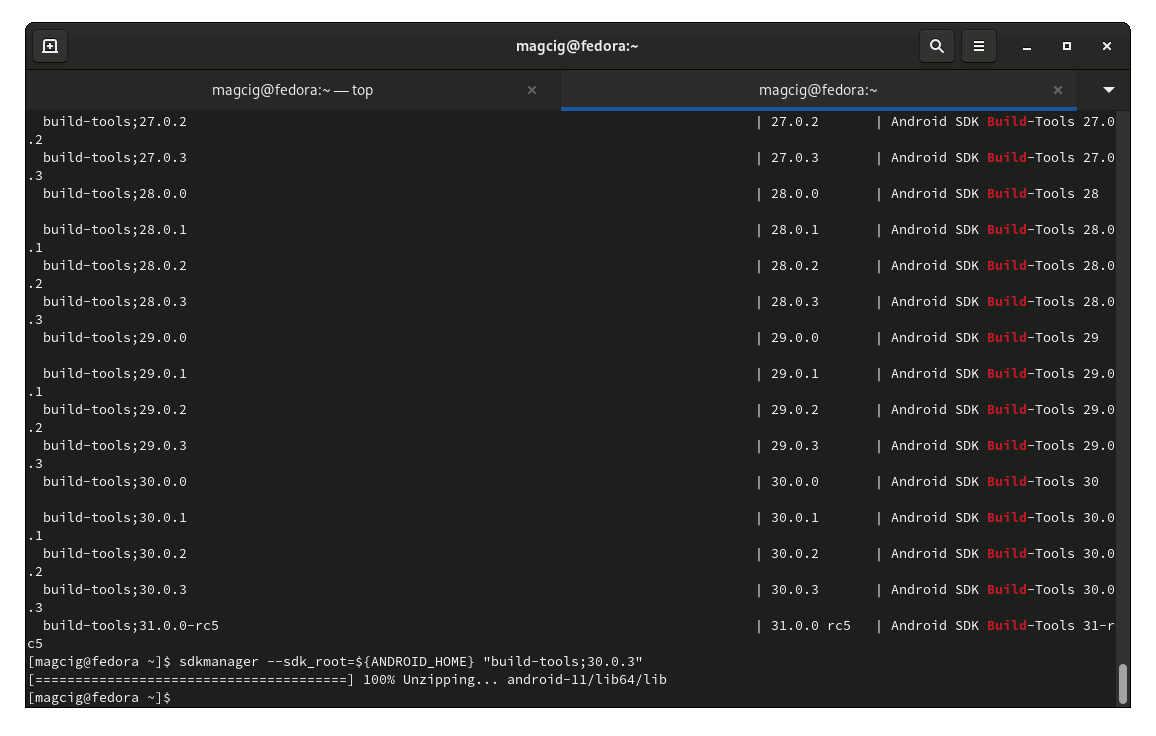
-
5. Amending User’s Path
Again Append Android SDK into the Path
To Edit the Configuration File with nano:sudo nano ~/.bashrc
And append:
/nexport ANDROID_HOME=$HOME/Android/Sdk/nexport ANDROID_SDK_ROOT=$ANDROID_HOME/nexport ANDROID_PATH=$ANDROID_HOME/tools:$ANDROID_HOME/tools/bin:$ANDROID_HOME/platform-tools:$ANDROID_HOME/cmdline-tools/bin
Ctrl+Shift+v to Paste in with nano.
Again, Ctrl+x to Save & Exit from nano Editor.
Finally, Reload the Bash User’s Path simply with:bash
Testing the Setup:
which android
So Now I’m truly Happy if My Guide could Help you to Quick-Start with Android SDK Development on Parrot!
Contents
